Want to paint your kitchen cabinets but worried that they won’t hold up? Well, this post is for you!
I’m walking you through the exact process & products I used to paint my kitchen cabinets – which are still in perfect condition 2 years in. No easy feat in a busy household with two kids under 5, I might add.

This post may contain affiliate links, and I may earn a small commission at no additional cost to you. As an Amazon Associate I earn on qualifying purchases. You can read my full disclosure here.
It really is a simple process. The biggest advice I can give you (other than the steps below of course!) is to take your time with the project. Rushing leads to misteps, paint drips, etc.
This will take you a week or two to complete and having realistic expectations will help you enjoy the project a heck of a lot more.
5 STEPS TO FLAWLESS & DURABLE PAINTED CABINETRY
DON’T SKIMP ON THE PREP
To start, clean the cabinets to remove any dirt or oil. Next, scuff up the surface by using a deglosser for laminate cabinets; for wood cabinets lightly sand them. When sanding you just need to scuff up the surface and remove any imperfections – i like to use 220 grit for this task.
Improper prep = failed paint adhesion. Taking your time & doing a thorough job will pay dividends (I know, it’s the lamest task).
USE THE RIGHT TOOLS
Sure you could use a roller to paint cabinets, but nothing compares to the finish a paint sprayer provides. We’ve used Our Graco X5 airless paint sprayer for multiple projects and it’s so simple & gives a flawless finish. 10/10 recommend.
If instead you will be rolling the cabinets, use a 4” velour mini roller to do so. Tip: if you do choose to use a foam roller instead, lightly dampen it first to minimize air bubbles. But really the velour roller is the best tool for this task.
Whether spraying or rolling, apply light coats and allow proper dry time between coats for best results.
SETUP FOR SUCCESS
Set yourself up well for spraying. I like hanging the doors so you can spray both sides at once (so much quicker!). If you spray the doors laying flat you have to wait for one side to dry/harden before turning to paint the other side – takes wayyyy longer.
HOW TO HANG CABINETS FOR SPRAY PAINTING
So, how to hang doors for spraying? I use two screw-in hooks and a heavy duty plastic hanger. You’re going to want to hang the doors from the end you won’t see (from the bottom for lower cabinets, from the top for upper cabinets).
When your done spraying you can fill & patch these holes if you’d like (they are super small), or just leave them. Either way you will never see them!

If you’d like more of a visual on how I hang my cabinets, I walk you through it in my cabinet highlight on Instagram.
HOW MANY COATS SHOULD I USE?
I’d recommend primer + 2 finish coats, lightly hand sanding between each with a finishing sandpaper & then wiping down with a tack cloth before applying the next coat.

THE RIGHT PAINT PRODUCT IS ***CRITICAL***
Using the right primer & paint product is THE MOST CRITICAL FACTOR in achieving a durable finish.
THE PRODUCT I USE & RECOMMEND
Benjamin Moore Advance Paint is the ONLY paint I use & recommend for cabinetry (we also used it for all our interior doors, casing, & trim). It dries super hard & smooth – it doesn’t feel like “regular” paint, more like an enamel – giving a very durable, scrubbable surface (it even stands up to a magic eraser for scuffs!).
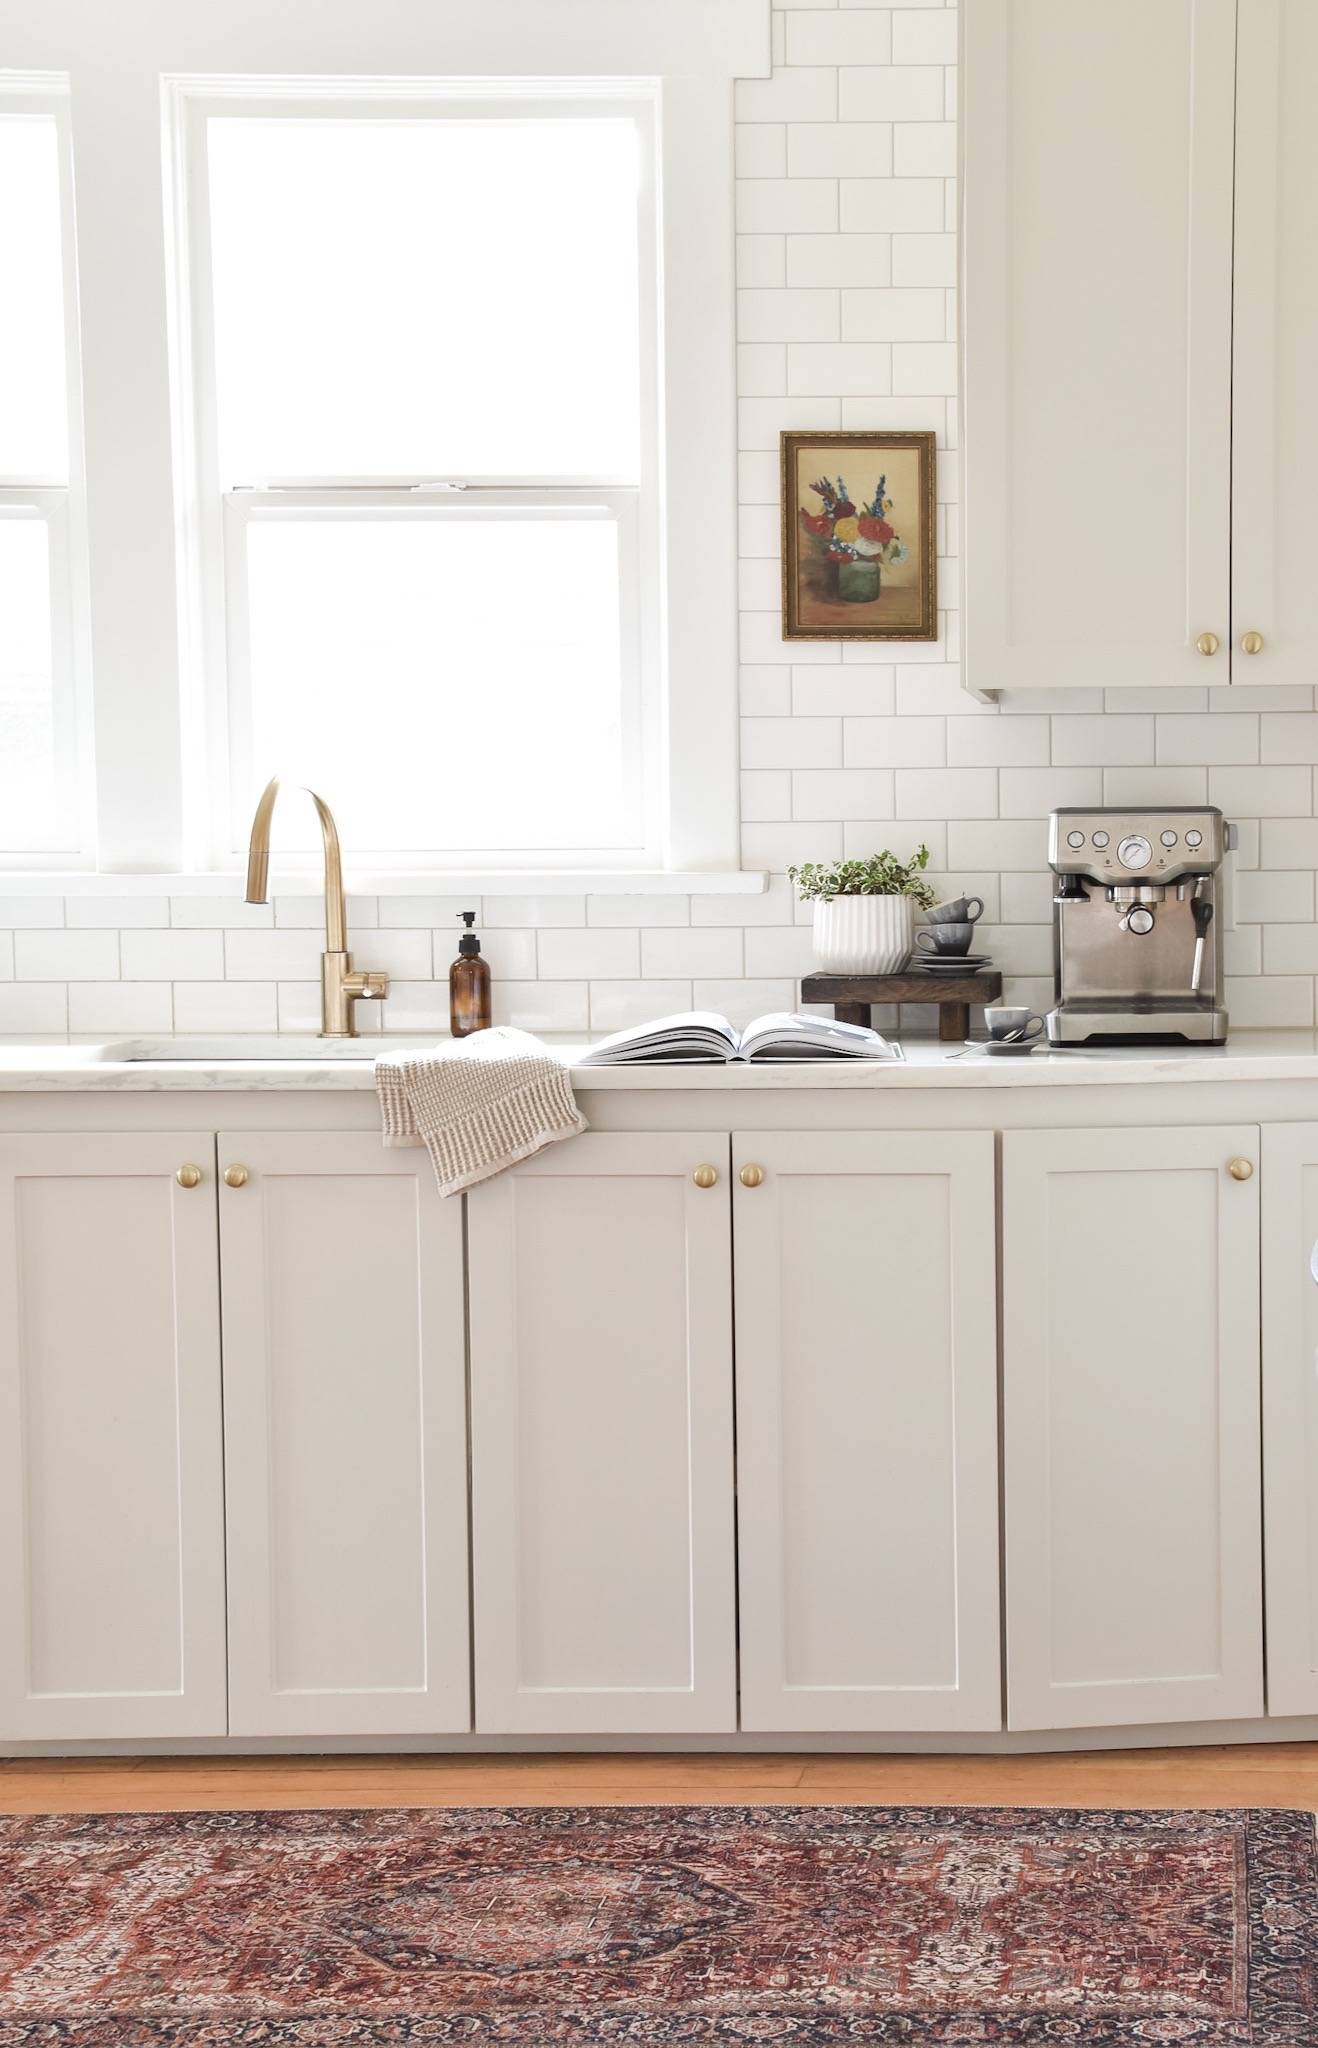
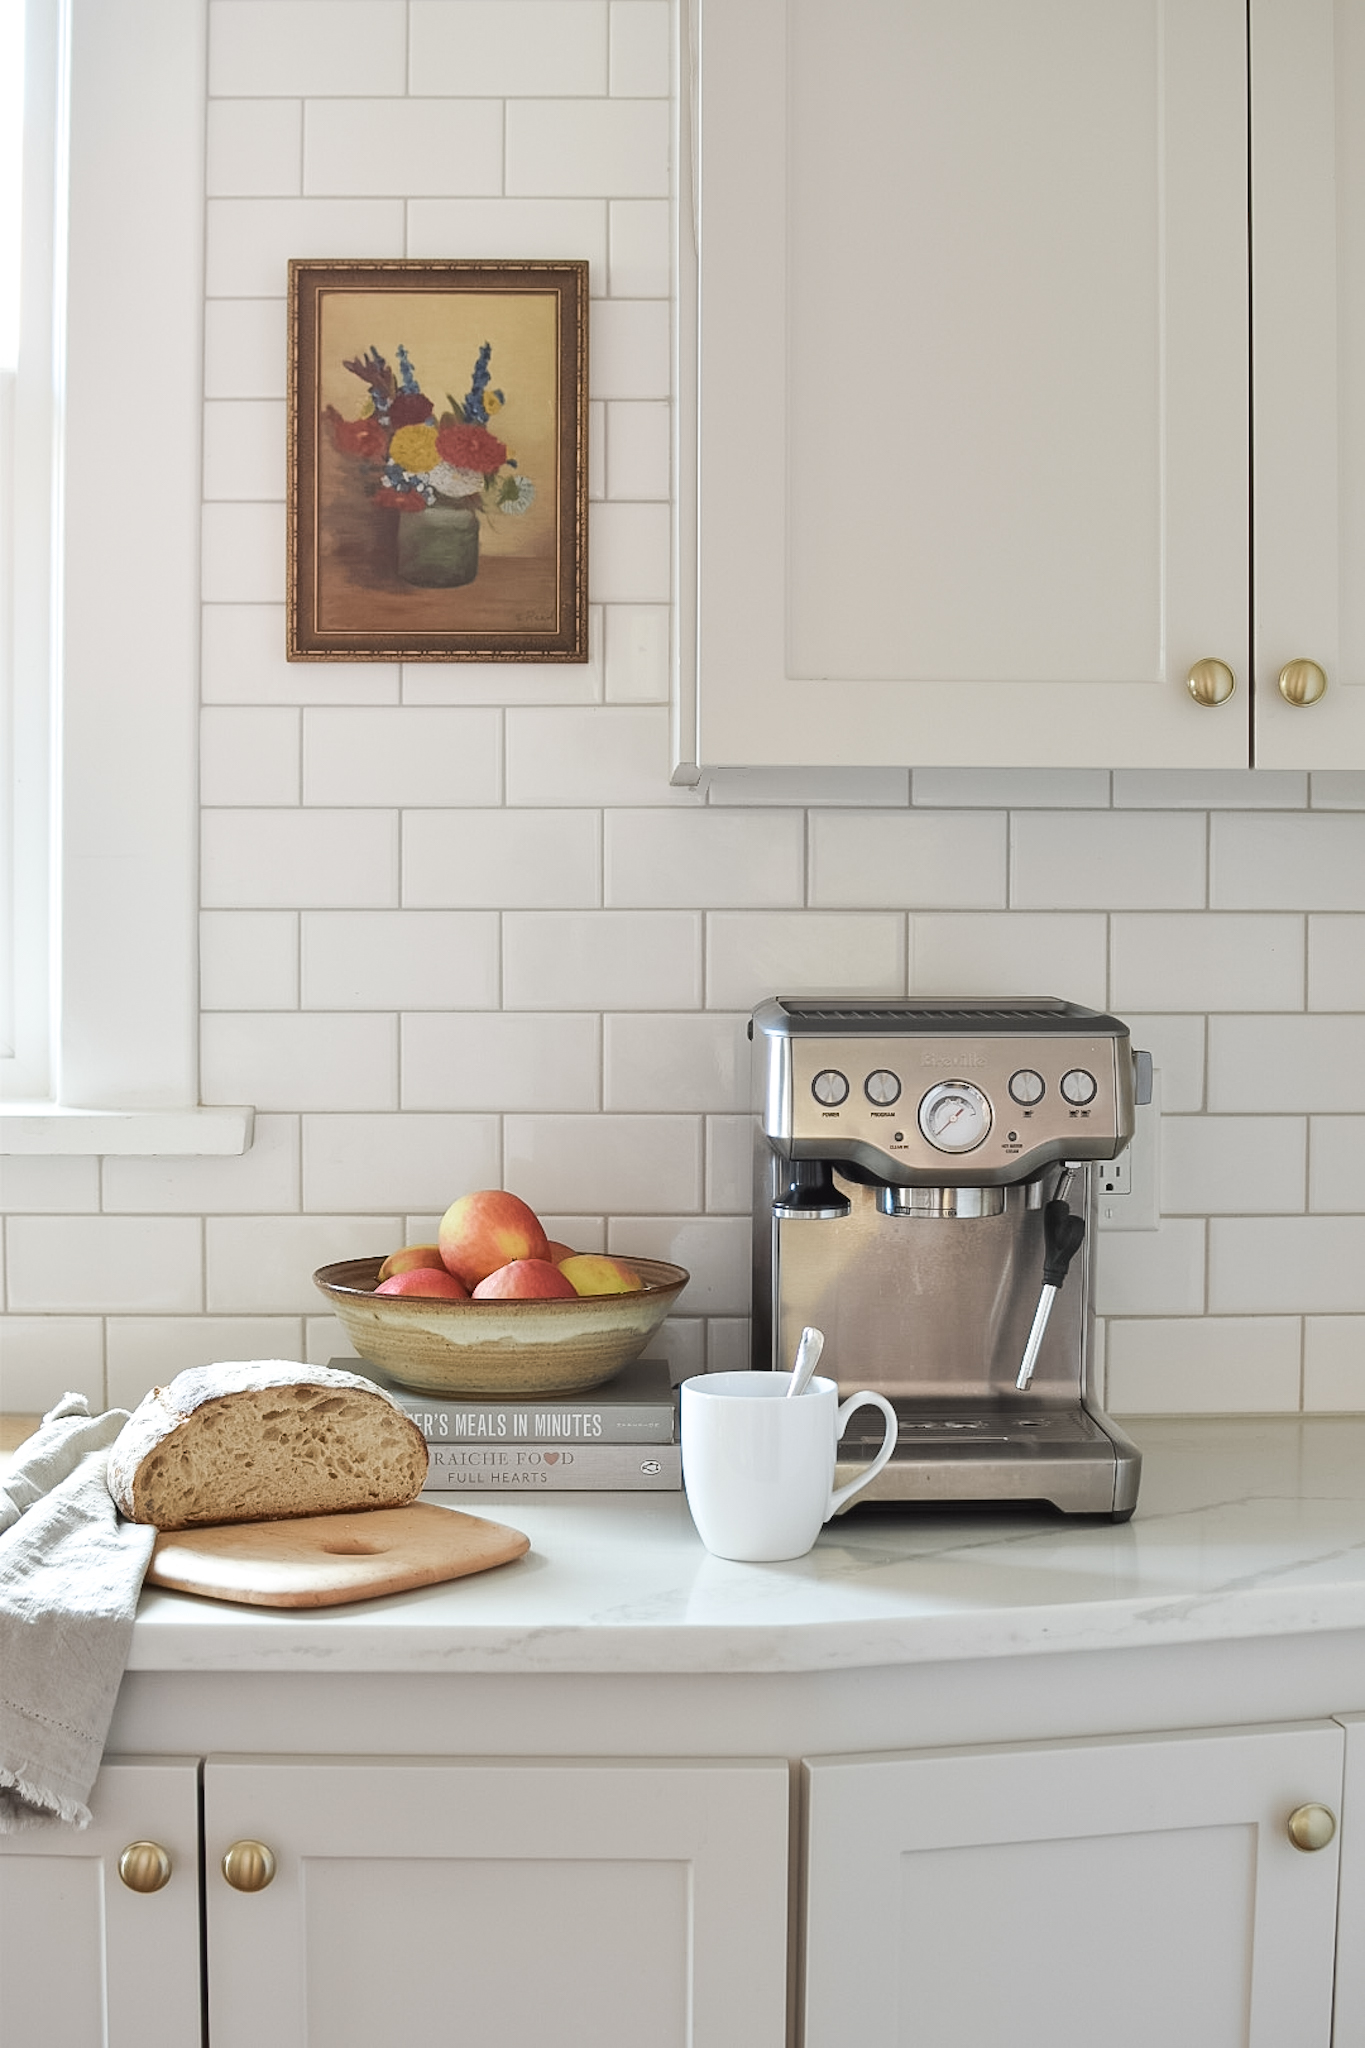
The other critical factor? Advance paint is self-leveling so any roller marks or bubbles will settle out. My kitchen cabinets (pictured in this blog post) are BM Revere Pewter in Advance Paint, Pearl Finish.
PATIENCE IS KEY
Let your cabinets cure before rehanging them. I gave ours 14 days.
Is it painful to look at your open cupboards for that much longer? Absolutely. But in the end it is 100% worth the wait to have a solid, durable finish.
BONUS TIP
Be sure to number your cabinets and drawers so you can put them back exactly as they were!
Sketch out your cabinet layout and number the doors and drawers on a master sheet. I prefer doing so on Excel or Sketch-up so the drawing cannot get misplaced, but certainly a rough sketch works just fine too!
After the hinges have been removed, label each cabinet where the hinge attaches, then cover the writing with painters tape – this will prevent painting over the number! Yes, it will leave a small spot with no paint – but the hinge will cover it.
There you have it, the formula for a great cabinetry painting finish.
Be sure to pin this post for future reference!
Any other questions? Drop them in the comments below 👇🏻
