How to easily give the classic kids IKEA Kitchen a custom modern boho look
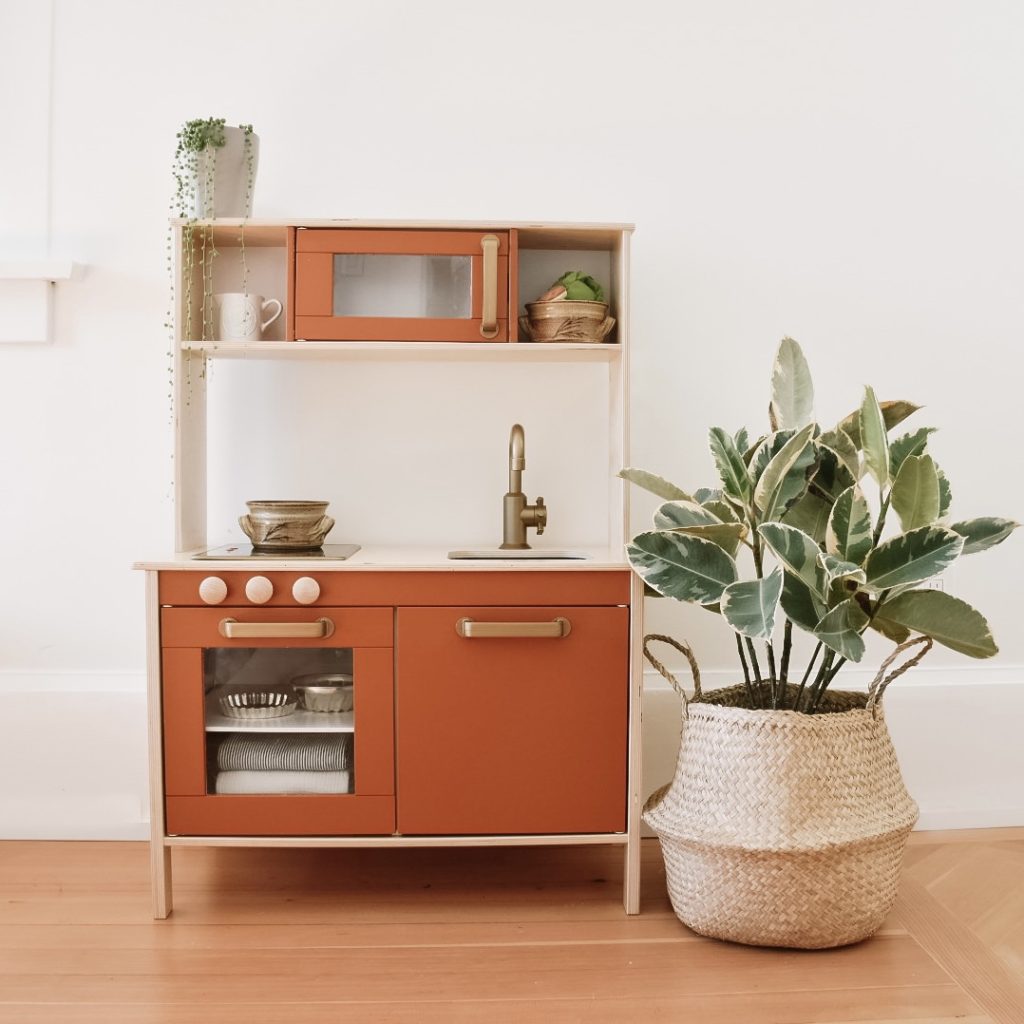
My kids were gifted an IKEA Duktig for their birthdays this past month. The kitchen itself is the perfect neutral base for any play space, but it also lends itself so well to a makeover. I couldn’t pass up the chance to customize this cute little kitchen to better align with the style of our home.
This is a super easy and quick DIY. No tools required, other than those you’d already need for the Duktig assembly!
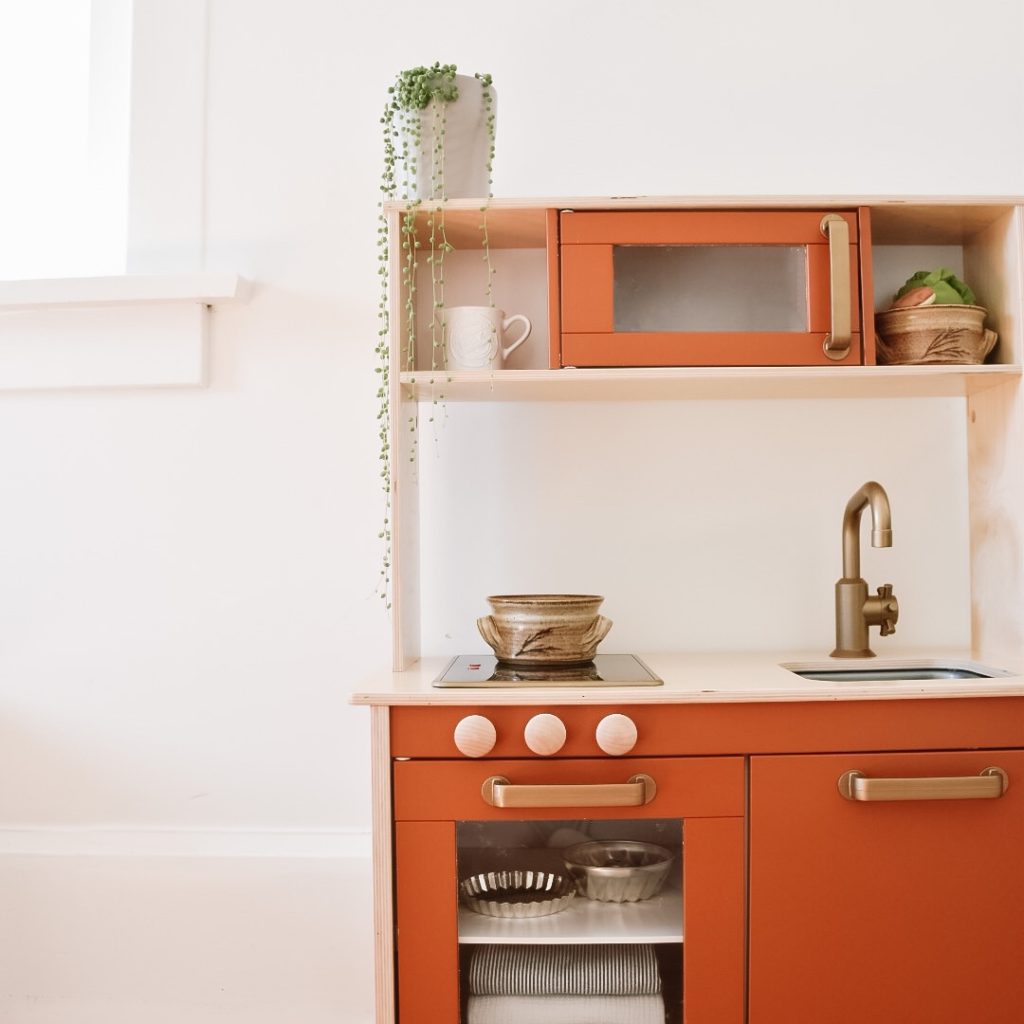
I chose to keep the wood finish of the kitchen for two reasons. One, I love me some wood tones! And two, it meant less to paint, and therefore a quicker and easier project. Win-win! You’ll have to forgive me as I didn’t do the best job documenting the build process – but I promise it’s super easy and the IKEA build instructions are all you need!
Tools you’ll need:
Paint of choice for cabinetry
Painters Tape
Spray Paint for hardware components
That’s it!
DIY Duktig Makeover: How-to
Prepare for painting
Choose which parts of the kitchen you want to paint. To achieve this look you just need to paint the parts that came painted white in the box:
- Microwave door
- Side pieces of microwave (2)
- Oven door
- Cabinet door
- The trim piece above the doors
Tape off the “glass” portions to protect from paint (on both sides!).
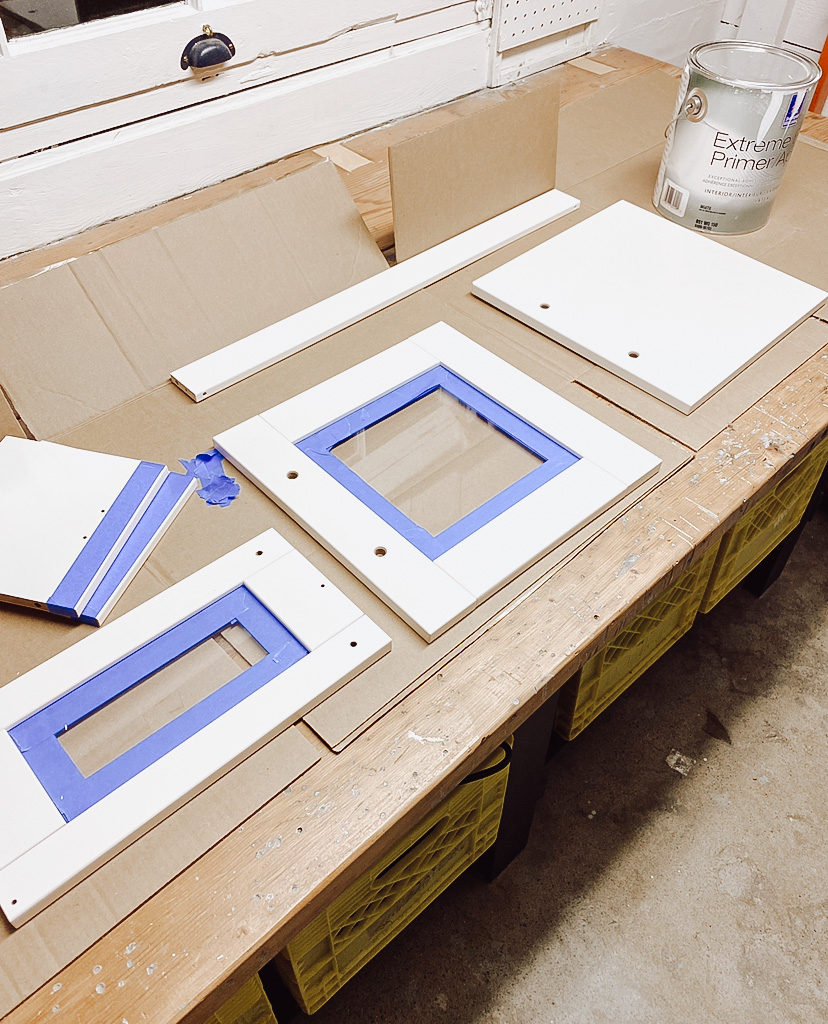
Paint a Prime Coat
The first step is to lightly sand the pieces with 150 or 220 grit sandpaper to remove the glossy surface. Paint won’t stick well to a glossy surface!
You’re going to want to use a primer for this project, and read the can to ensure it’s a product that is suited to laminates. I used Sherwin Williams Extreme Bond for this purpose. Give the kitchen pieces one coat of primer and let dry (according to label directions) before moving onto painting your colour of choice.
Add Personality with Paint
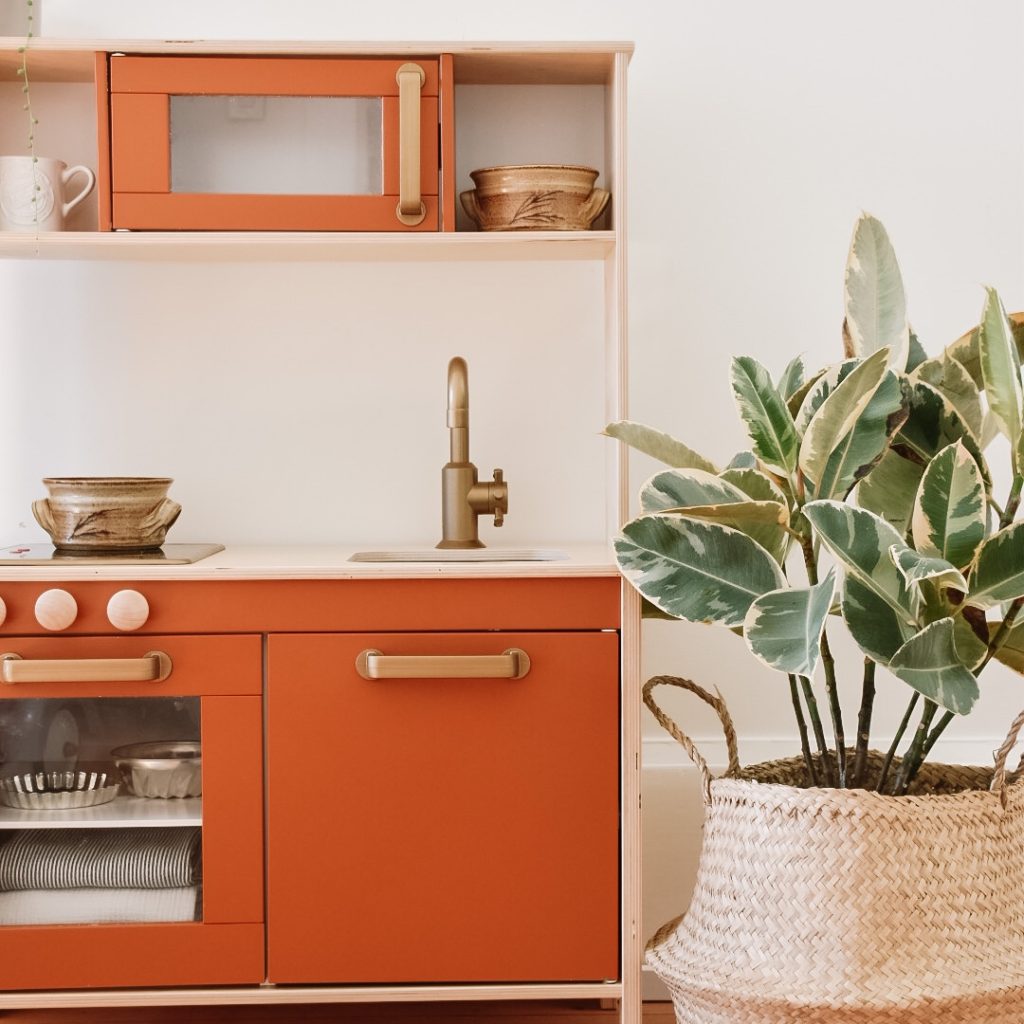
Now paint these pieces with whichever colour you’d like. I went with Sherwin-Williams Copper Mountain (SW 6356), a gorgeous rust/burnt orange. I felt this kid’s kitchen was the perfect opportunity to experiment with a bold paint colour like this!
Spray Paint the Hardware and Faucet
I used Rust-Oleum Champagne Bronze to update the kitchen faucet, cabinet pulls, and cooktop border. If you are working with a new unit, the cooktop insert comes with a protective film on it – leave this on and it’s ready to be spray painted! This Rust-Oleum product is good for plastic, ensure you choose a paint that is compatible with plastic.
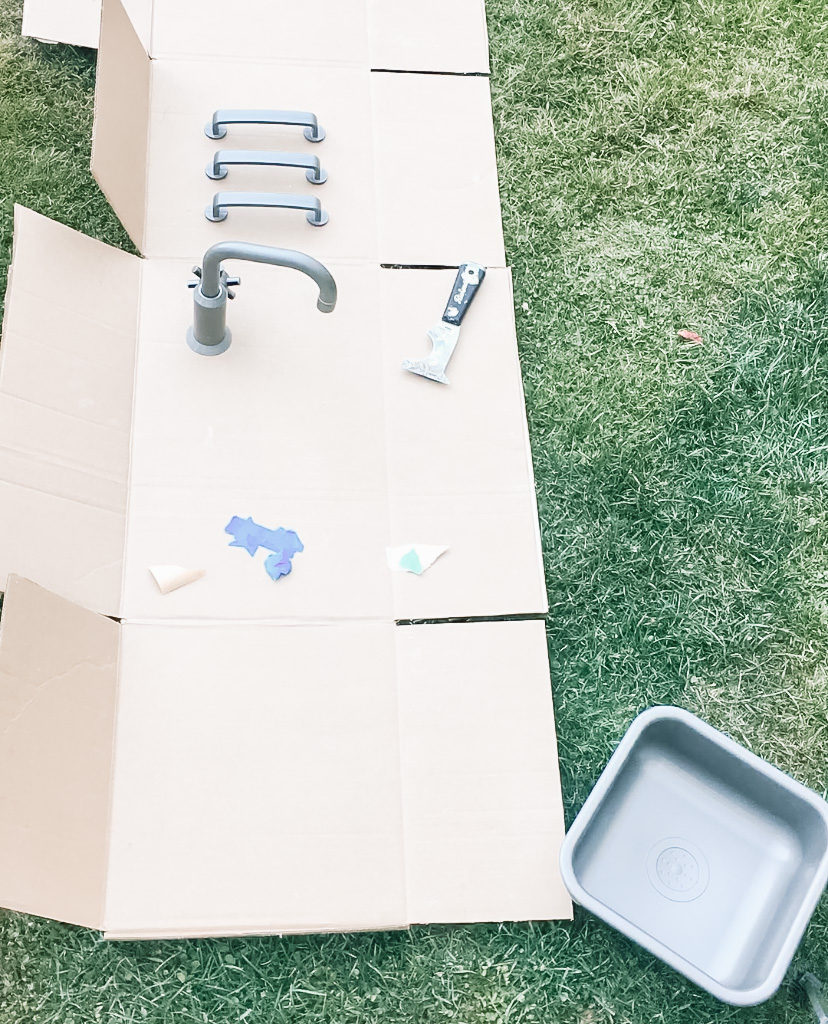
Apply 2-3 light coats. A favourite trick of mine for spray painting small things: punching the hardware into a scrap piece of cardboard works well for holding it steady.
Assemble the Kitchen
Once all the paint is dry (I’d give it overnight to be sure), your play kitchen is ready to be assembled. For the most part I followed the DUKTIG instructions, though there were two modifications I made:
One, I chose not to install the rod that comes with the play kitchen. I felt it looked cluttered and I wanted a really clean aesthetic. I also am confident my littles would rarely hang anything back up on it! ha. If you do choose to install this, I’d recommend spray painting it also.
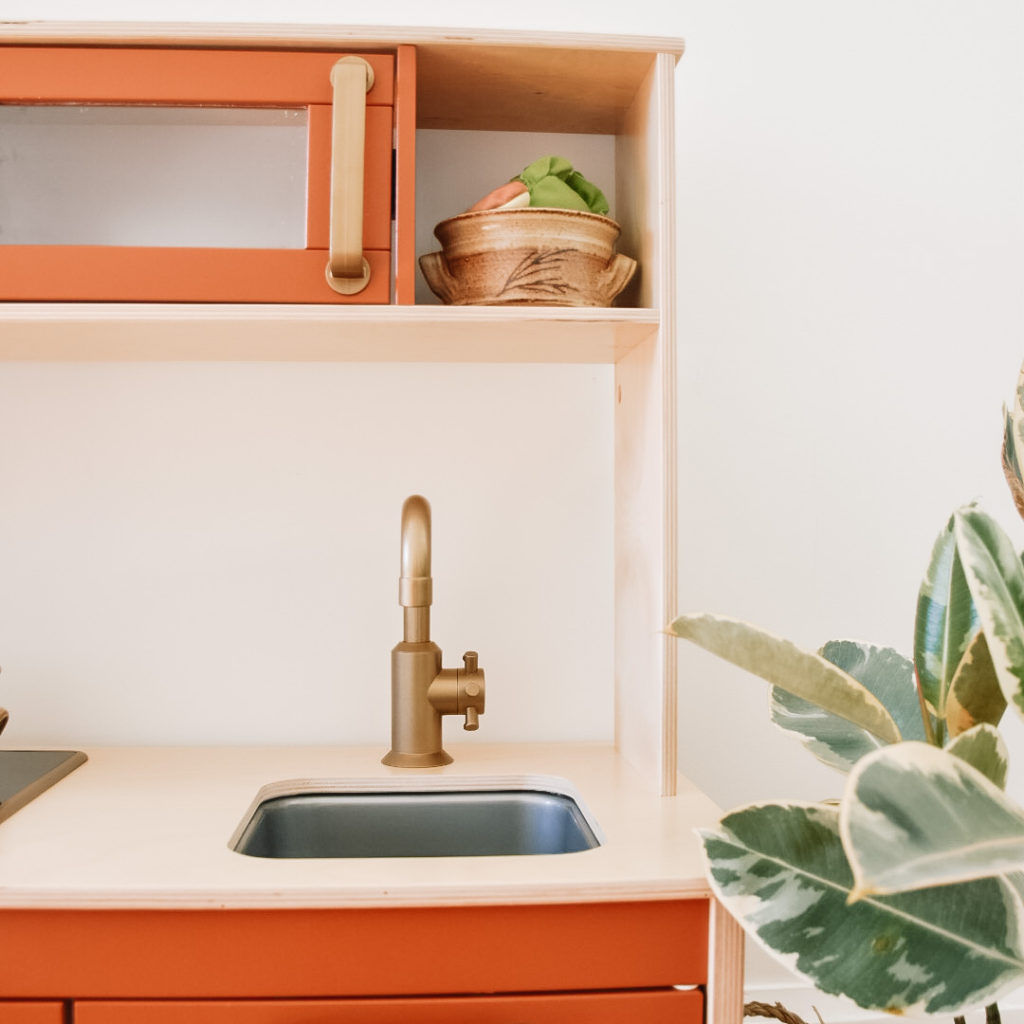
Two, I undermounted the sink. I think this looks better, and it ensures the sink stays put. I simply lined it up underneath and affixed it to the countertop using 5/8″ wood screws. It is a simple modification that really elevates the look!

And that’s it! I told you this was a simple one. You have a kitchen your kids will love to play with and you will love to look at. Enjoy!
XO,

Loved this DIY? Follow me on instagram for all my latest DIYs & projects.
