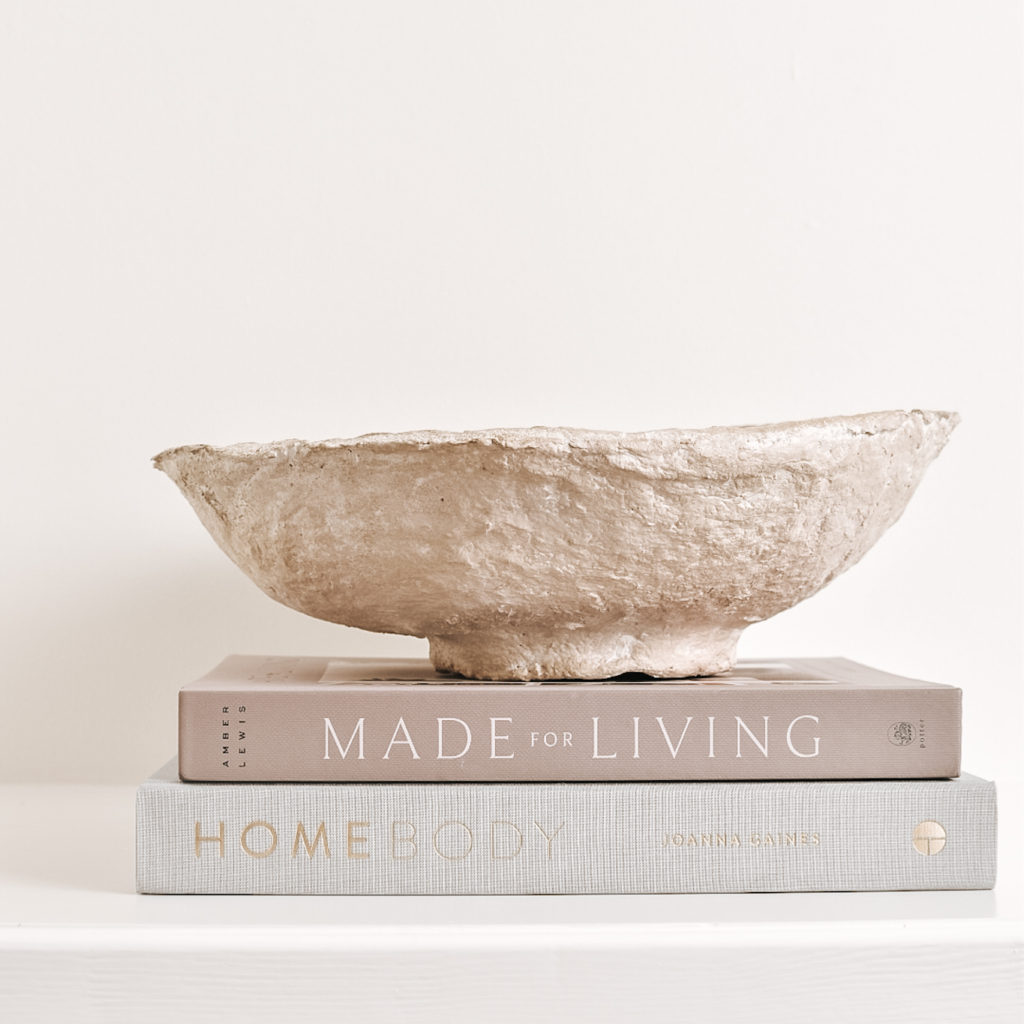
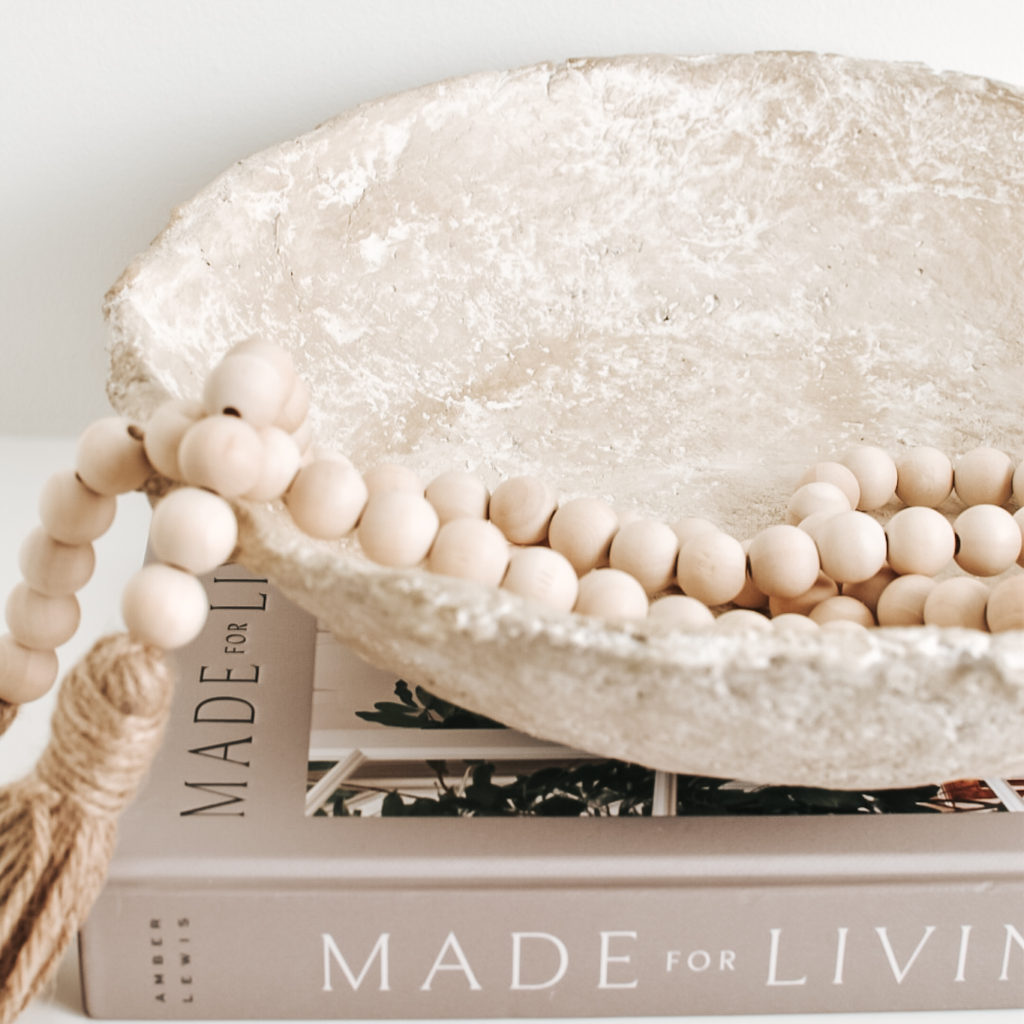
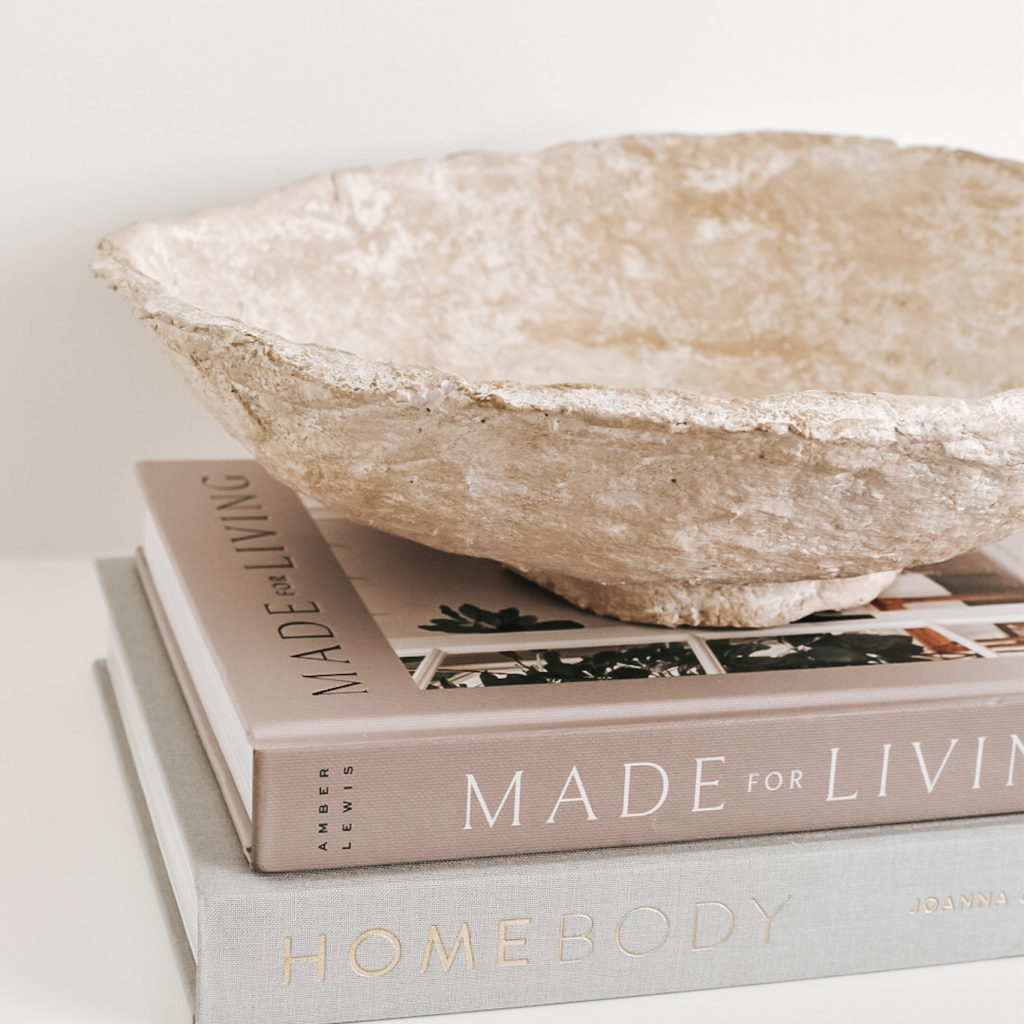
These paper mâché bowls have been popping up in the design world for a few years now, and while I adore the look, the price tag has my shaking my head. I’ve seen these bowls retail from $50 to $300 a piece!
When I see a totally DIY-able piece priced like that, I almost have to try to recreate it. It’s like the price point is personal challenge to get the look for less.
This is a really straight forward and enjoyable DIY. I even included my toddler and preschooler in the process, and they had a lot of fun with it too.
This post may contain affiliate links, and I may earn a small commission at no additional cost to you. As an Amazon Associate I earn from qualifying purchases. You can read my full disclosure here.
HOW TO MAKE A PAPER MACHE BOWL
You’ll need a list of basic supplies to make these bowls, many of which you probably have around your home right now.
I happened to have all the items at home, but I think it would use less than $5-10 in supplies to create each bowl.
SUPPLIES
Shredded White Paper (I just used what was in the shredder)
Blender – I recommend a Vitamix
Bowl of choice for mold
Paint – off white and brown/beige
I chose to use one low and wide bowl and one taller bowl for more variety in the look of the finished product.
RECIPE
Per approx 12″ wide bowl:
- 8-10 cups shredded paper
- 1 cup drywall compound/mud
- 1 cup white glue
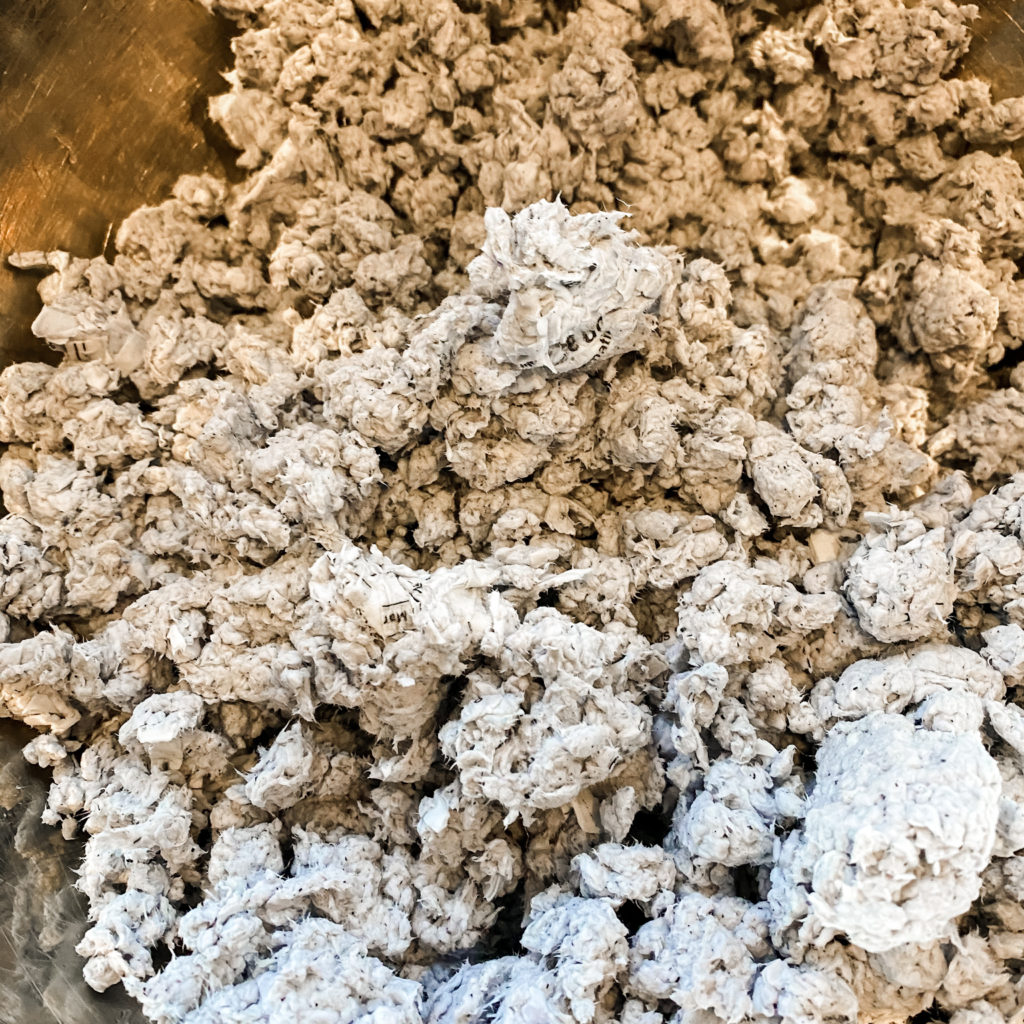
If you don’t have a paper shredder, you’ll have to cut the paper by hand (sorry!). The paper I used was white but with writing on it – the final product was kind of blue/grey because of this. I knew I’d be painting mine, so this wasn’t a problem. If you want to leave it bare, I’d use blank white paper. If you are going to paint you can use any old paper, including newspaper.
Place the shredded paper in a large bowl and cover with boiling water. You will probably be able to add more paper and water as it packs down. Leave to soften for about 10 minutes.
In batches, process the paper in the blender. Your going to want to add more water in with the paper so that your blender doesn’t get bogged down. Don’t worry it will get strained off into the sieve.
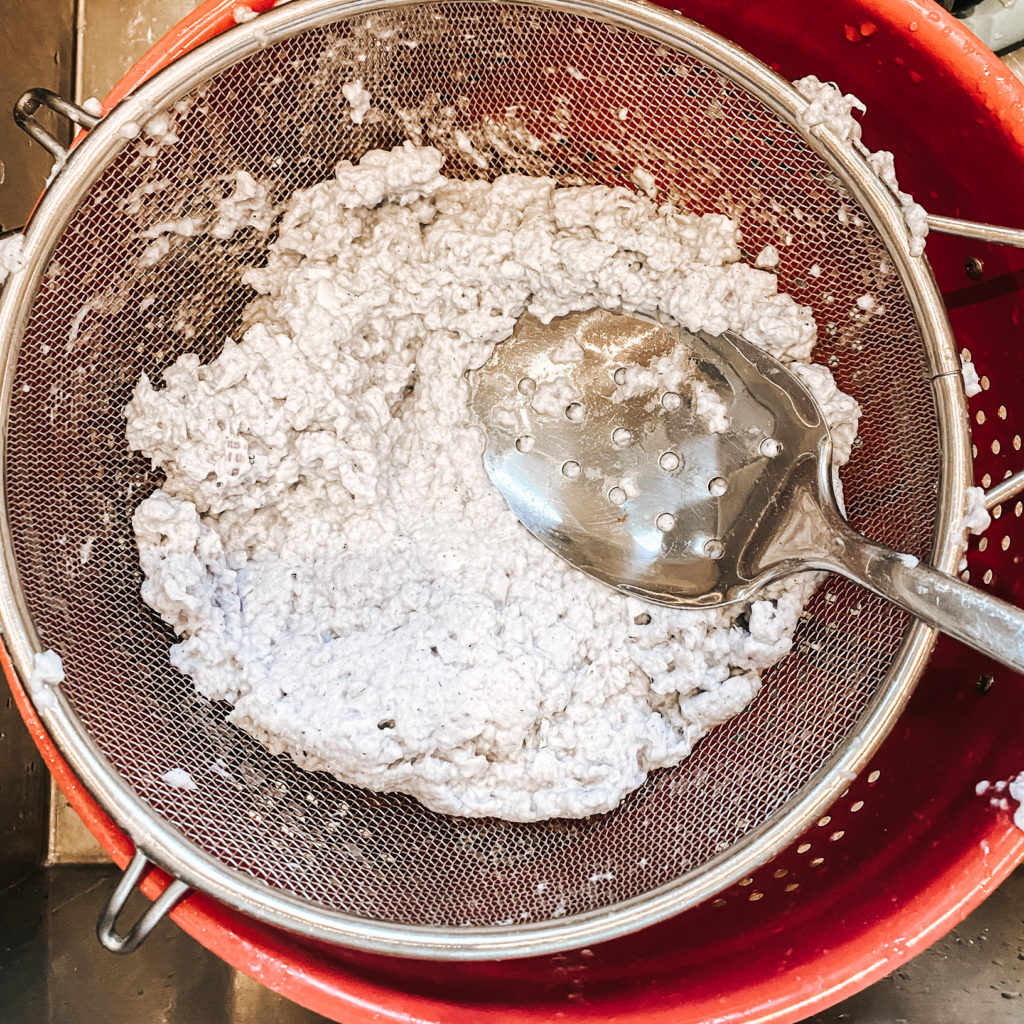
Using your hands, squeeze out the excess moisture. You want the paper to be slightly damp but have a crumbly texture.
Add the drywall compound and glue to the shredded paper blend. Mix well with your hands.
Prepare your work surface with cardboard to keep your counters clean, and have a piece of saranwrap handy to place your bowl onto (this will ensure it doesn’t stick to the cardboard while drying).
Oil the bottom/outside of your bowl, then liberally and tightly cover with saranwrap. The oil ensures the bowl can be removed easily once the outside of the paper mâché has dried.
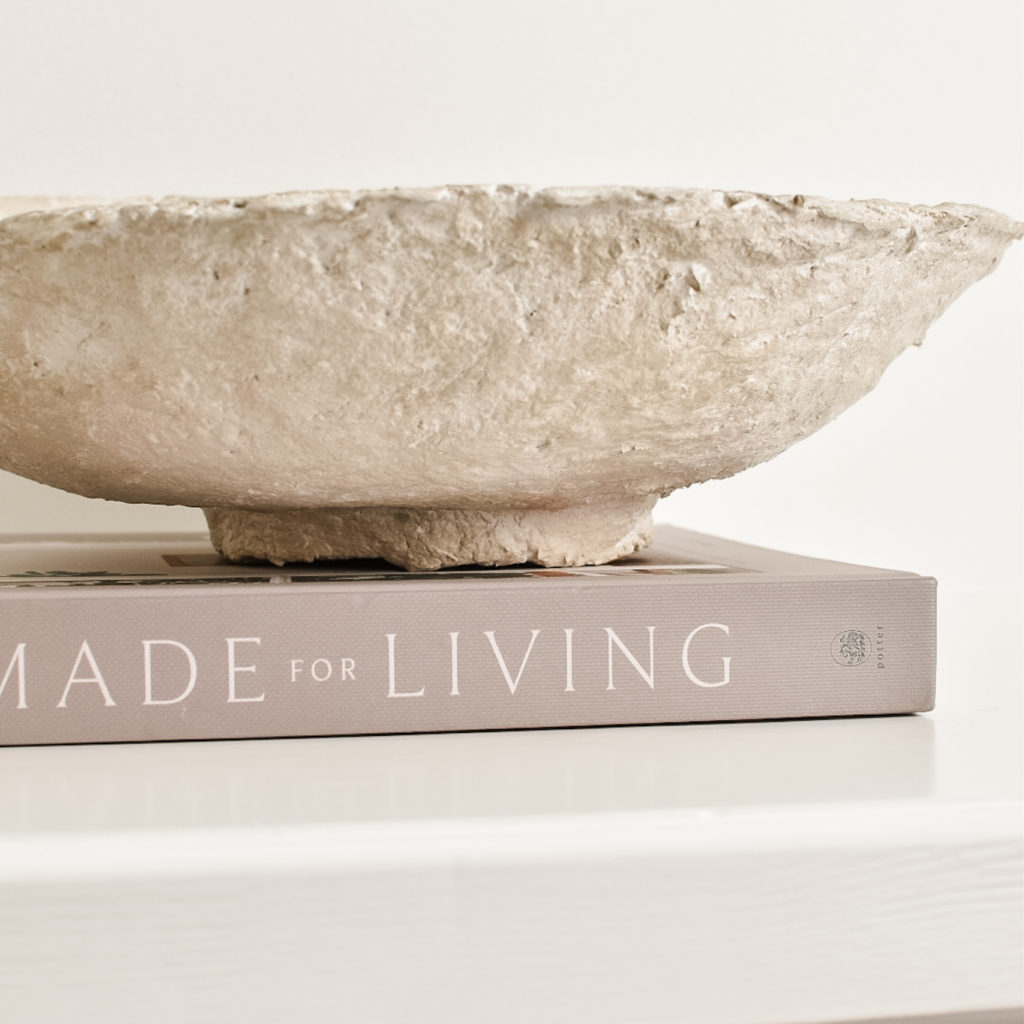
Press the mixture onto the outside of prepared bowl, adding a foot and rim if desired. Let it be organic – the bumpy texture and unevenness is what makes each piece unique.
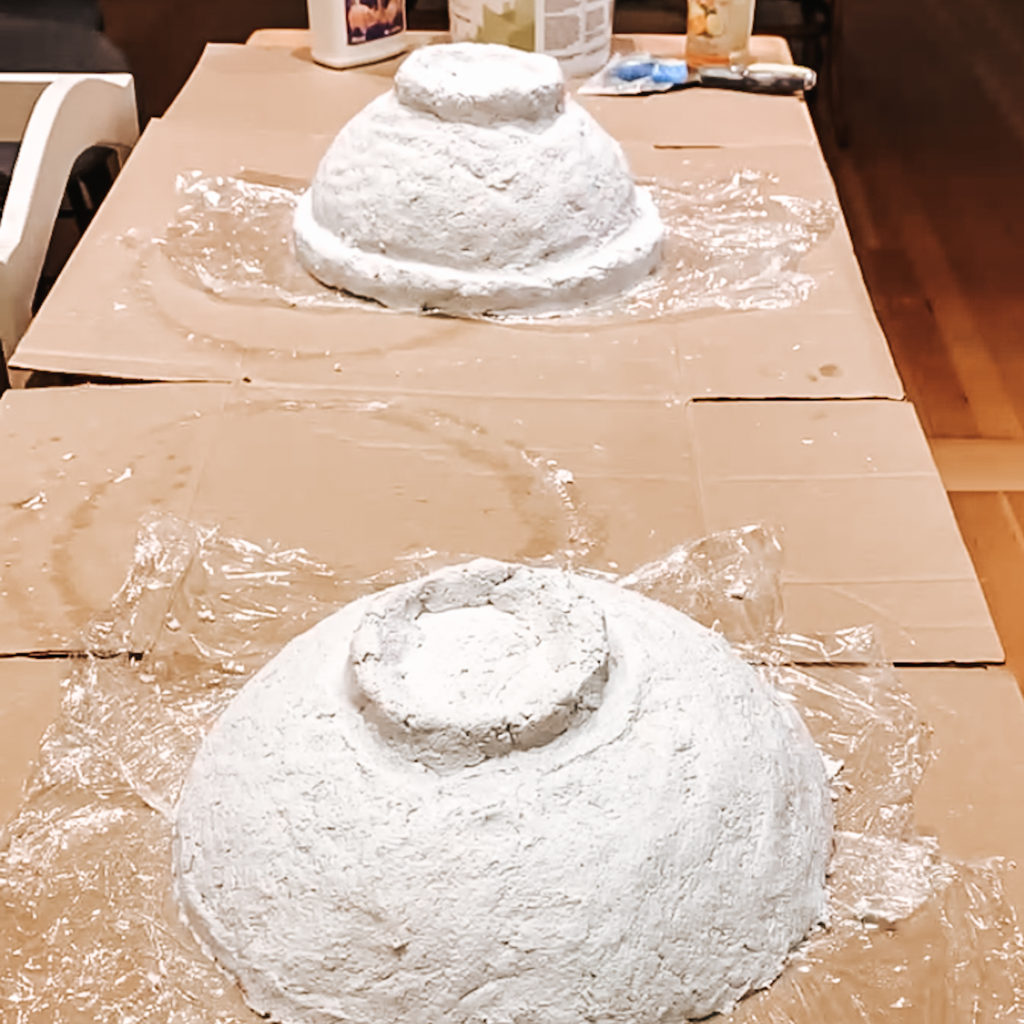
That’s it!
Now leave to dry – mine took a full 5 days to dry out. After 2-3 days the outside should be dry, invert the bowl and remove the the mold. Remove the saranwrap and allow the inside of the bowl to dry completely.
PAINTING YOUR PAPER MACHE DECORATIVE BOWL
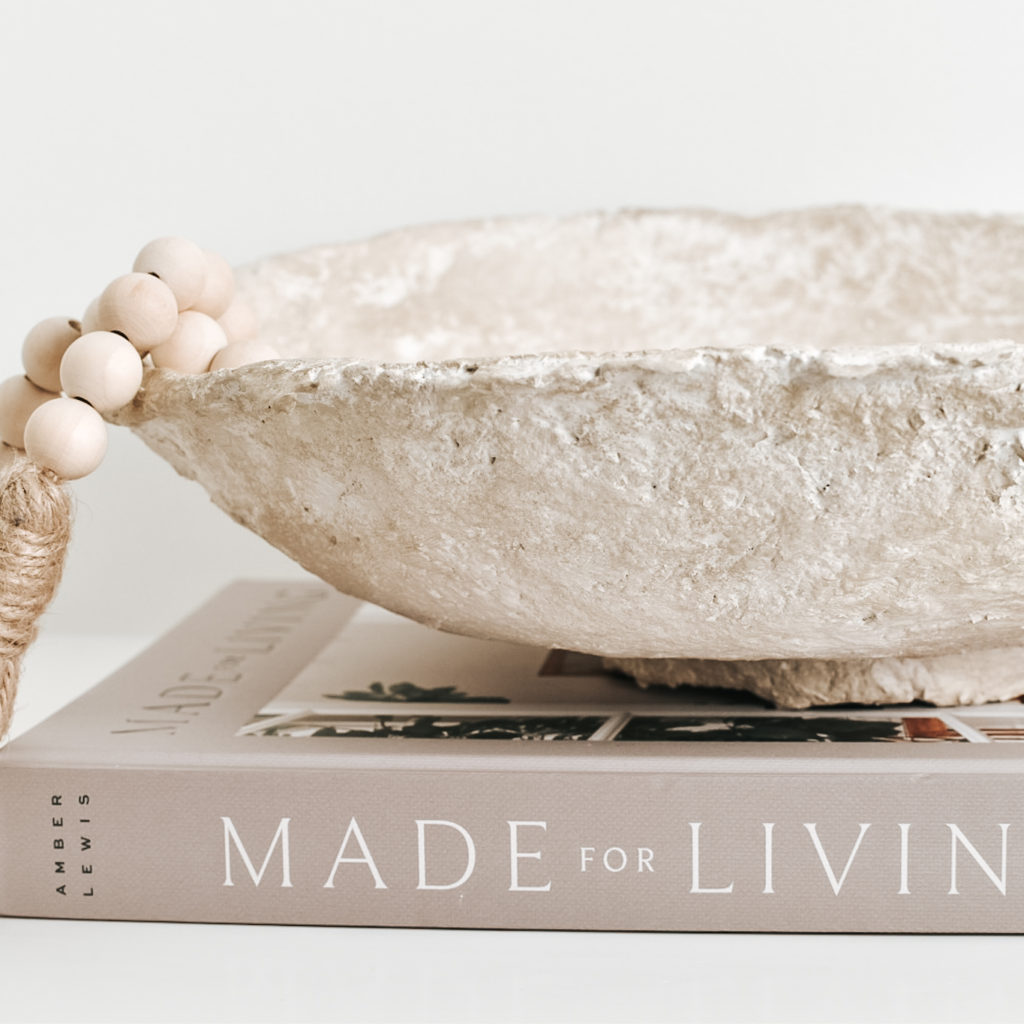
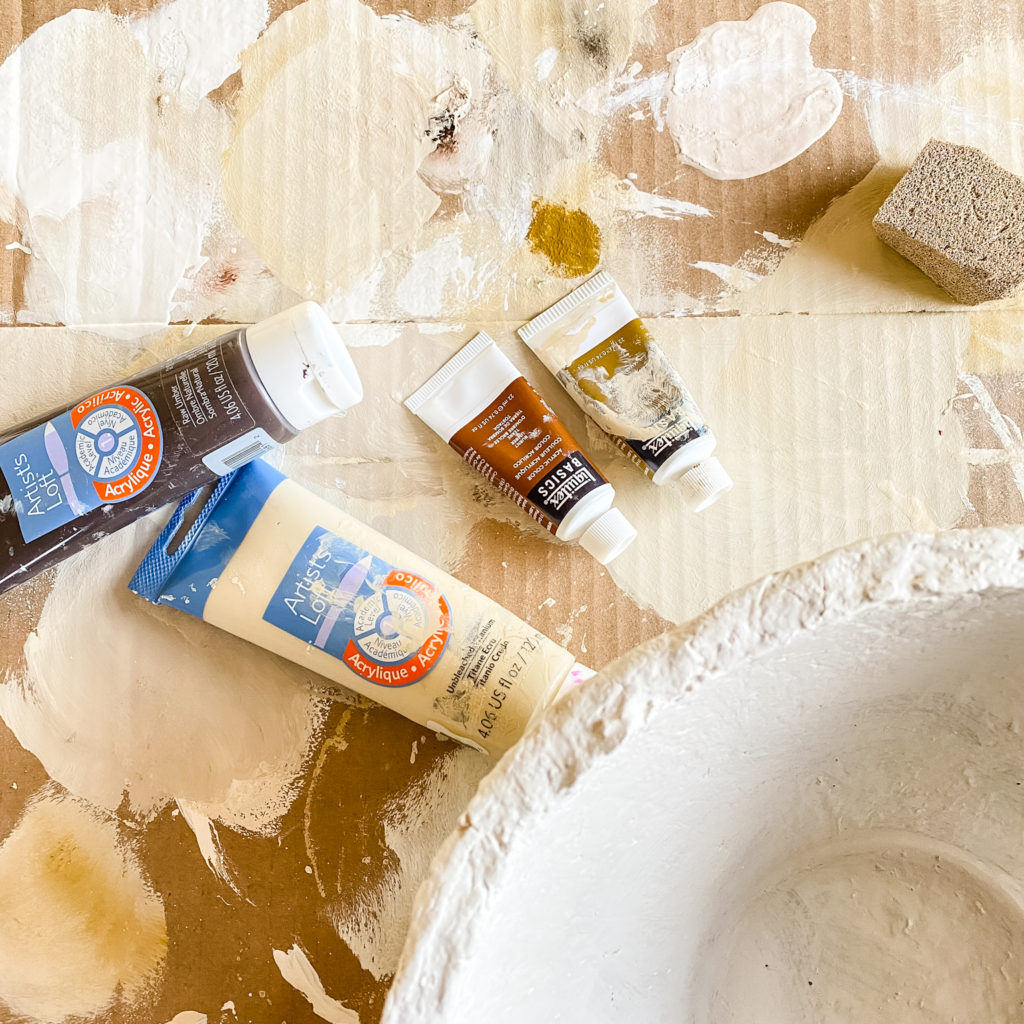
To achieve this look, first paint the bowl fully with a white paint (I used Sherwin-Williams Shoji White). Once dry, use a sponge to sparingly dab on beige paint. You want to leave the depressions in the surface white to create variety in the finish. I also found mixing the paints to create three shades of beige/tan created the most realistic look.
STYLING YOUR PAPER MACHE BOWL
STYLE YOUR BOWL ALONGSIDE THESE PIECES
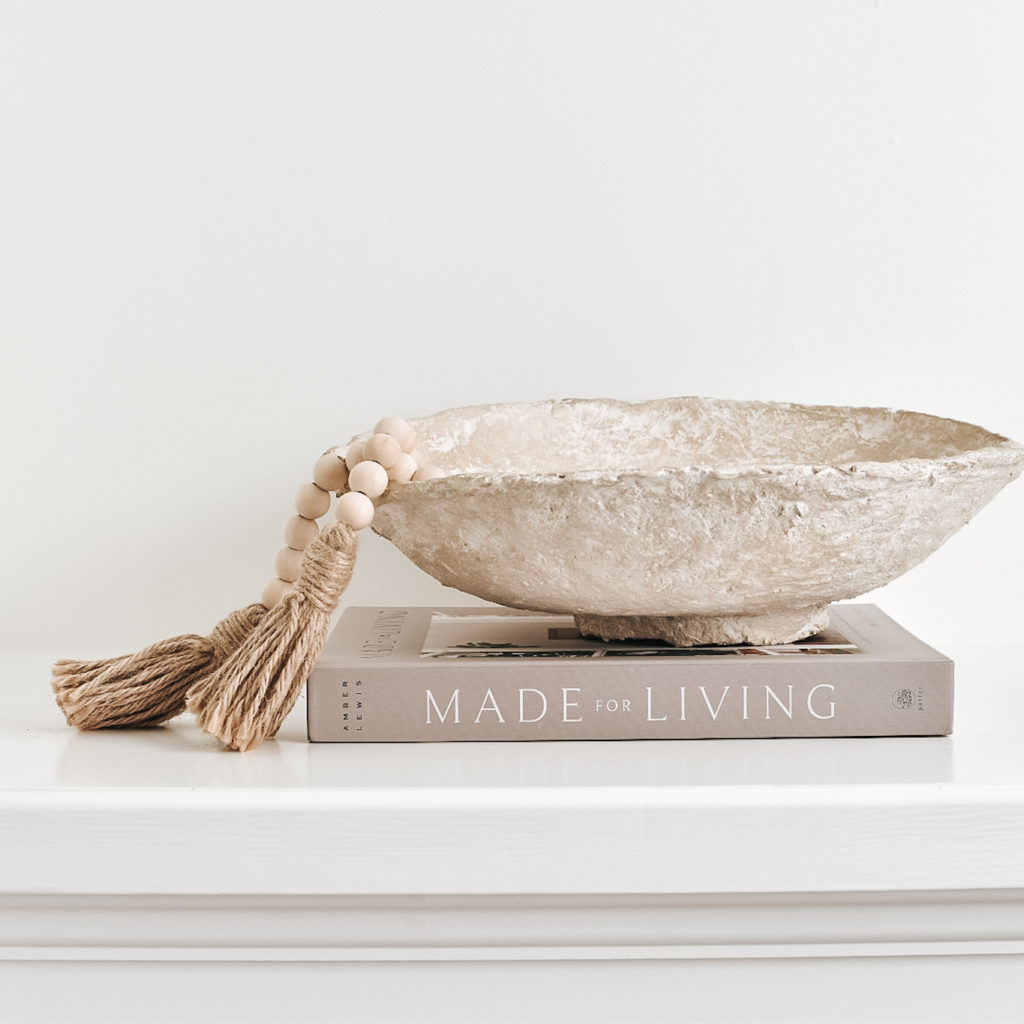
Once dry, your bowl is ready to be styled. Keep in mind this is not food safe, though it would make a beautiful addition to open shelving. Alternatively, place it on top of a few stacked coffee table books or allow it to stand alone on your coffee table.
If you’d like some of my tried and true tips & tricks for styling your shelves and/or coffee table, read How To Effortlessly Style Your Coffee Table & Shelves, where I break down my easy formula for achieving beautifully styled vignettes.

Congratulations, you recreated the look for less! Go spend that $300 elsewhere.
xo,

Looking for inspiration on how to style your coffee table? Check out this blog post!
If you enjoyed this DIY, follow me on Instagram for more decor and DIY inspiration!

