I’ve been coveting these rustic riser trays for a while now, I love the dimension and character they lend to a space. Perfect for styling shelves, counters, you name it!
This is a great beginner woodworking project – all it requires is a few cuts, some wood glue, and your stain of choice. As far as woodworking projects go, this one is pretty freeform! Make the size and height whatever you like, distress it as much or as little as you like.
This page may contain affiliate links, and I may earn a small commission at no additional cost to you. As an Amazon Associate I earn on qualifying purchases. You can read my full disclosure here
HOW TO MAKE AN AGED RISER TRAY
SUPPLIES
- 2 x 6″ piece of wood for the top (or other dimension of your choosing)
- 1×2″ or 2X2″ wood for the legs
- wood glue (I recommend this one)
- Wood stain (links for wood stains pictured in this post: dark stain and light stain)
- Wood Sealant (This one is my favourite. The matte finish keeps the wood looking as natural as possible. Plus it is water-based, which makes cleanup a breeze)
- Hammer and/or other tools for distressing
HOW TO BUILD
STEP 1: CUT THE TOP
Cut the top to the desired length. Pictured here on this tutorial are the ones I’ve built, one is 16″ long and one is 8″, there’s really no “right” size to built it!
STEP 2: CUT THE LEGS
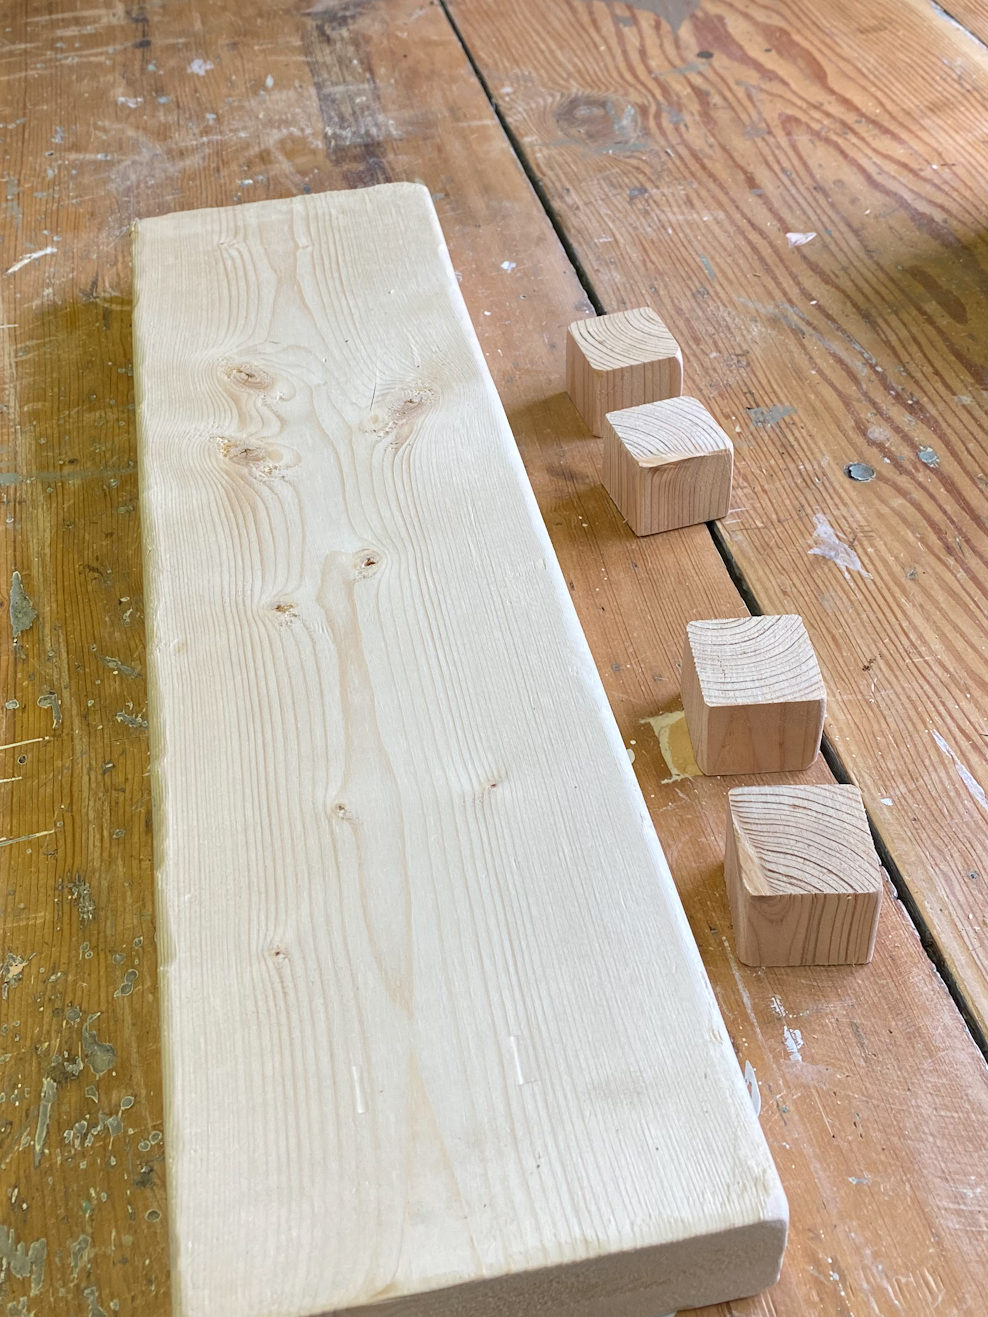
Using a mitre saw (I have this one), cut the legs to desired length. Again, feel free to choose whatever size you’d like. The light coloured tray I made has 1-1/4″ legs and the dark tray has 2″ legs.
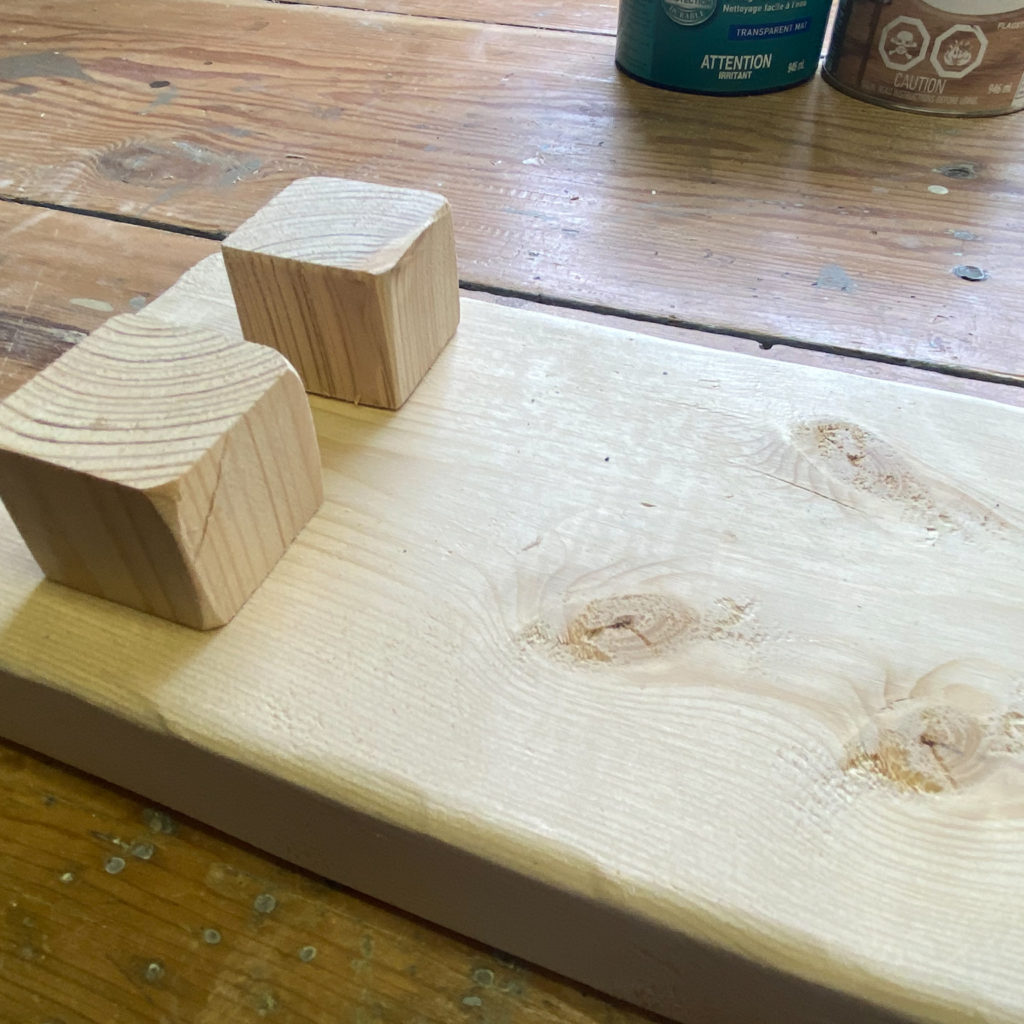
STEP 3: DISTRESS AS DESIRED
I recommend starting by hammering the edges of the wood to take off the factory (aka square) edge. You want it to look worn and lived in.
If you’d like to distress it further, you can do so by laying a screw flat onto the board and hammer it to leave dents, creating in grooves with by dragging a nail along the grain, or using a jigsaw (or hand saw) to cut marks around the edges. Feel free to get creative with your distressing methods! Just mind those fingers, okay?
When you are happy with the look, give the piece a light sand. It doesn’t need to be perfect – in fact the imperfections further add to the rustic and lived in charm.
STEP 4: ATTACH THE LEGS
This is really simple! Lay the board topside down. Measure (or eyeball, as I did!) where you’d like the legs to be. Mark the edges with a pencil.
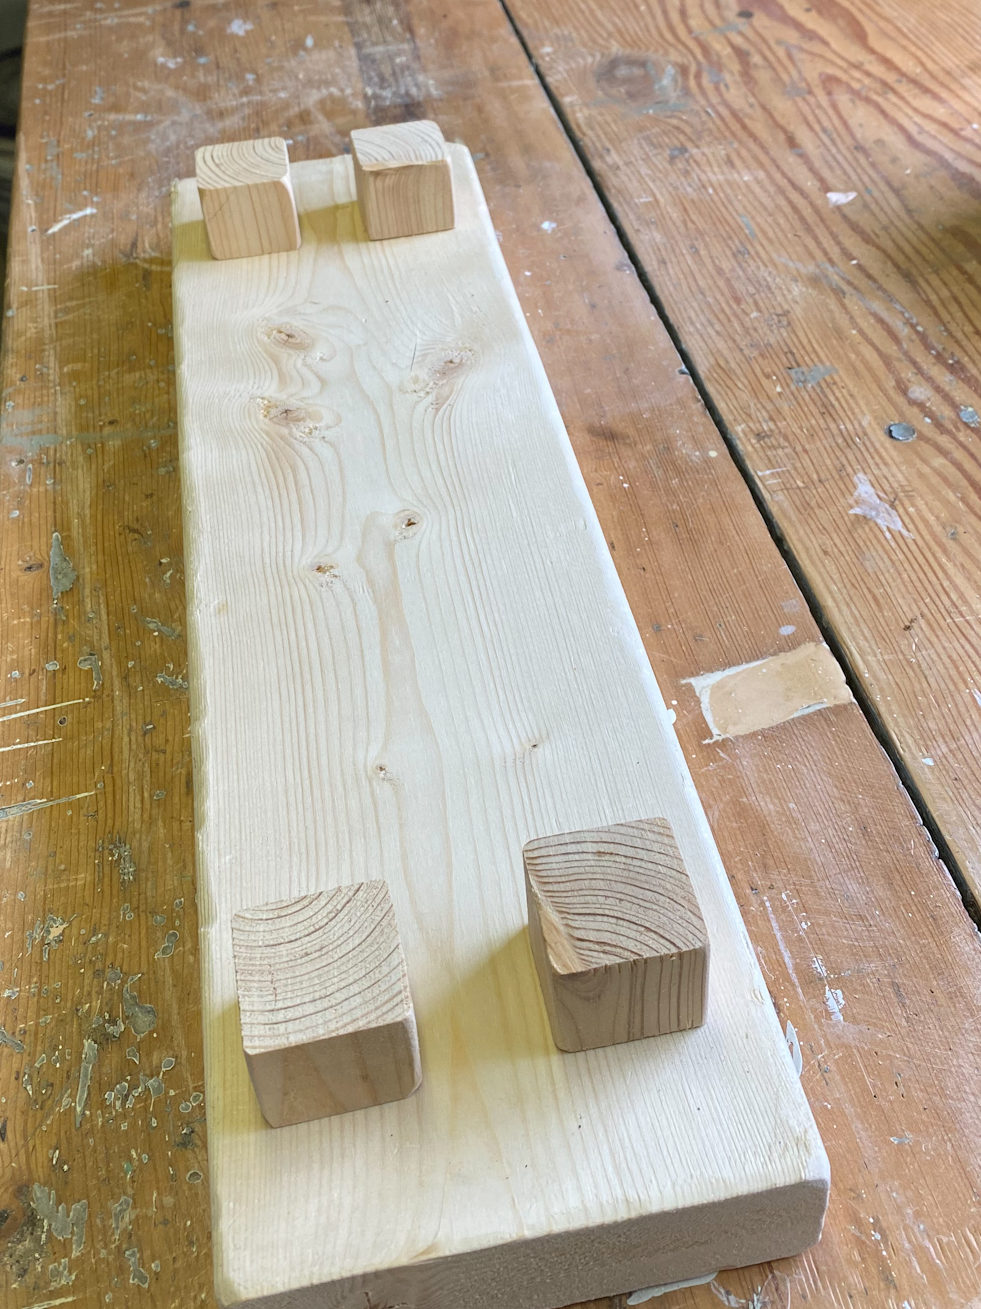
Now place a dab of wood glue under each leg. Place something heavy on top, say a piece of wood with a paint can on it, and leave to dry for a few hours.
Be sure to remove all the wood glue that has seeped out as stain will not take to it. My preferred method is to wait til its a bit gummy and remove it with a putty knife. You can also wipe it away when still wet, or chip it off and sand to remove once its dry (which is more work, FYI!)
STEP 5: STAIN
Simply cover the piece in your stain of choice following the directions on the product.
I like to stain using an old cotton shirt or lint-free rag. The dark tray pictured uses Minwax Jacobean, the lighter tray is Varathane Flagstone.
Seal with your choice of sealant. For a project like this, where the idea is for the wood to look natural and worn, my go-to product is Minwax Matte Polcrylic. It protects the wood without adding any obvious finish to the piece.
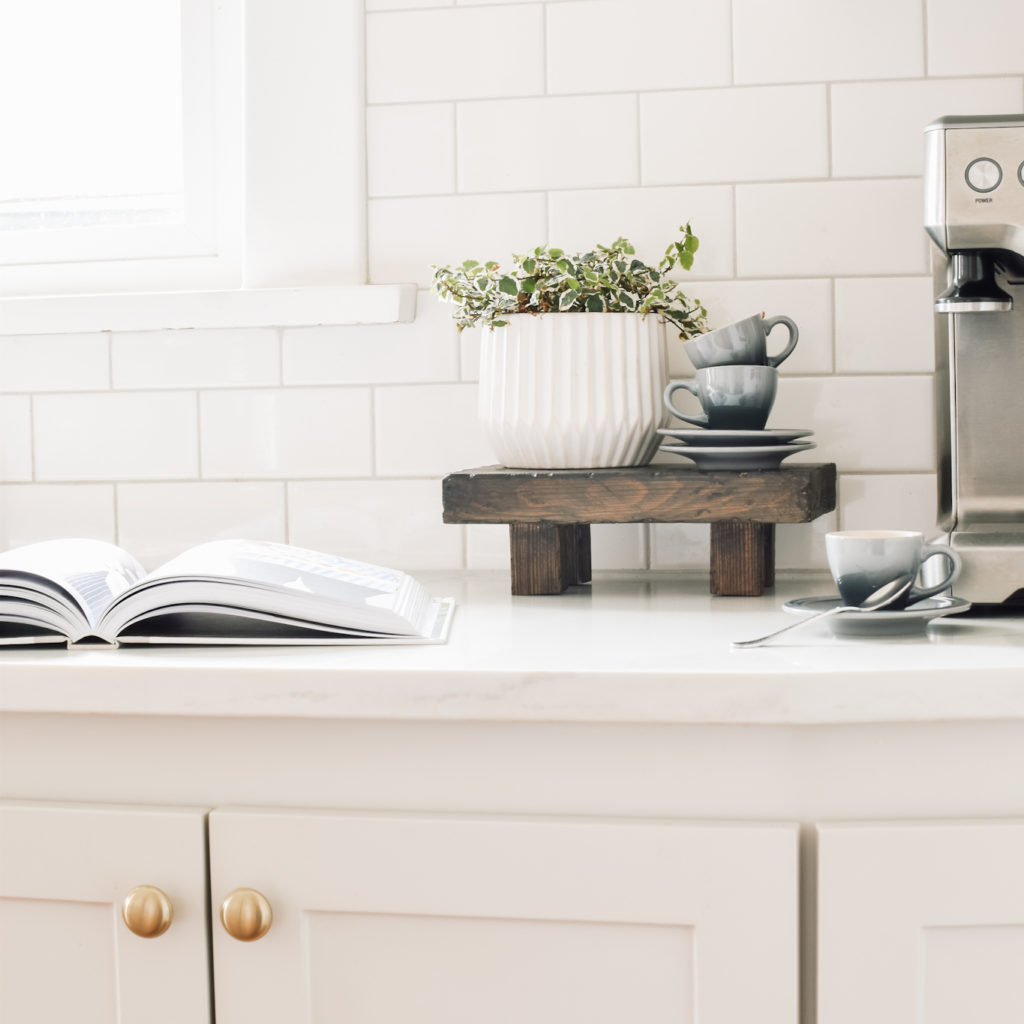

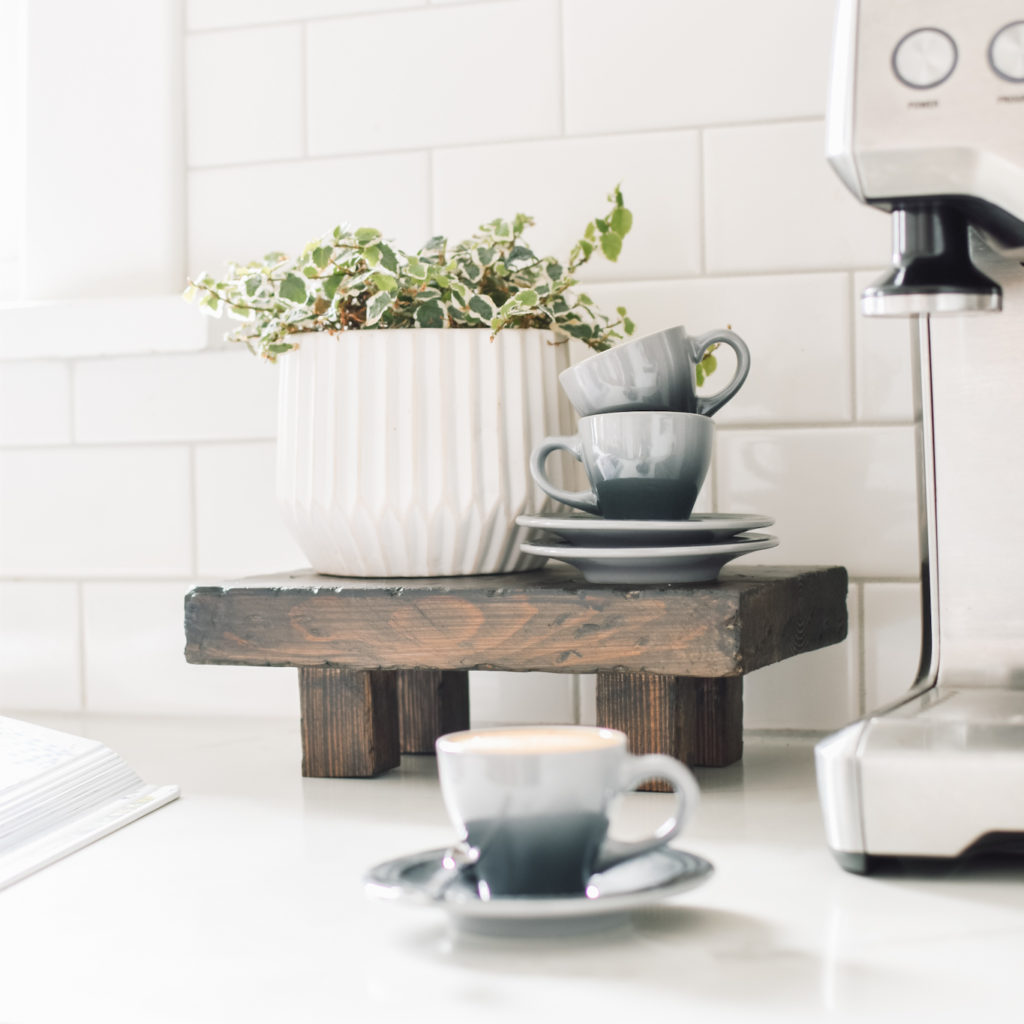
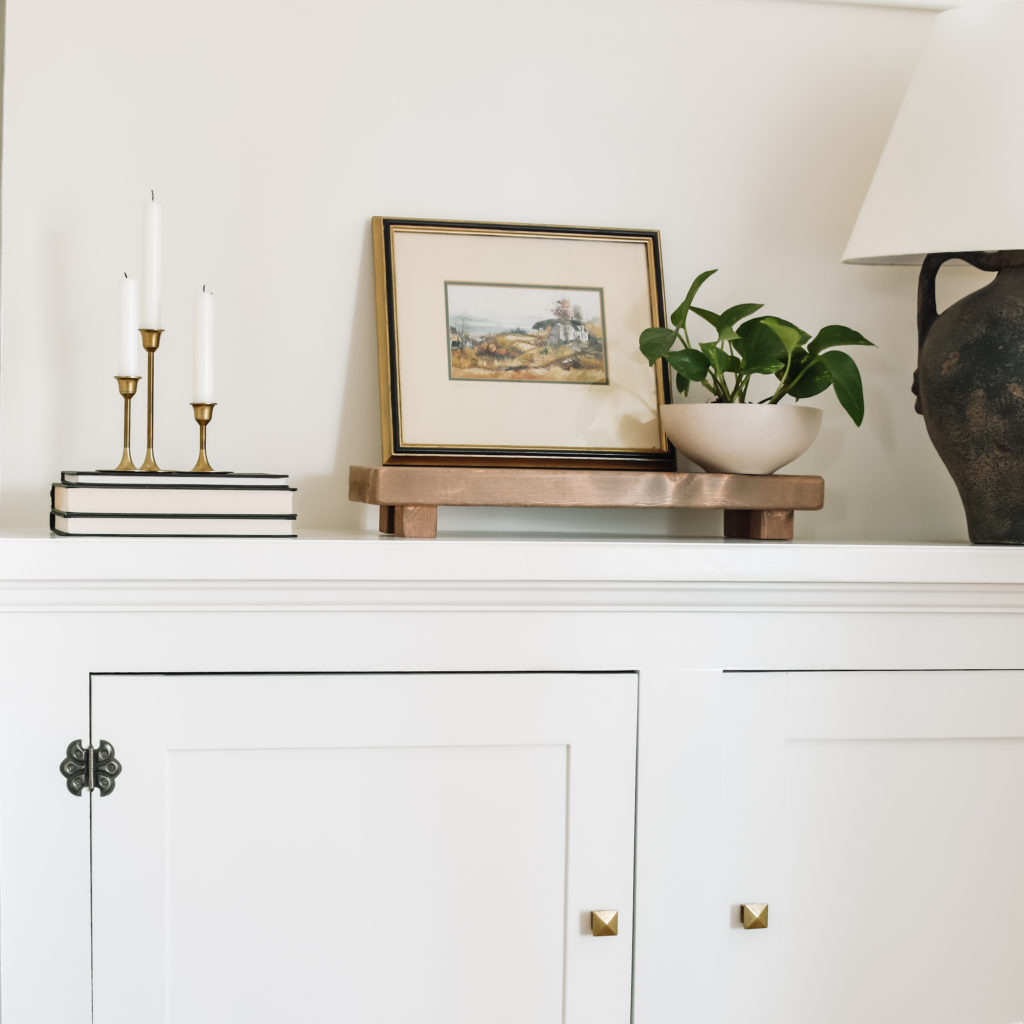
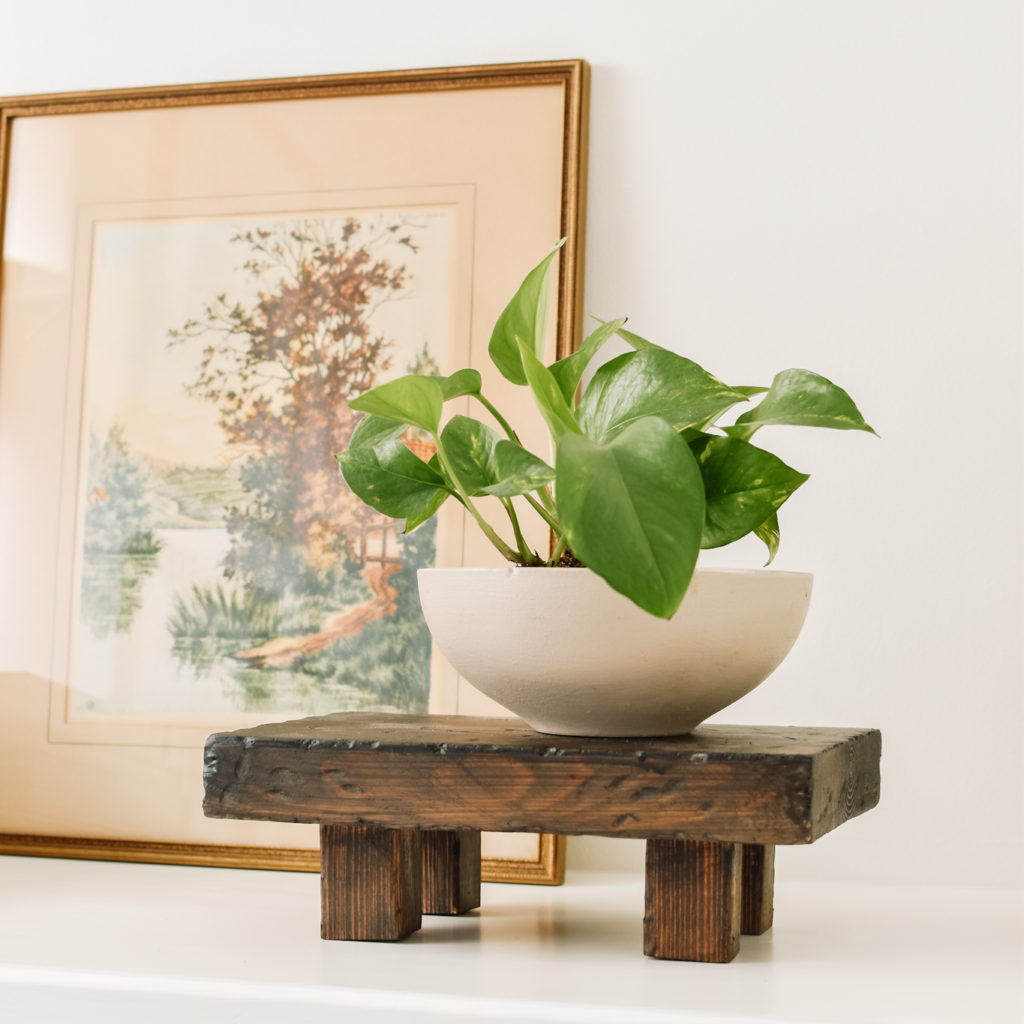
And voila! You have made a beautiful styling piece to add visual interest and character to your counters or shelves.
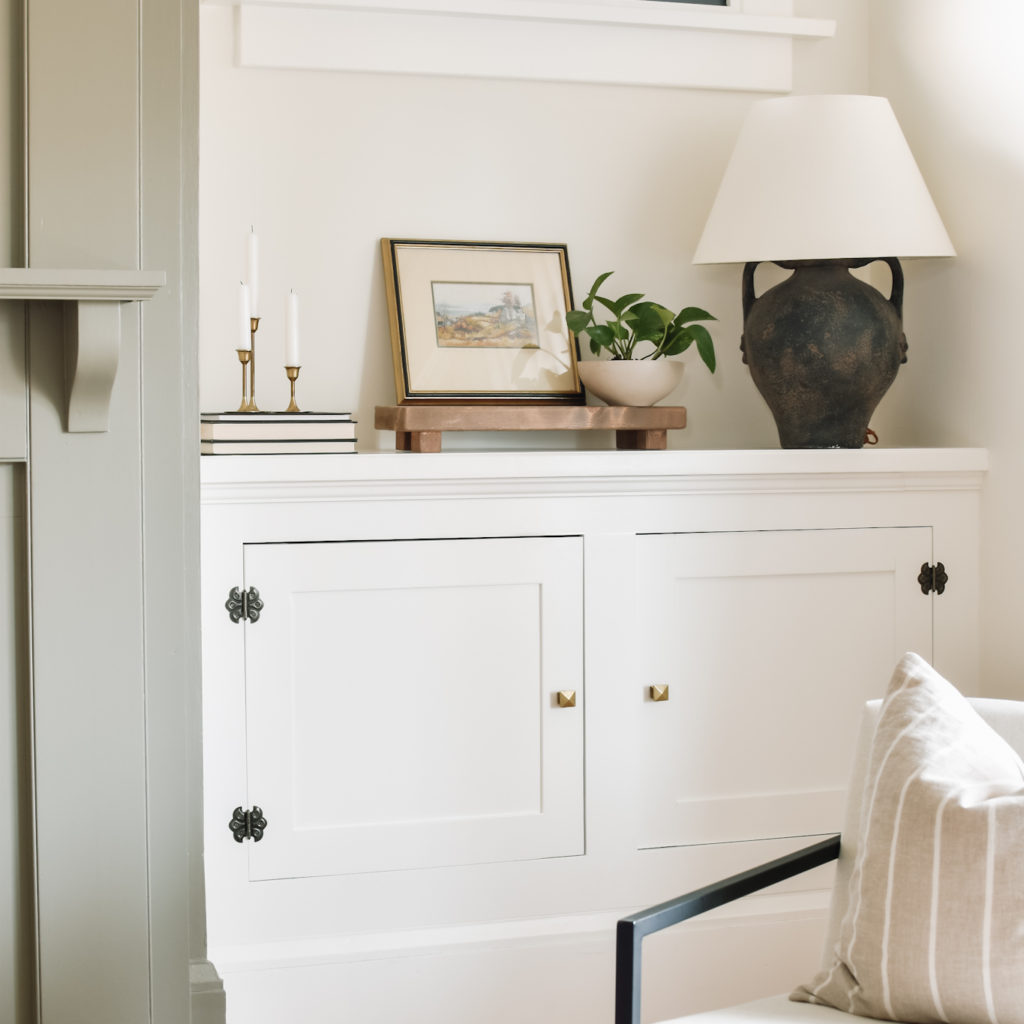
Place them around your home, they can be a stand alone piece on your shelves, or use them to add height to your favourite candle, plant, or kitchen accessories.
If you make a riser tray I’d love to see! Tag me on instagram @grey.and.avery.
*Disclaimer:* The content on Grey & Avery is for informational purposes only. I am not a professional contractor and DIY projects on this Blog reflect my process only, which may or may not be considered best practice. Any action you take upon the information you find on Grey + Avery’s Blog or Social Channels is strictly at your own risk. Always follow safety guidelines and consult professionals when needed. To read the full disclaimer, click here.
