UPDATED SEPTEMBER 2026
Custom drapery can completely change a room. The price tag can also get completely out of hand.
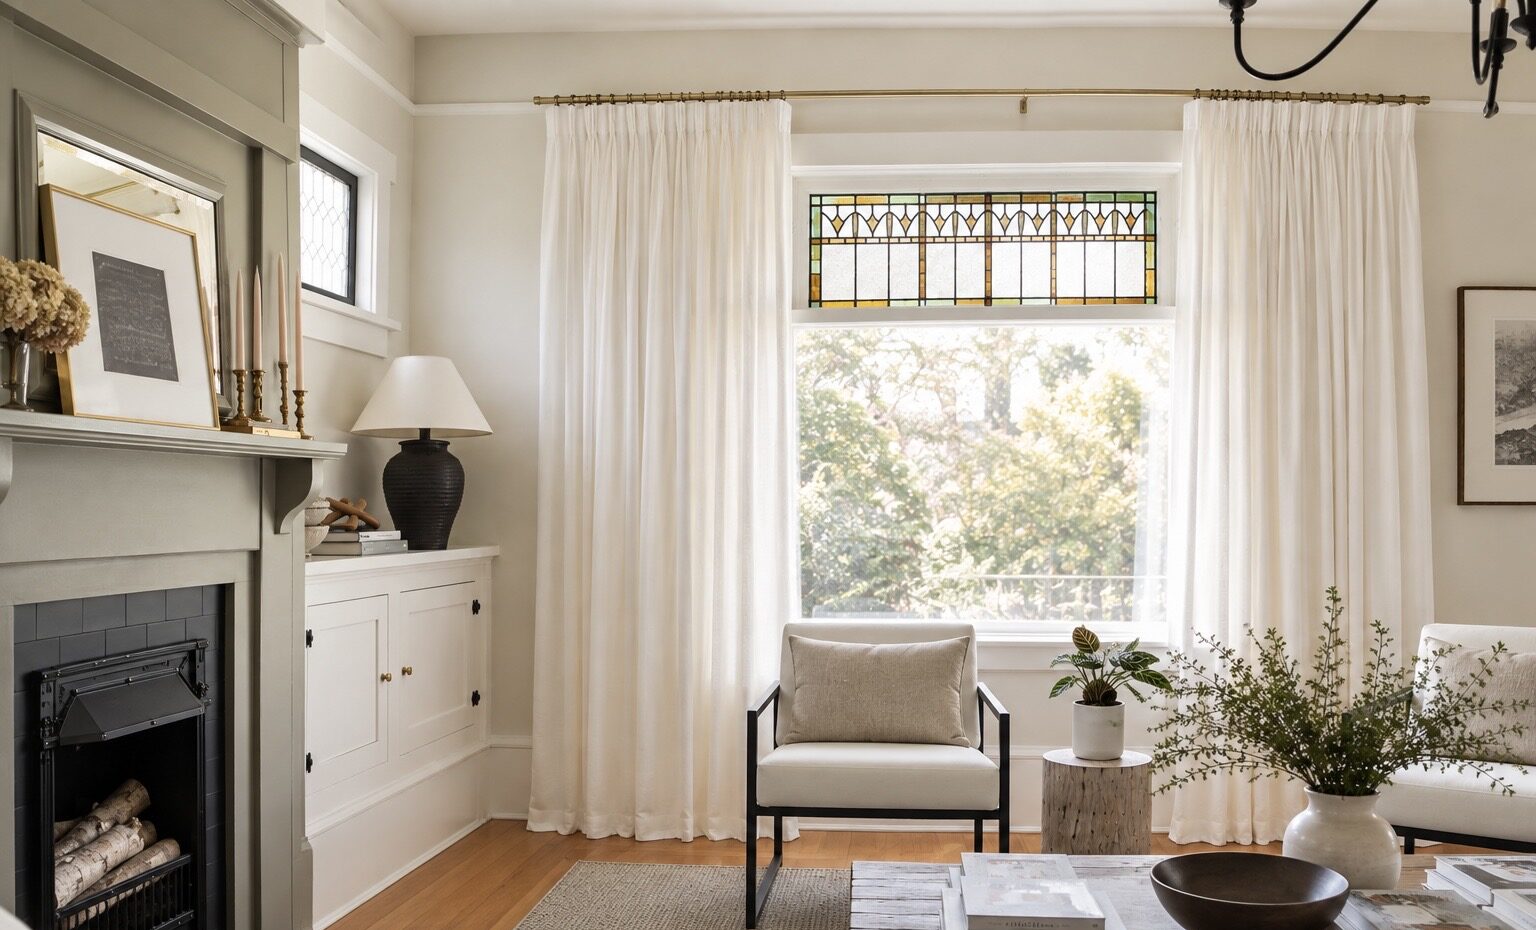
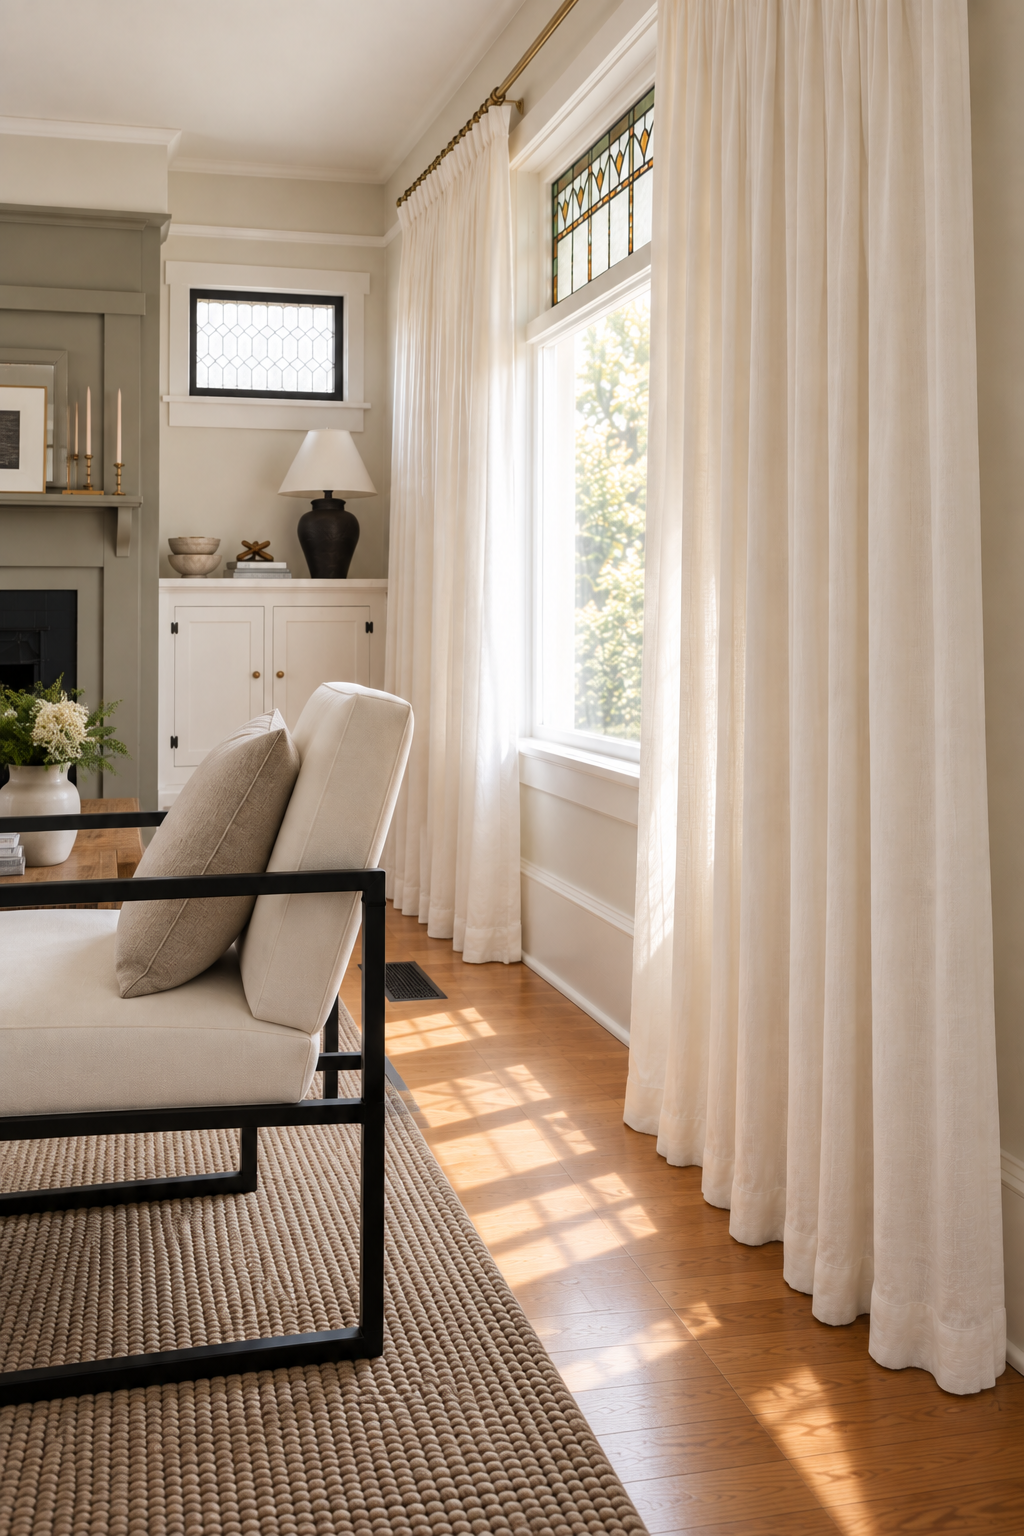
When I originally hung the curtains in this room, I wanted the full, tailored look of custom pinch-pleat drapes without actually ordering custom drapes. The solution ended up being surprisingly simple: inexpensive curtain panels, four-prong pleating hooks and curtain rings.
I originally used IKEA TIBAST curtains for this project. They’ve since been discontinued, so I’ve sourced a current option that will give you the same look. The exact curtain isn’t important; what matters is choosing a substantial-looking panel with a header that accepts four-prong pleating hooks.
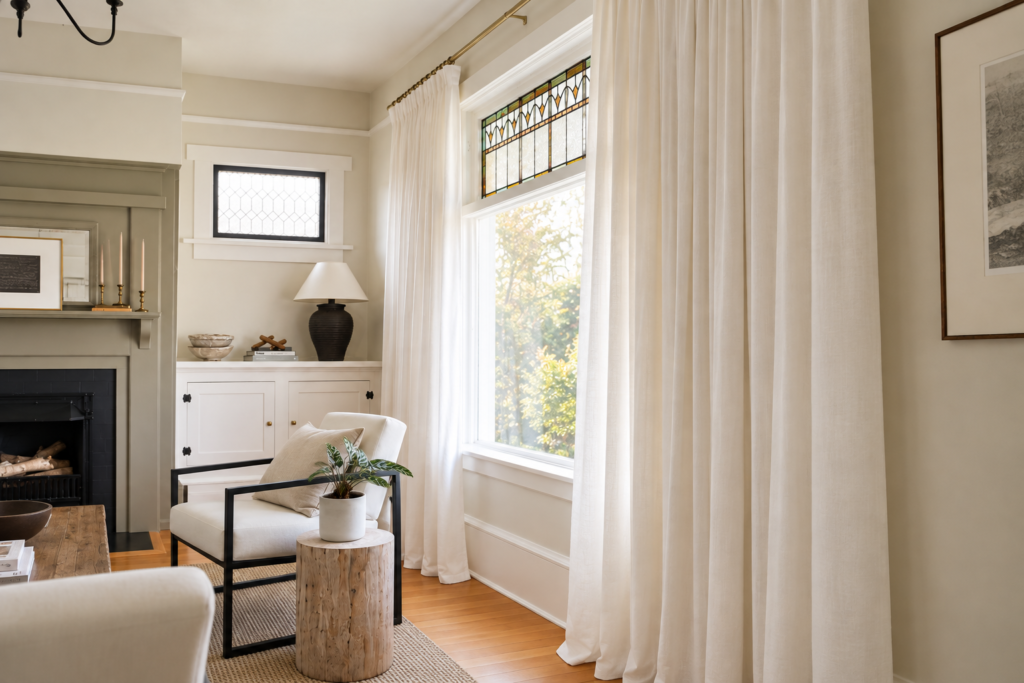
The best part is how much these few small changes transform a basic curtain panel. More fullness, proper pleats and a better hanging height give you that tailored, custom-drapery look without the custom-drapery price
This post may contain affiliate links, and I may earn a small commission at no additional cost to you. As an Amazon Associate I earn from qualifying purchases. You can read my full disclosure here.
SHOP THE CURTAIN HACK ESSENTIALS
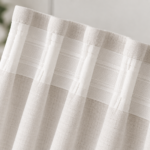
Linen Blend Curtains
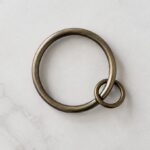
Curtain Rings
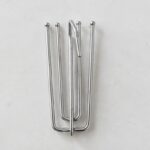
Pleating Hooks
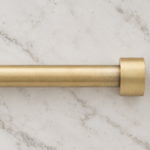
Curtain Rod
PROJECT AT A GLANCE
Skill level: Beginner
Curtains used: Two panels per side
Hardware per panel: Approximately 10 four-prong hooks + 10 rings
Finished look: Triple pinch pleats
Best curtain style: Long panels with a multiway header or pleating tape
What You Need to Make Inexpensive Curtains Look Custom
The actual supply list is pretty short:
- Curtain panels with a multiway header or pleating tape
- Curtain rod
- Curtain rings with eyelets
- Pleating hooks
- Pleating tape if you are using curtains that don’t come with it already
The important part isn’t buying a particular brand of curtain. It’s making sure the back of the curtain is constructed for pleating hooks.
Must Have: Curtains with Pleating Tape
BEFORE YOU BUY YOUR CURTAINS
For this no-sew version, look for curtains with pleating tape or a multiway header that accepts four-prong drapery hooks. A basic rod-pocket or back-tab curtain without this type of header will need separate pleating tape added before you can recreate the look.
If you have existing curtains that you’d like to use but they don’t have pleating tape, you can purchase pleating tape separately. This pack comes with both pleating tape & hooks, both of which you’ll need for this project!
The Best Curtains for This Hack
I originally used IKEA TIBAST curtains for this room. They’ve since been discontinued, but thankfully the exact curtain isn’t what makes this trick work.
What you’re looking for is a curtain with a built-in header that accepts four-prong pleating hooks.
My current pick is this affordable MIULEE curtain set from Amazon. The panels have a 4-in-1 header that can be hung from a rod pocket, back tabs or pleating hooks, which makes them particularly well suited to this project. They’re also available in extra-long lengths, including 96, 102 and 108 inches.
For the look shown in this room, I’d choose one of the lighter neutral shades and use the longest length your ceiling height allows.
For a Fuller, More Custom Look
Use more fabric than you think you need.
I used two curtain panels on each side of the window in this room. That extra fullness is a big part of why inexpensive curtains stop reading as inexpensive curtains once they’re hung.
One panel can technically do the job. Two per side gives you the generous volume associated with custom drapery.
Choosing a Curtain Rod
Where you hang the rod matters almost as much as the curtains themselves.
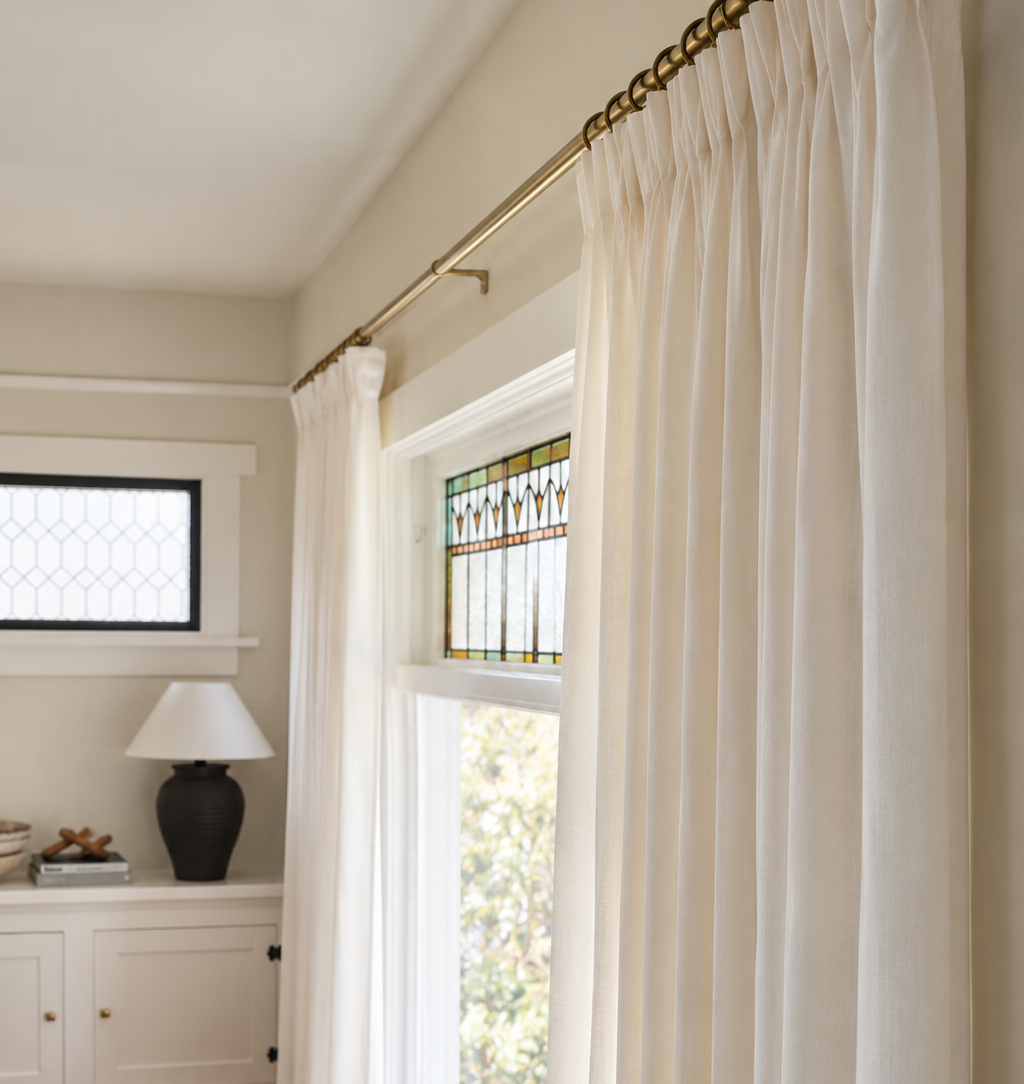
Rather than mounting it directly above the window casing, I like to take the rod higher and wider.
In this room, I hung the rod roughly 6–8 inches from the ceiling. Your exact placement will depend on the length of your curtains, but in general, hanging curtains higher draws the eye upward and makes the room feel taller.
Extend the rod well beyond the window opening too. When the curtains are open, the inside edge of the fabric should sit around the outside edge of the window casing rather than covering a significant portion of the glass.
You get more visible window, more light and the illusion of a larger opening.
For this room, I used the UMBRA Cappa brass curtain rod. Just make sure you choose a length that gives you enough room to extend the rod well beyond the window casing.
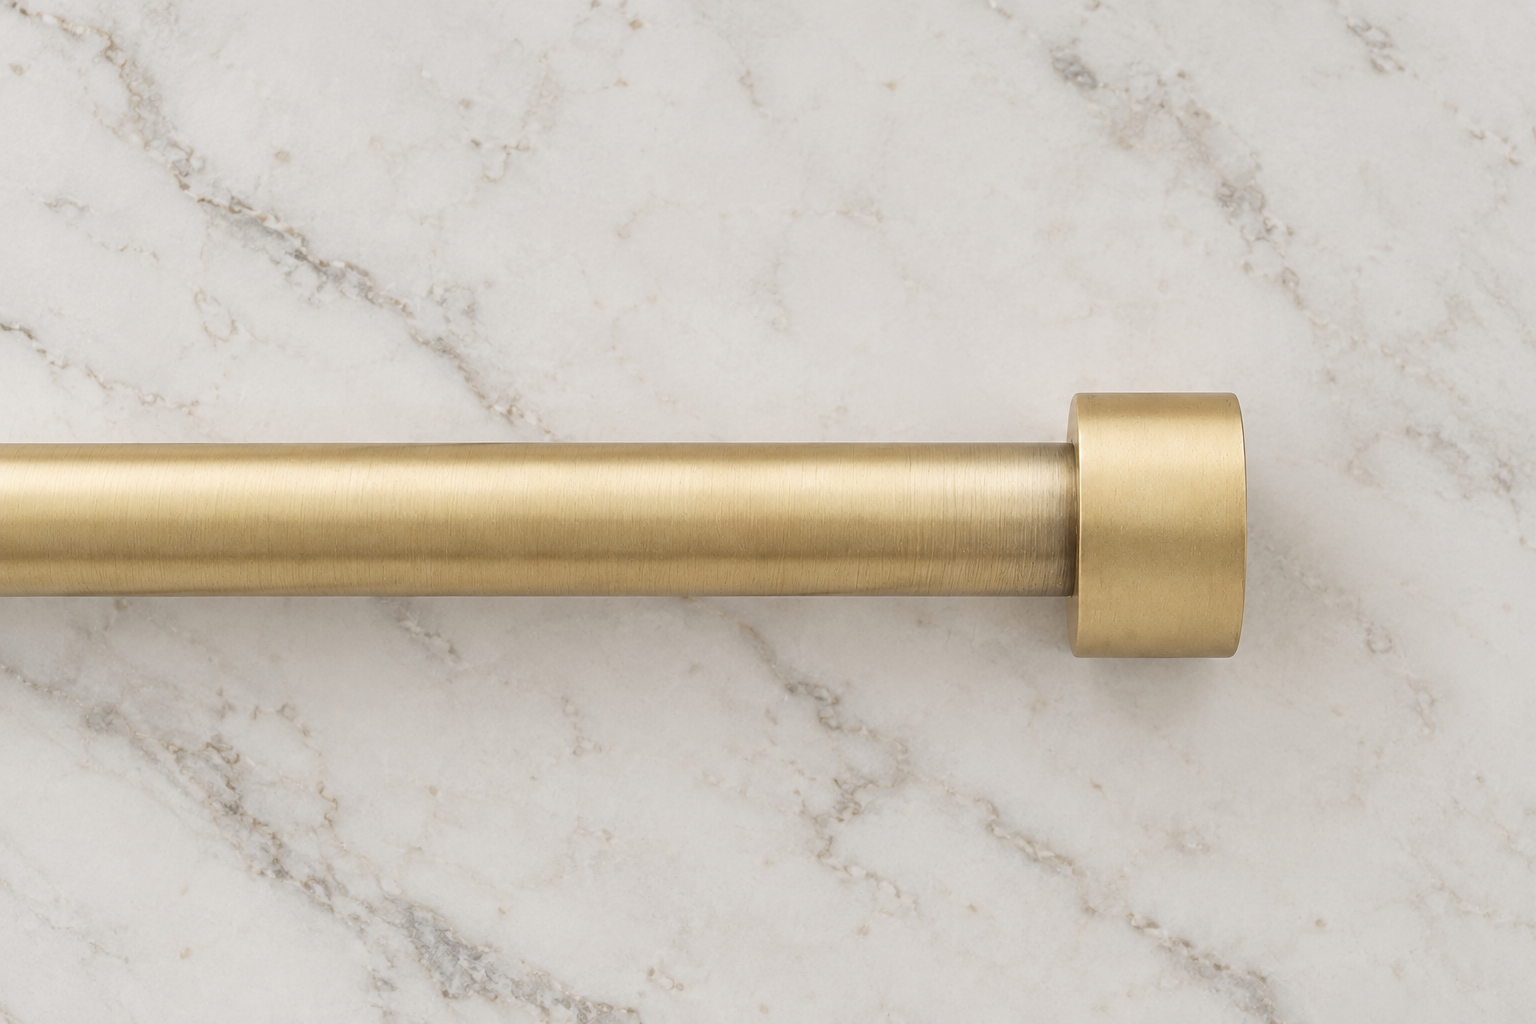
I used the UMBRA Cappa curtain rod in brushed brass. It’s my favourite curtain rod by far.
Must Have: Curtain Rings with Eyelets
SIZING TIP: Check the inside diameter of your curtain rings against the diameter of your rod before ordering.
As a general rule, giving yourself roughly ¼–½ inch of extra diameter allows the rings to move along the rod more easily.
How many hooks and rings do I need?
I used approximately 10 pleating hooks + 10 curtain rings per panel. For the four-panel arrangement shown in this room, plan on approximately 40 hooks + 40 rings.
I’d buy a few extra hooks so you have some flexibility when you’re working out the final spacing.
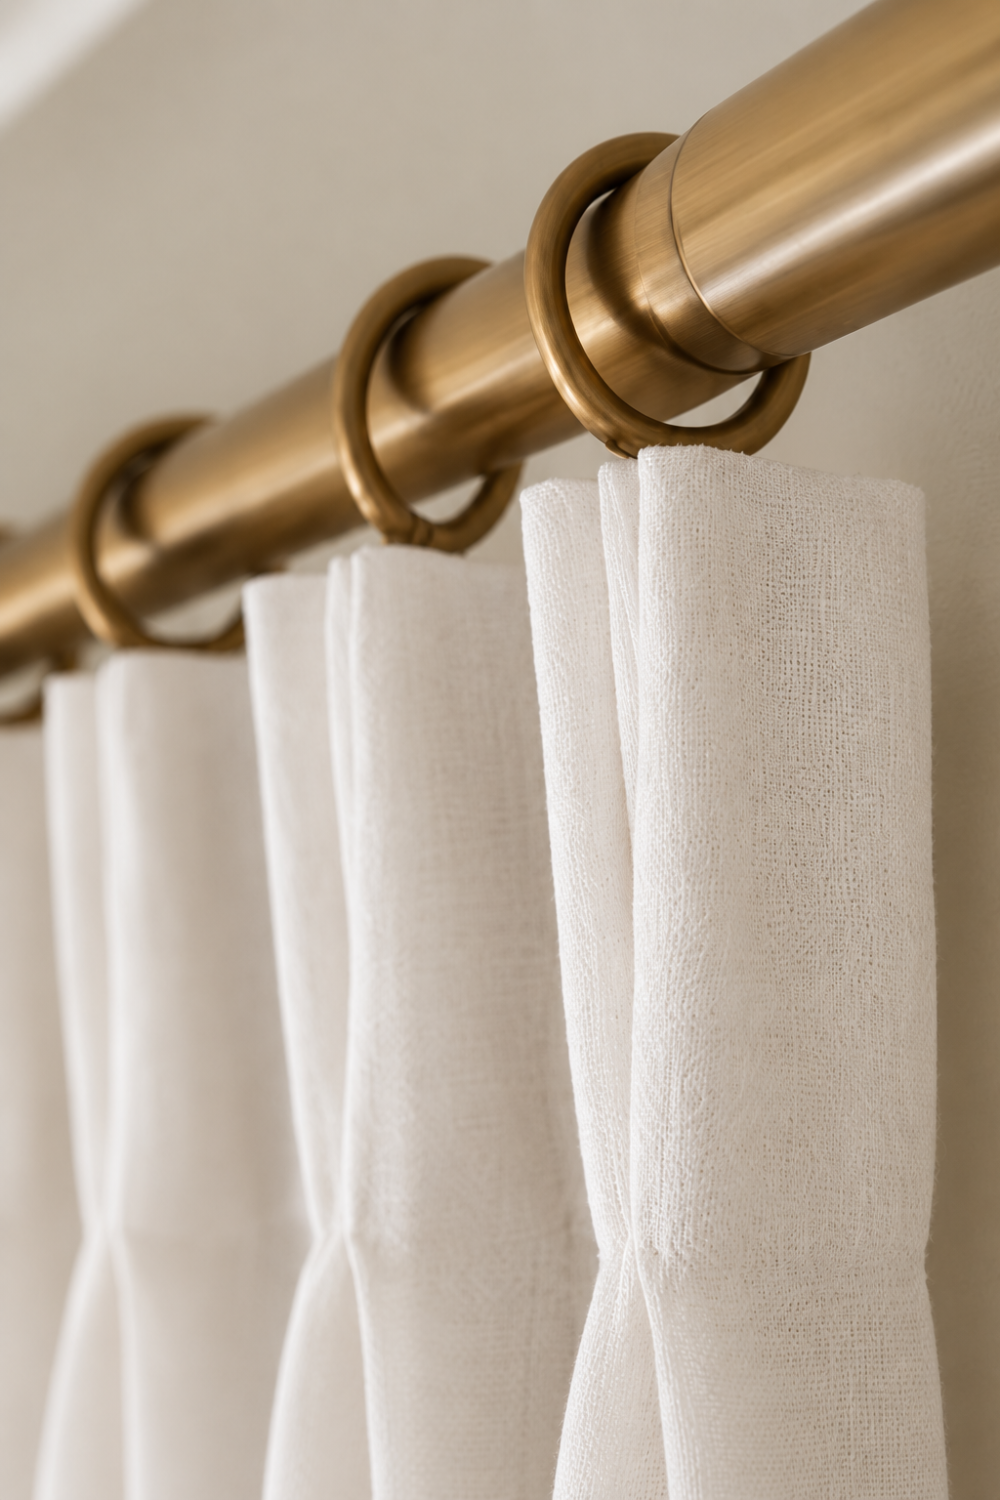
The Importance of Four-Prong Pleating Hooks
The hooks are the tiny piece of hardware doing most of the work here.
A four-prong pleating hook gathers the curtain into three distinct pleats, creating the more formal triple pinch-pleat appearance you see in these photos.
Three-prong hooks create two pleats and give you a slightly simpler look.
For this room, I used four-prong hooks.
SHOP THE 4-PRONG HOOKS
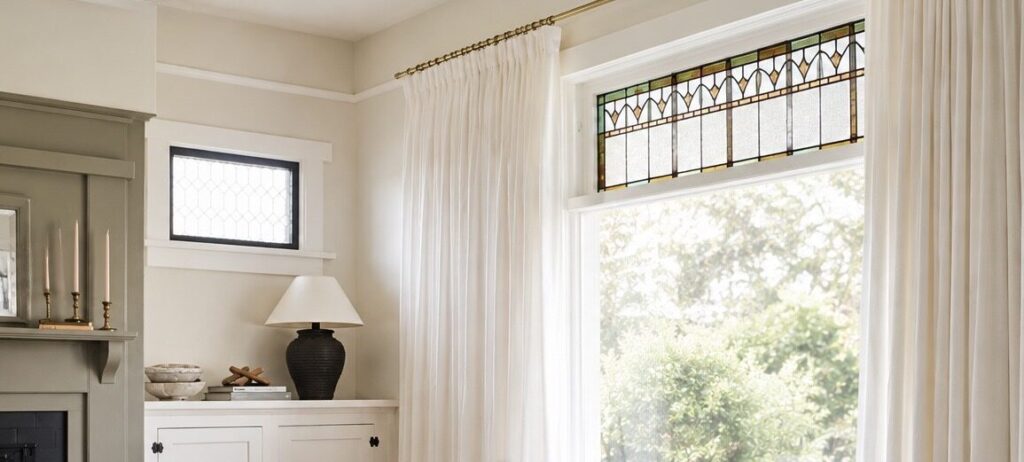
How-to: 4 Steps for Creating DIY Pinch-Pleat Curtains
Once you have the right curtains and hardware, the actual transformation is straightforward.
OPTIONAL STEP: If you’re using 2 panels per side, as I have done, I joined the two panels using simple iron-on hemming tape. Be sure to do this BEFORE you install the pleating hooks.
Step 1: Hang the Curtain Rod
Install your rod high and wide. I went roughly 6–8 inches below the ceiling, but measure everything with your actual curtain length before drilling.
Remember that hanging a curtain from hooks and rings changes where the top of the panel sits compared with putting the rod directly through a rod pocket or back tabs. Account for the entire rod + ring + hook assembly when deciding on your final height.
If the manufacturer indicates that your curtains may shrink, wash them before committing to a final rod height or hem.
Step 2: Add the Curtain Rings
Slide the rings onto the rod.
I used approximately 10 curtain rings per panel.
If you’re following my four-panel setup, that means you’ll need approximately 40 rings in total.
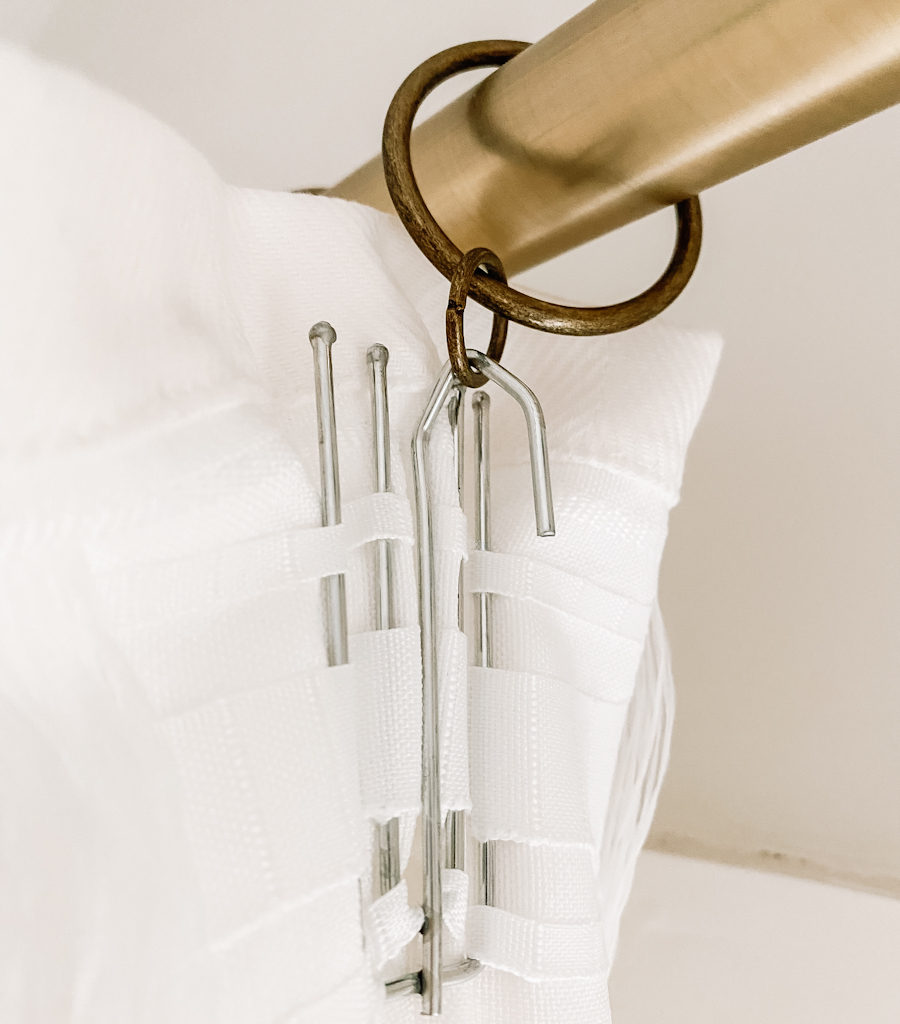
Step 3: Insert the Four-Prong Pleating Hooks
This is the slightly tedious part, but it isn’t difficult.
I used approximately 10 hooks per panel.
Starting at the edge of the curtain:
- Insert the first prong into the fourth slot from the edge.
- Insert each of the remaining three prongs into every third slot.
- For the next hook, skip four slots.
- Repeat the same every-third-slot pattern across the panel.
My Pleating-Hook Pattern
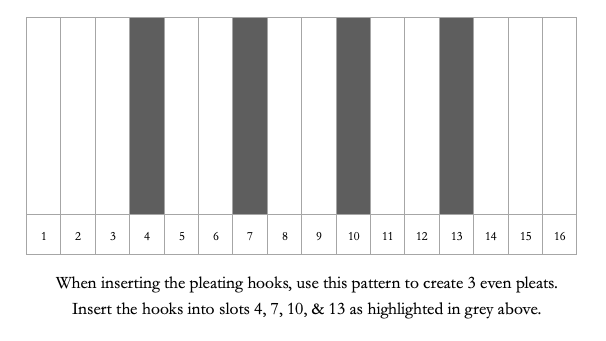
Don’t worry if the first one takes a minute to figure out. Once you’ve established the pattern, the rest of the panel becomes repetitive.
Step 4: Hang the Curtains
Once all of your pleating hooks are installed, hook each one through the eyelet at the bottom of a curtain ring.
That’s it.
And there you have it, a simple way to elevate the look of inexpensive curtains.
Want the Pinch-Pleat Look Without the DIY?
There’s one major difference between when I originally published this tutorial and now: good-looking ready-made pinch-pleat curtains have become much easier to find.
So if you’re here because you love the finished look but have absolutely no desire to count slots and install 40 pleating hooks, I get it.
You can skip the hack altogether.
MY READY-MADE PICKS
Sizing note: These curtains come in multiple lengths and widths, so double-check your selection before ordering. When it comes to width, fuller is generally better.
All three come in multiple colourways, so click through the options to find the best fit for your room.
Best Overall
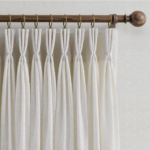
Linen-blend appearance, value price between basic panels and custom drapery.
Best Light & Airy
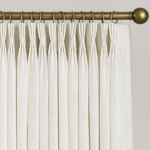
Textured linen-blend that is light-filtering, with a soft & airy weight.
Best Upgrade
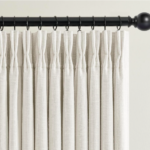
An upgraded price-point that’s well below custom made. 37 linen-blend color options!
DIY or READY-MADE?
Choose the DIY version if you already own suitable curtains, want to keep the budget down or want more control over the fullness.
Choose ready-made pinch pleats if you care more about getting the finished look quickly than recreating the original hack.
A Few Things That Make Curtains Look More Expensive
After doing this project, I’d say the expensive-looking result has less to do with the actual price of the curtains than these details:
Hang them high. Taking the rod toward the ceiling gives the room more height.
Hang them wide. Let the curtains stack mostly outside the window rather than covering the glass.
Use enough fabric. Fullness is one of the biggest differences between a basic curtain panel and the look of custom drapery.
Choose the right length. Curtains that stop awkwardly above the floor will undo a lot of your hard work.
Use rings rather than the rod pocket. The little bit of visible hardware and the structured pleat completely change the way the curtain hangs.
None of these individually is particularly complicated. Together, they make a basic curtain panel look considerably more considered.
Shop Everything You Need
Whether you’re recreating the original hack or starting with new curtains, I’ve gathered the pieces you need in one place.
Already have the curtains? Start with the four-prong hooks + curtain rings.
Starting from scratch? Choose your curtains first, then match your rod length and ring size to your window.
And if counting pleating-tape slots sounds like precisely the sort of project you do not need in your life, go straight to the ready-made pinch pleats. I won’t be offended.
If you try the original hack, I’d still love to see it. Tag @grey.and.avery on Instagram so I can have a look.
Frequently Asked Questions
Can you make regular curtains into pinch-pleat curtains?
Yes, but the construction on the back matters. Curtains with a compatible multiway header or pleating tape can be used with pleating hooks. If your existing curtains don’t have either, you’ll need to add pleating tape first.
Do you need to sew curtains for this hack?
Not if the curtains already have a compatible multiway header or pleating tape. That’s why I recommend starting with the right curtain rather than adding another step to the project.
How many pleating hooks do I need per curtain panel?
I used approximately 10 four-prong pleating hooks per panel. The exact number can vary depending on the width of your curtain and the spacing of its header.
How many curtain rings do I need per panel?
I used approximately 10 rings per panel, corresponding with the 10 pleating hooks.
What size curtain rings should I use?
Measure your curtain rod first. I used 1½-inch rings on a 1¼-inch rod. You want enough clearance for the rings to slide comfortably.
How do you make curtains look fuller?
Use more fabric. I used two curtain panels on each side of this window rather than one. Hanging the rod wider than the window also gives the panels somewhere to stack without covering the glass.
Can I buy pinch-pleat curtains already made?
Absolutely. There are far more affordable ready-made pinch-pleat curtains available now than when I originally completed this project. I’ve linked my current picks above if you want the look without installing the pleating hooks yourself.