Fireplace Demo and Arm Chair Revamp
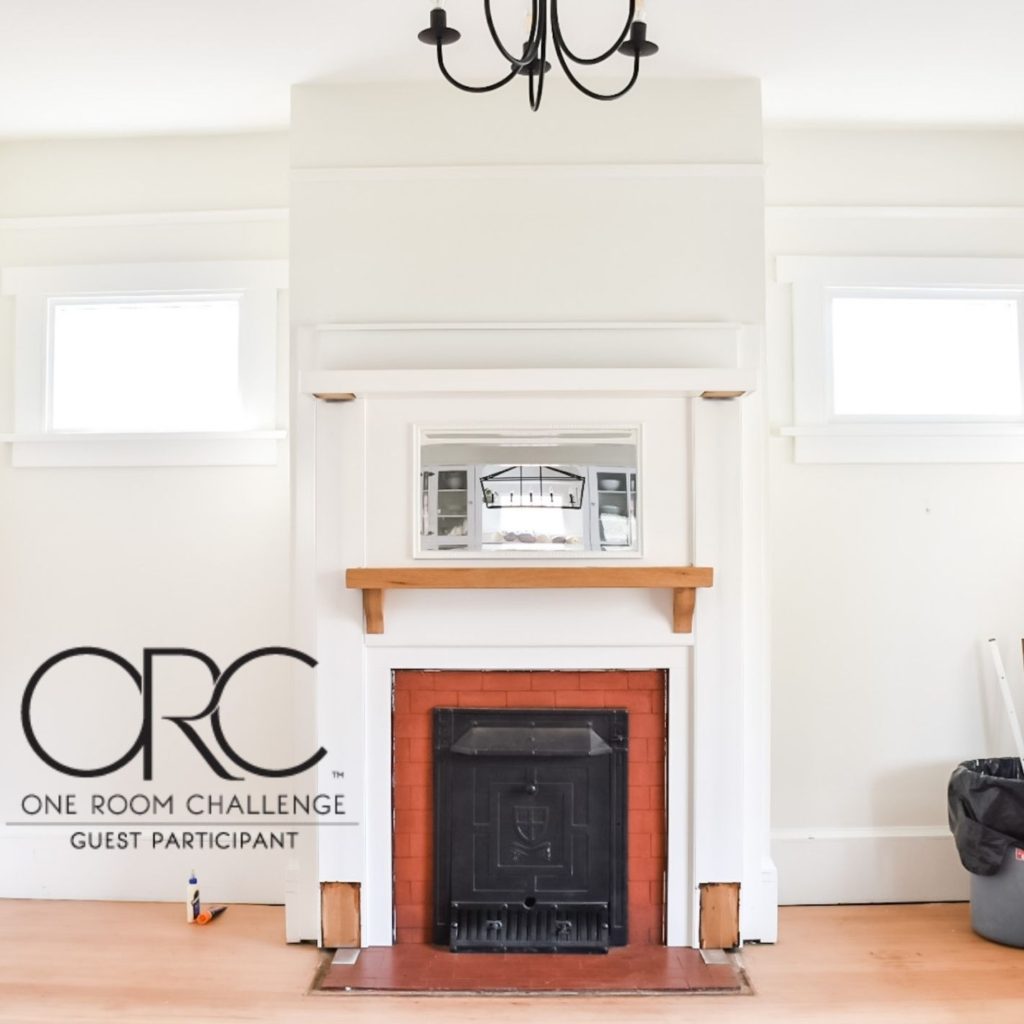
It’s week 2 of the One Room Challenge, and after a slow start to week 1 (courtesy of Canadian Thanksgiving!) we’ve accomplished our assigned tasks for the week: demolish the fireplace pillars and revamp the armchairs. Let me walk you through each element.
If you found me through the ORC site, hello! I’m Carly, a SAHM and blogger renovating our 1912 Craftsman one DIY at a time. If you missed last weeks post, catch up here: Week 1: Before Photos & Design Plan. Or pop on over to instagram and watch the process in live time throughout the week in my stories.
The Fireplace
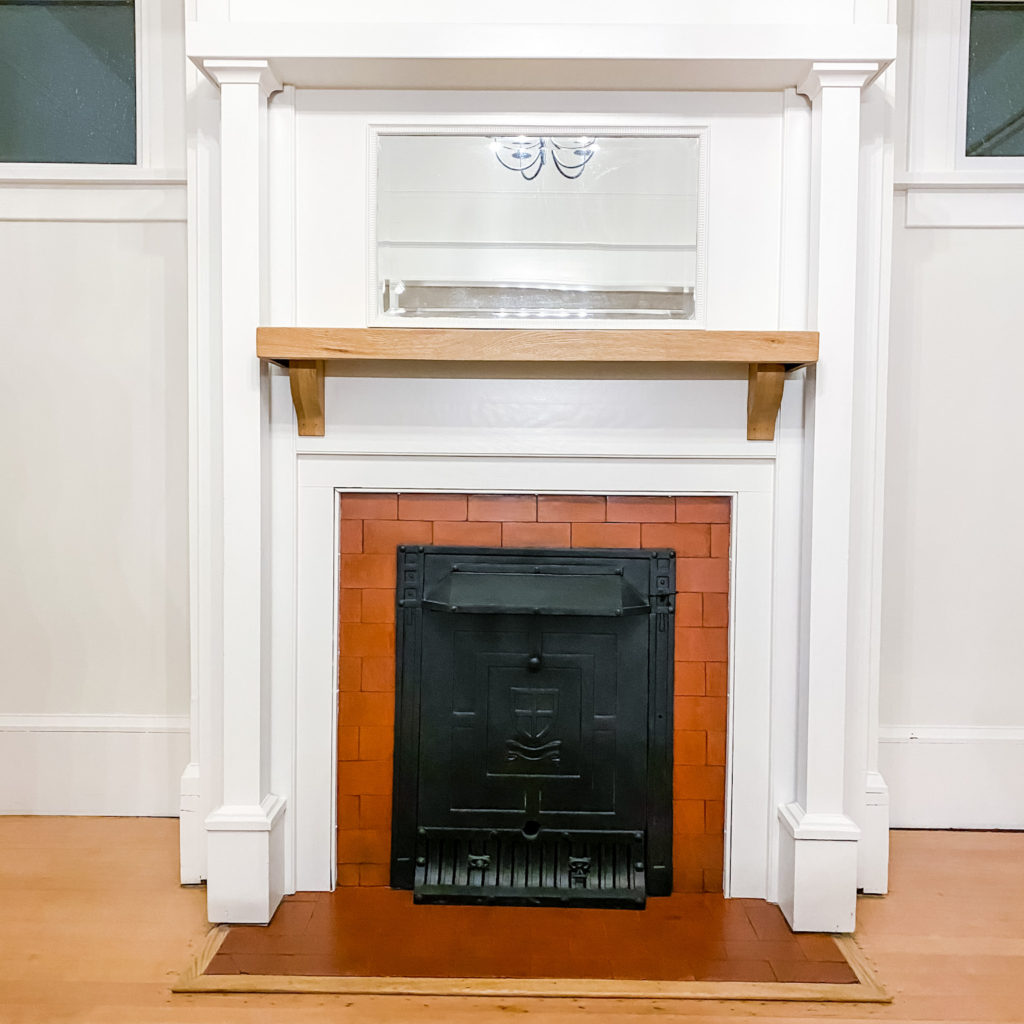
Here is the fireplace prior to demolition. I truly agonized over whether or not to remove these pillars. Our home is a 1912 Craftsman, and preserving the original details and charm is a paramount goal in any renovation project we tackle here. That being said, I wasn’t 100% sold that this detail was actually original.
Ultimately we decided to remove the pillars. We have lived in this home for over a year and I’ve hated these since the moment I laid eyes on them. I gave them a chance to grow on me but it just wasn’t happening!
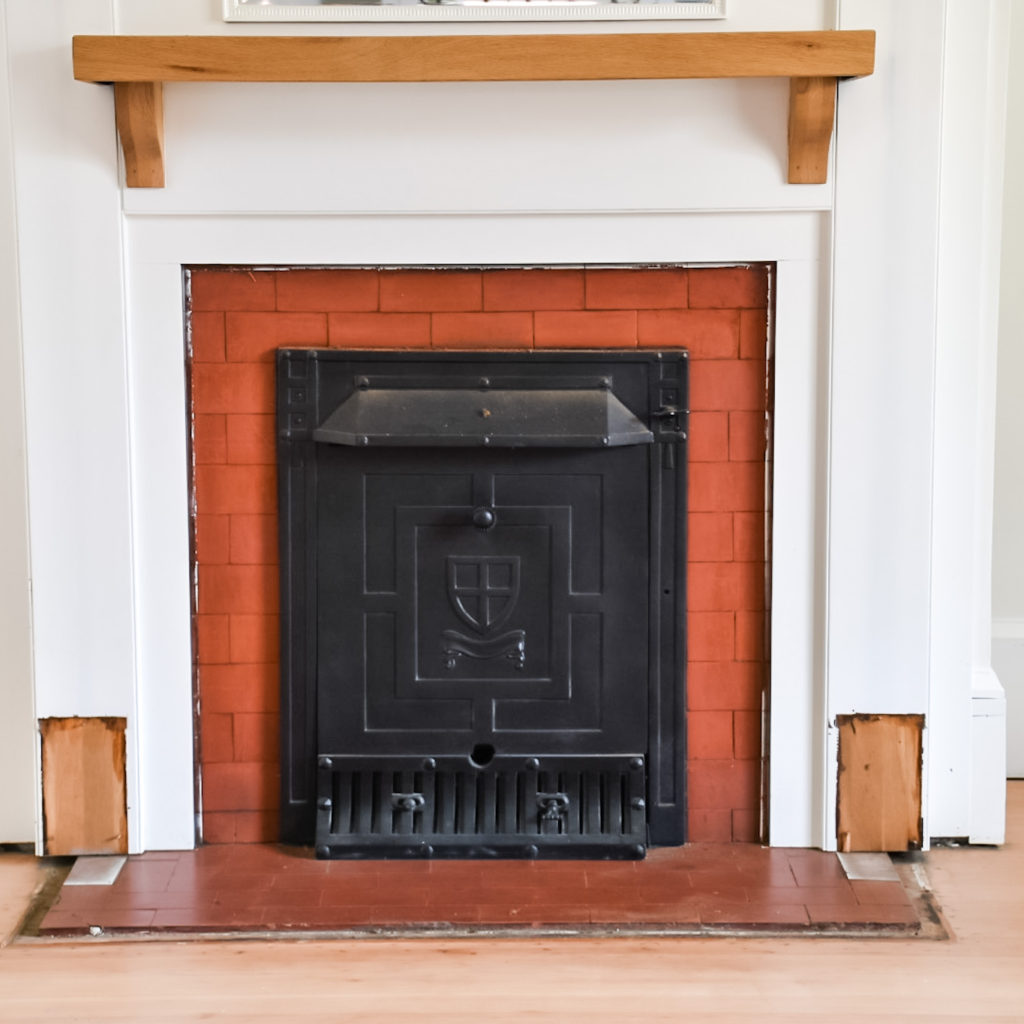
When the pillars were removed I was so thrilled to discover two clues which lead us to conclude that they were in fact not original! Yay!
They were constructed of oak (whereas fir would have been typical for the age of the home in this area) and with screws (pretty sure nails were the fastener of choice in the early 1900’s). I’m so thrilled I went with my gut instinct and removed the pillars. The fireplace is already looking so much cleaner and refined.
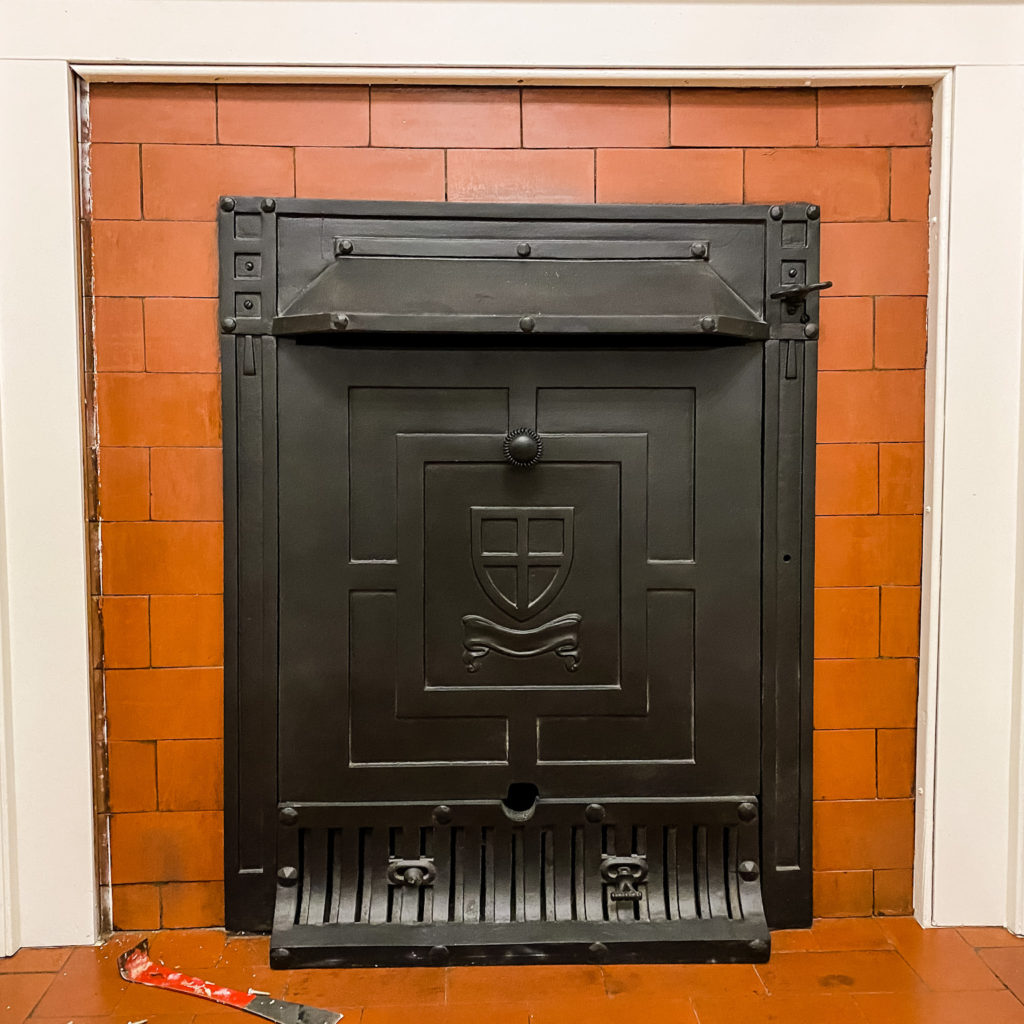
We also elected to remove the decorative moulding around the fireplace tiles as shown above. It was actually not particularly nice looking, and replacing it with a more detailed and better installed moulding piece will go a long way to elevate the look of the fireplace.
As an added bonus it will make it much easier to paint the tiles (the next task for this fireplace) without that moulding piece in place. Win-win!
Arm Chair Revamp
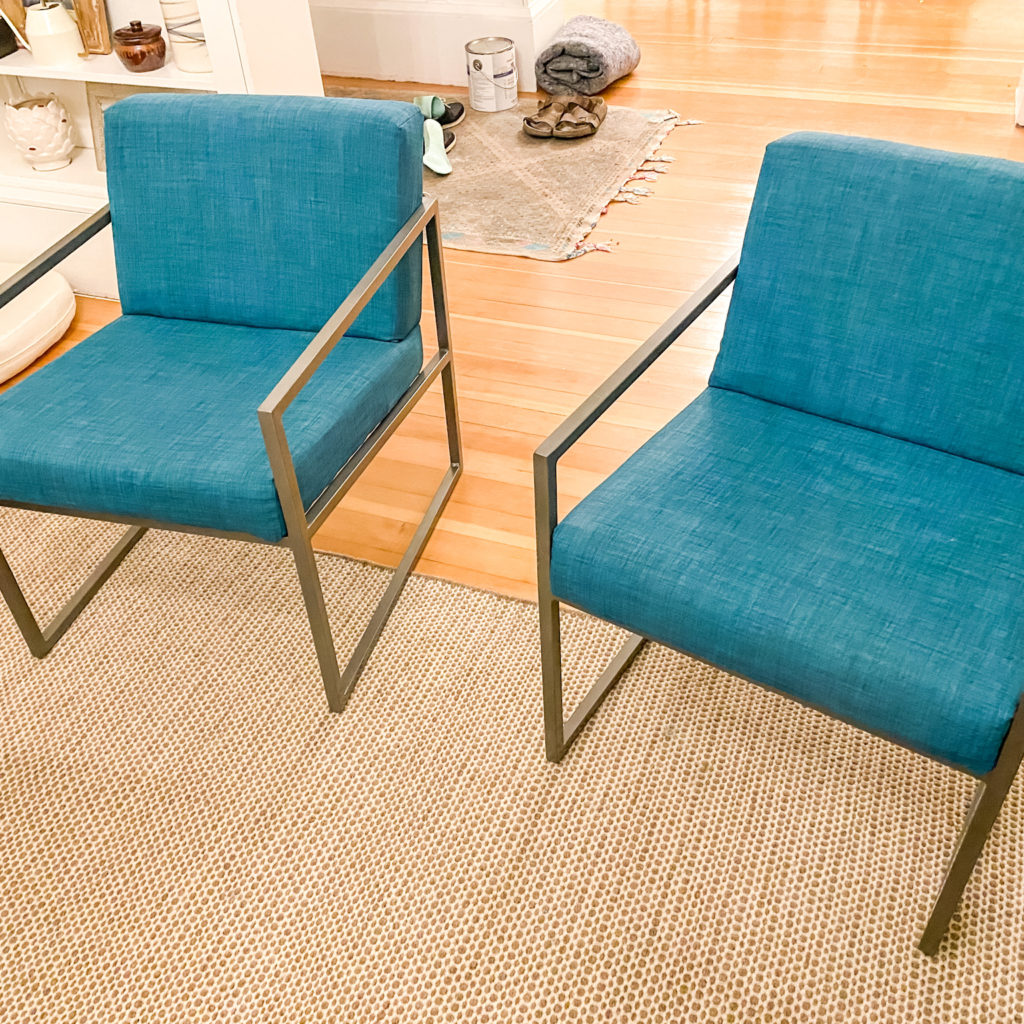
Did you catch my inspo chairs in my Week One mood board? If so, you can imagine my joy when I found these chairs with very similar lines for $50 each (the inspo chairs retail at over $1500 a piece!).
I knew with a can of matte black paint and some new fabric that these chairs could replicate the look for a mere fraction of the price.
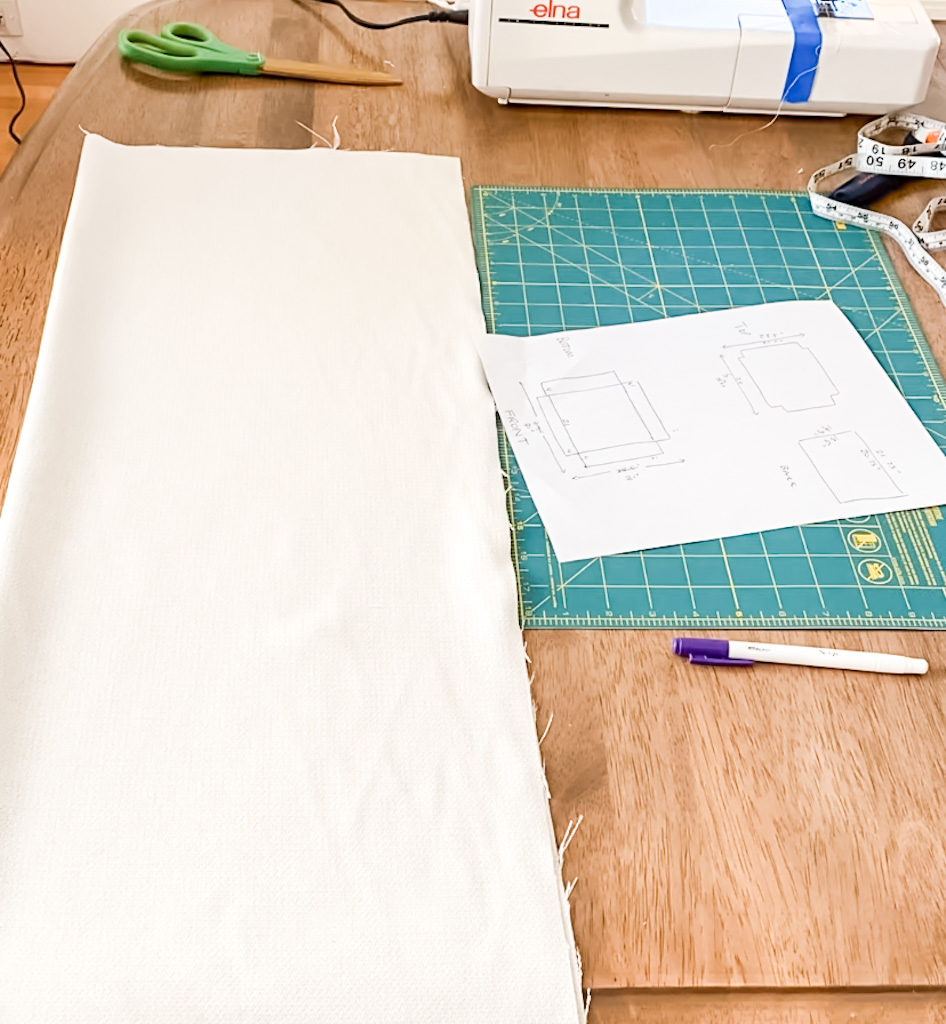
A seamstress I am not, but I devised a plan for recovering the chairs without removing the existing fabric. The current upholstry would make a perfect template, but it’s quicker and less messy to keep it on, so that is what I chose to do.
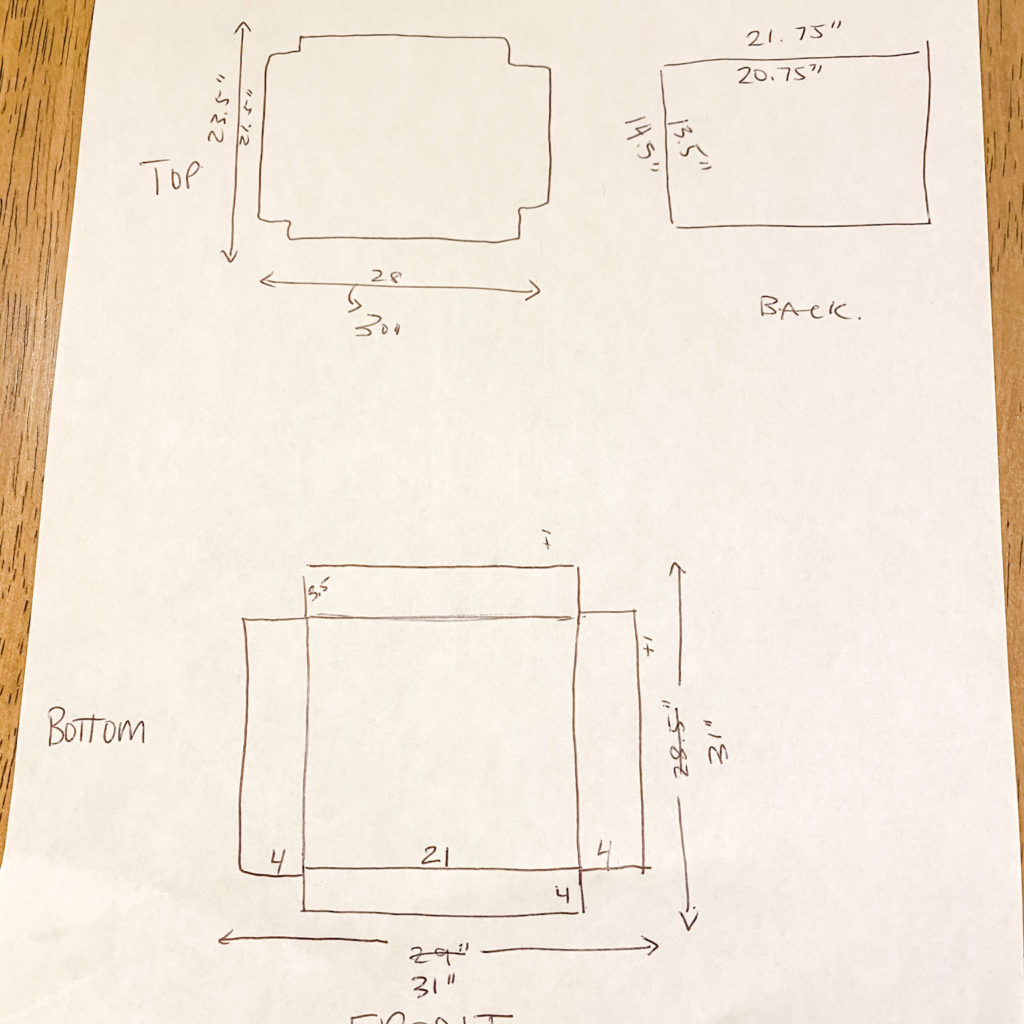
I measured and sketched out the two cushions, and added 1 extra inch all around for tucking underneath and stapling in place.
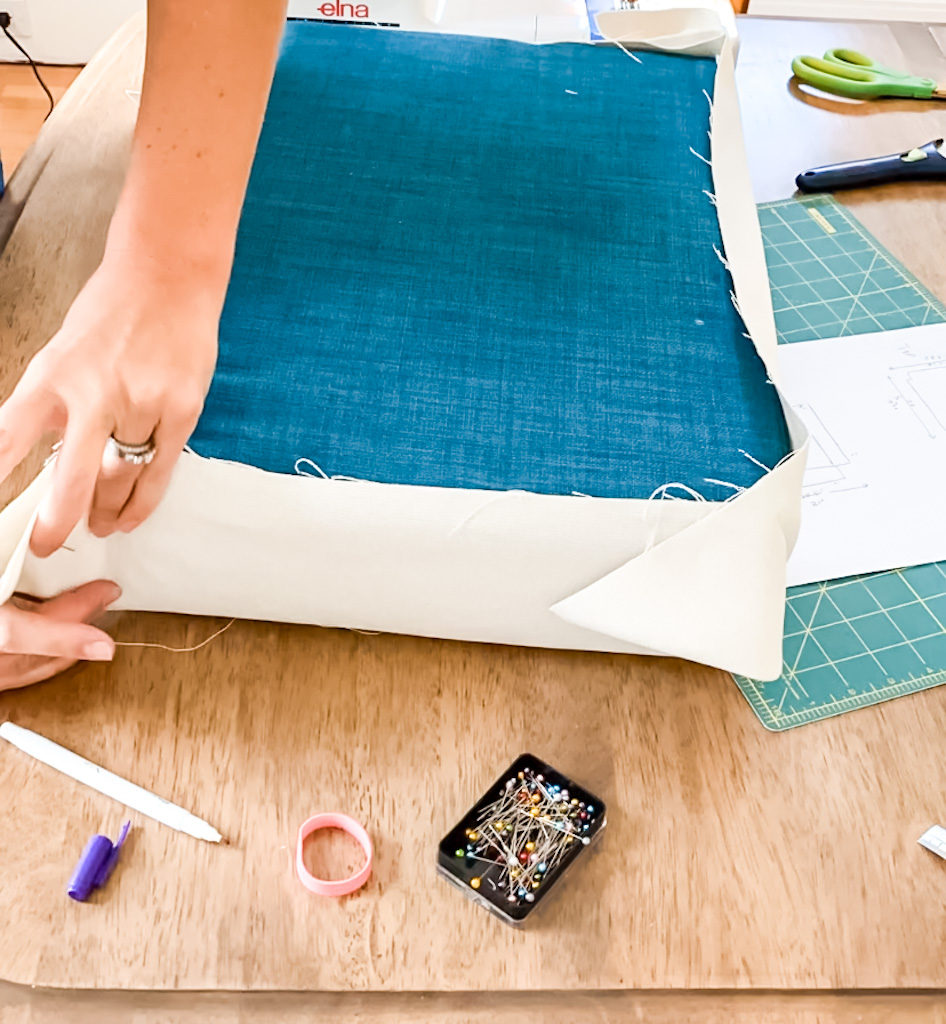
This was a project of trial and error and adjusting as I went, but honestly it went faster than I anticipated! Absolutely love the rare occasions when that happens.
You’ll note this isn’t a tutorial on how to recover your own chairs. Guys, I’m qualified to give tutorials on lots of things, but sewing isn’t one of them. I promise to only show you how to do things I actually know how to do well myself!
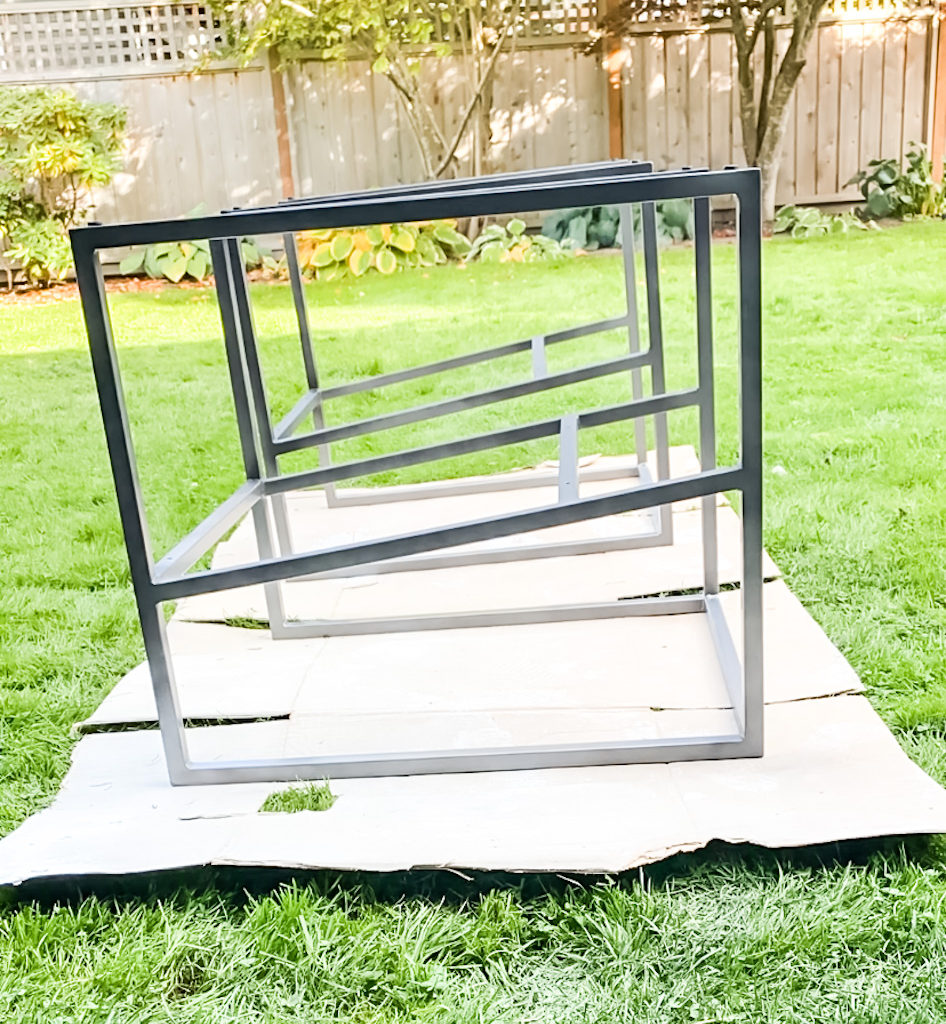
I gave them a light sand to allow the paint to adhere better and sprayed them using a matte black spray paint. It took three light coats to achieve a uniform finish.
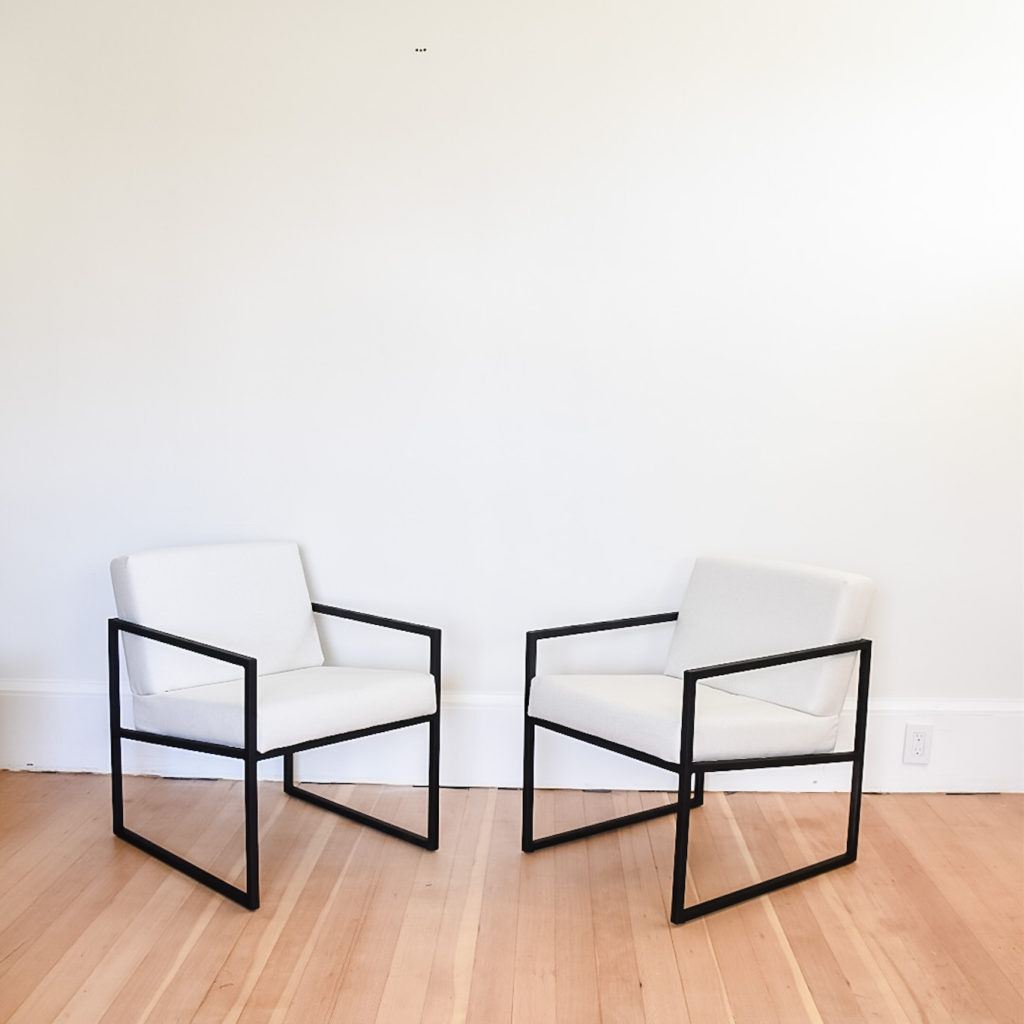
And just like that, these chairs are looking fresh and modern and pretty darn fabulous if I do say so myself!
Next up, tackling built in cabinetry. It’s the biggest challenge in the project, so I wanted to be sure to start plenty early to allow for the inevitable hiccups as I navigate cabinet woodworking for the first time.
Come follow along in my instagram stories if you want to see the project unfold in real time.
xo,

P.S. – You can check out the ORC featured designers and the other guest participants here. Scope out what rooms they’ll be tackling, I can’t wait to follow along!
