It Gets Worse Before It Gets Better
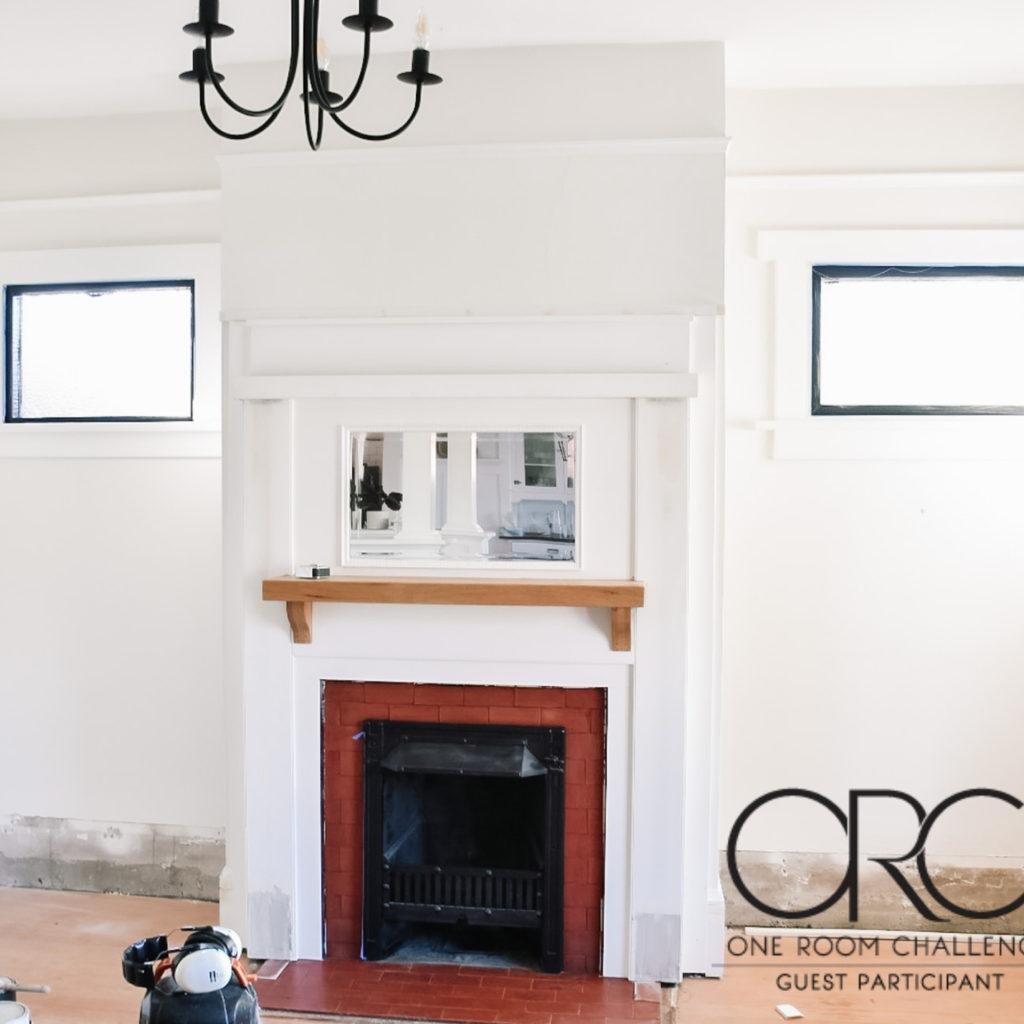
It’s already Week 3 of the One Room Challenge, and we’re firmly in it gets worse before it gets better territory. If you’ve been through any renovations in your own home, you know what I mean – things are pulled apart, there’s dust, tools, and lumber everywhere. Unless, perhaps, you’re a tidier DIY’er than me?
If you found me through the ORC site, hello! I’m Carly, a SAHM and blogger renovating our 1912 Craftsman one DIY at a time. If you missed the plan for this formal living room makeover, catch up here: Week 1: Before Photos & Design Plan. Or pop on over to instagram and watch the process in live time throughout the week in my stories.
This week was certainly not without it’s challenges, and a health scare which definitely threw a wrench in our timeline (Details of which I’ve outlined in this post). However we did manage to get a few things done:
Rebuild The Fireplace
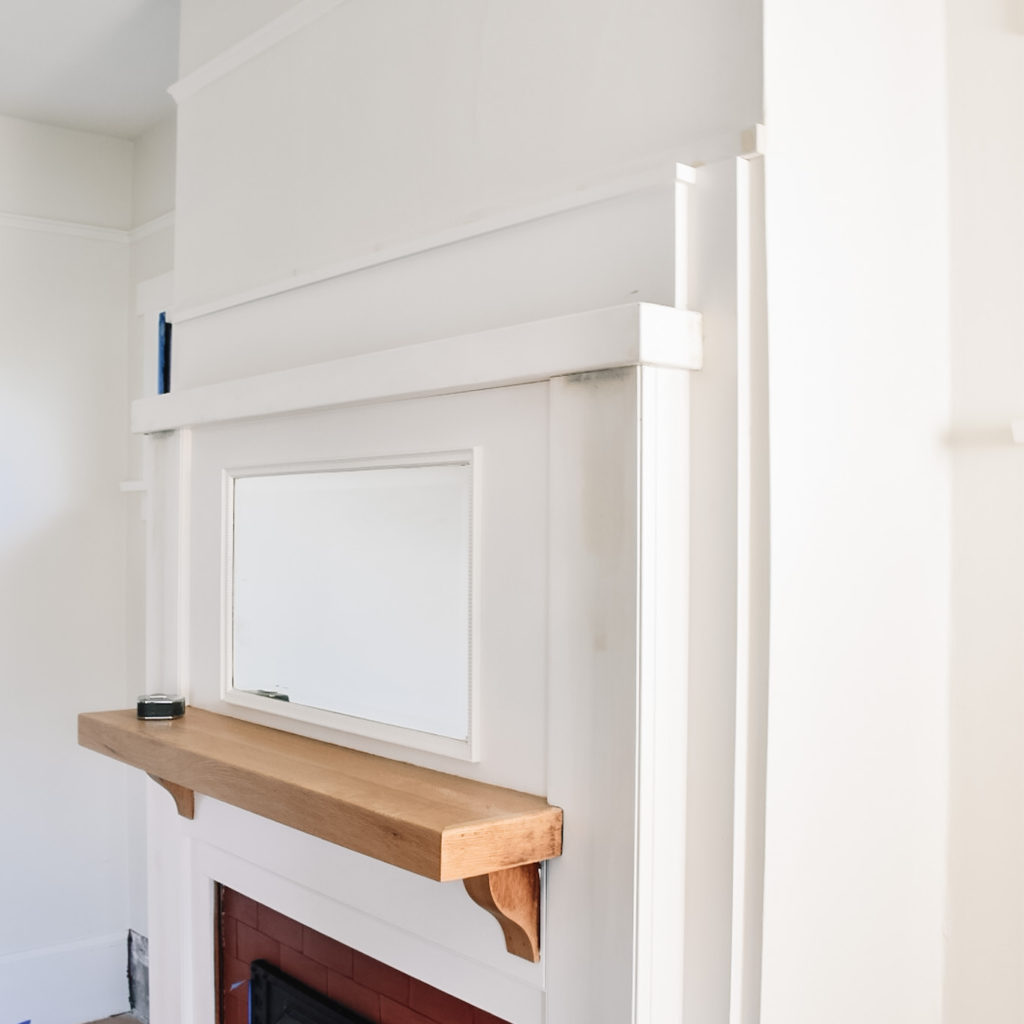
In Week 2 we removed the tacky pillars on the fireplace surround, and this week we removed the overhang that was left behind, and recreated the top level of the mantle by salvaging the existing lumber.
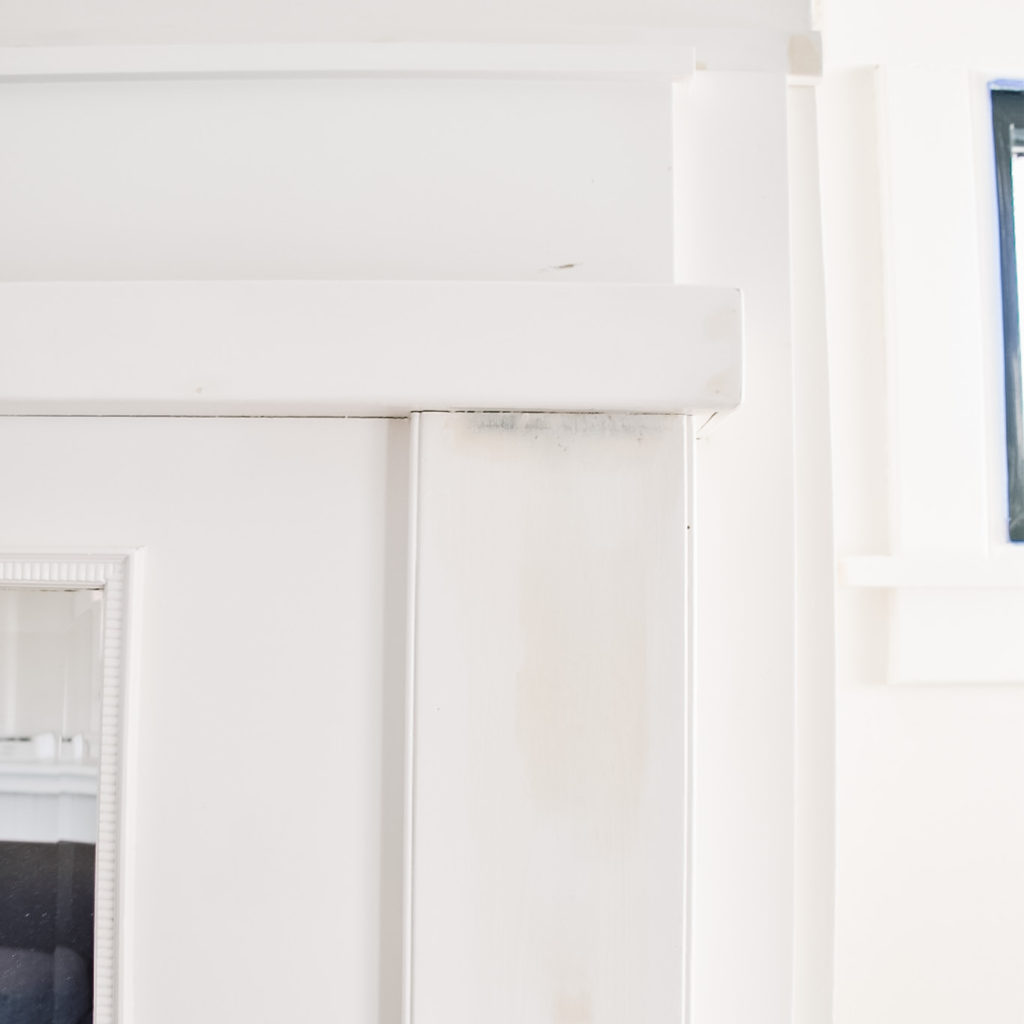
Once it’s painted and caulked, it will be looking flawless. You can also catch a sneak peak here of the windows, which are being painted my favourite black paint – Benjamin Moore Onyx.
Prepare For Built-In Cabinets
While I was hoping to have the cabinet boxes built this week, life had other plans. We did however successfully remove the existing baseboards in the area.
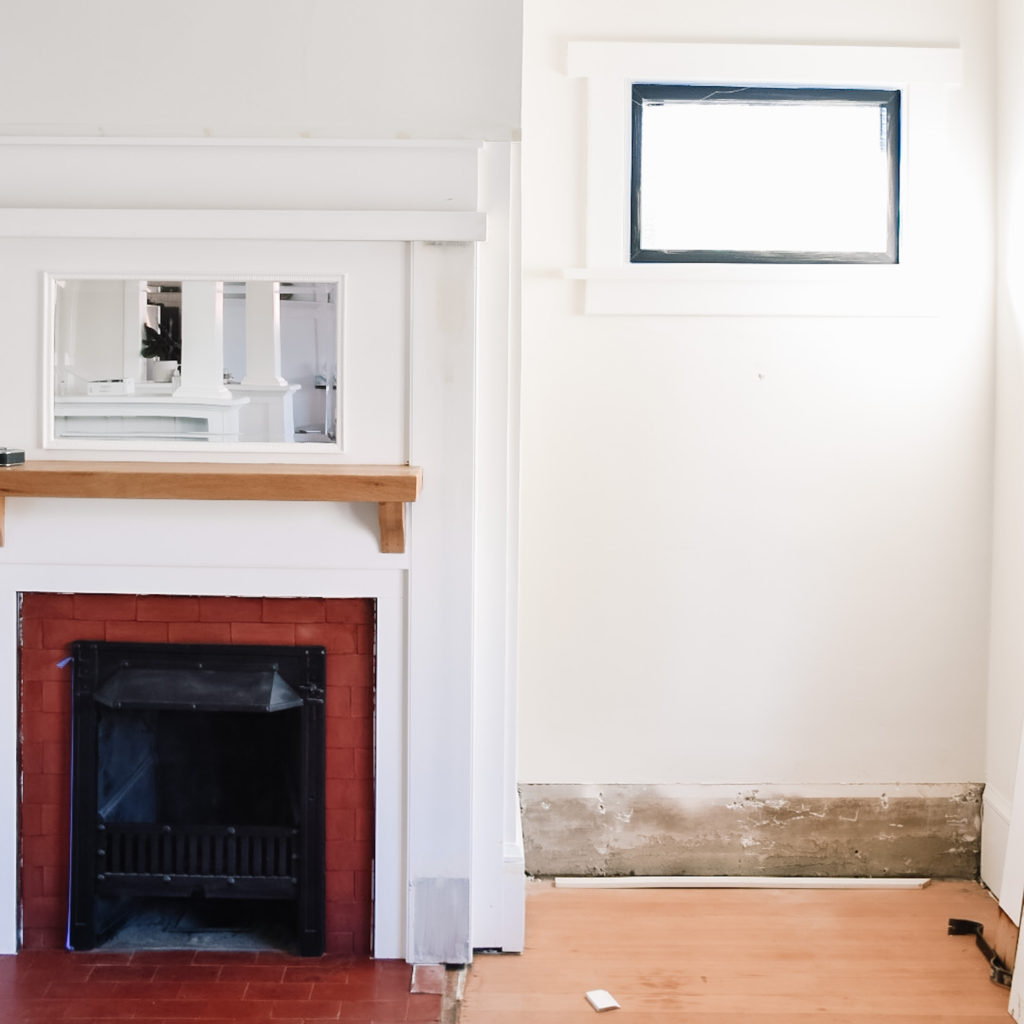
This was a critical step in ensuring the new cabinets blend in with the existing original cabinetry on the main floor of the home – these cabinets use the baseboard as the base to the cabinet box, as shown below. And given that the baseboard is 100+ year old fir, I was a little nervous about breaking it during removal!
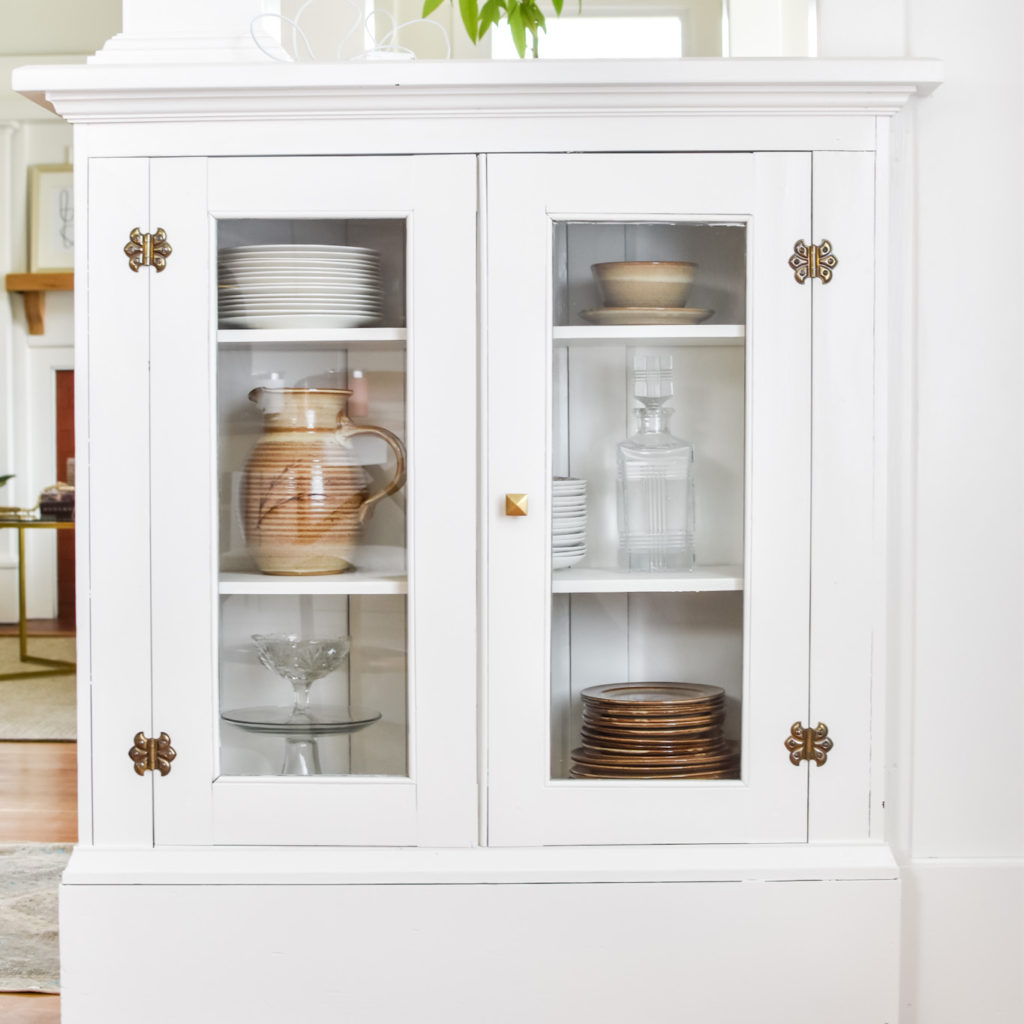
Select Shoe Moulding
We’ve also selected the shoe moulding – kind of like quarter round, but with a bit more detail – for finishing the baseboards.
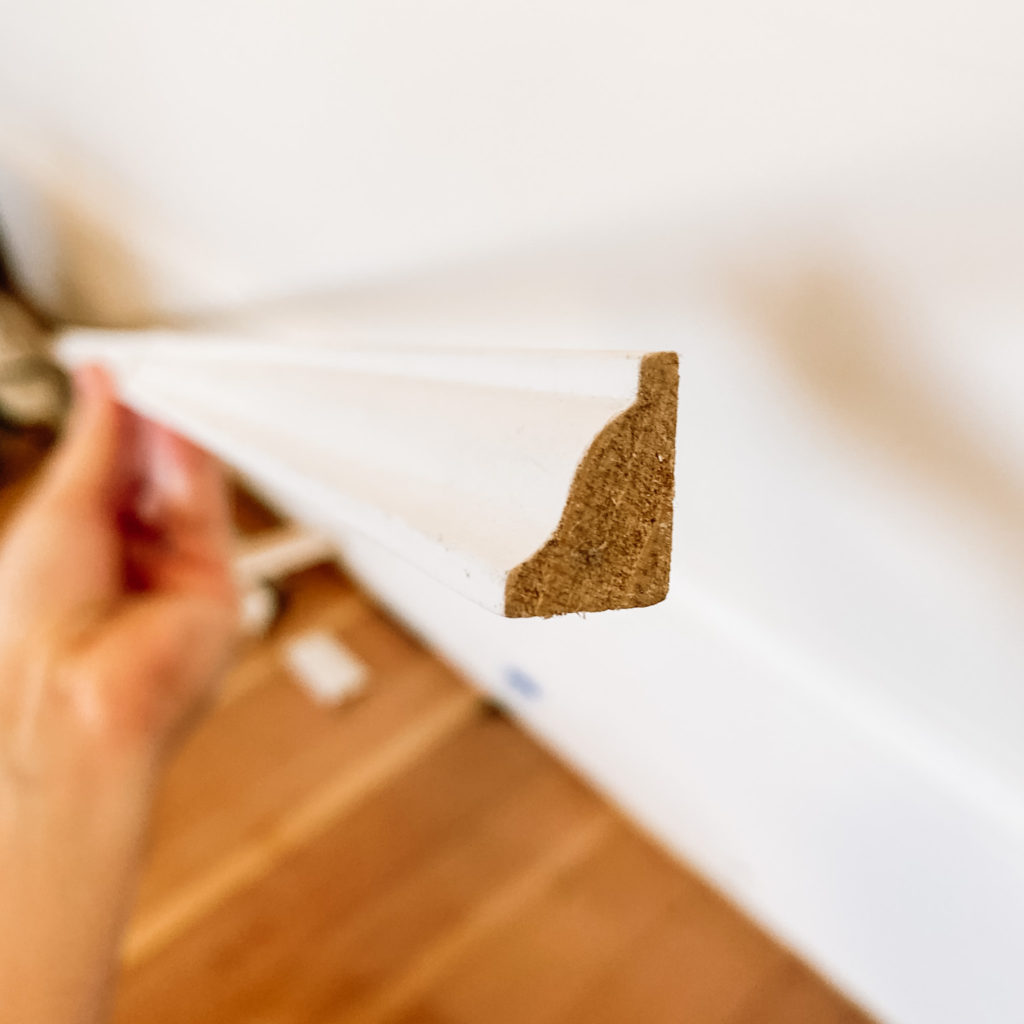
At some point in this home’s history, this room was carpeted over and the original shoe moulding was removed to do so. This meant a gap between the hardwood floor and the baseboard – one that we have lived with for over a year, believe it or not. Anyone else in the 99% club when it comes to finishing projects?
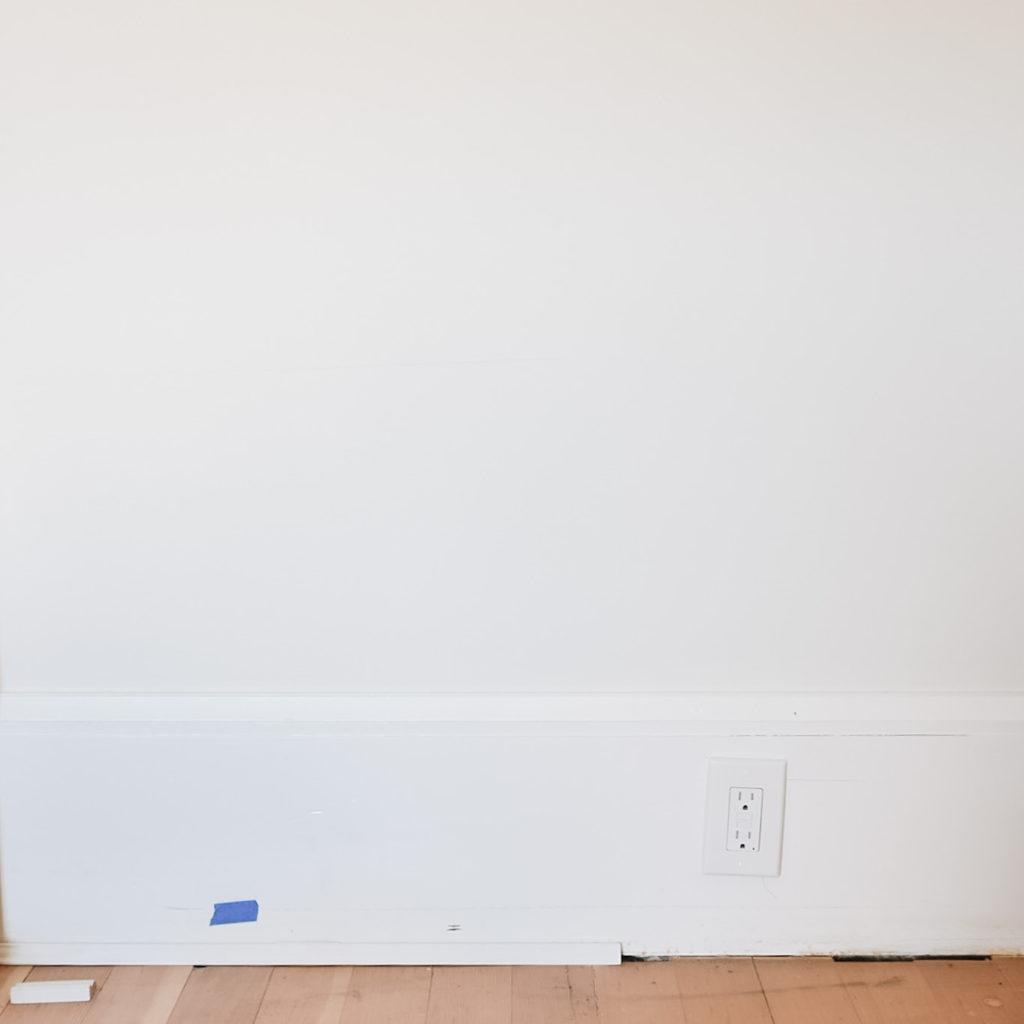
See how that piece of moulding makes it look so much more clean and finished? And it hasn’t even been nailed in, painted or caulked yet.
So that’s it for this weeks progress. We’re halfway done the One Room Challenge timeline, but I am definitely not halfway done my ORC to-do’s!
Projects to Complete in The Next 3 Weeks
- Paint the fireplace tile
- Install shoe moulding
- Install picture frame moulding on walls
- New curtains
- Built-in cabinets around the fireplace
- Add wall sconces
- Replace the chandelier
- Fix cabinet door glass from original built-ins
- DIY coffee table
- DIY Wood stump side table
- Faux leaded-glass treatment for the windows
- DIY plaster art
As you can see, the list is mighty long friends. Up this week, painting the fireplace tile, building those cabinets, and installing shoe moulding.
Come follow along in my instagram stories if you want to see the project unfold in real time.
xo,

P.S. – You can check out the ORC featured designers and the other guest participants here. Scope out their incredible transformations, I am loving following along!
