This post may contain affiliate links, and I may earn a small commission at no additional cost to you. You can read my full disclosure here.
I’ve Got 99 Projects and I Ain’t Finished One
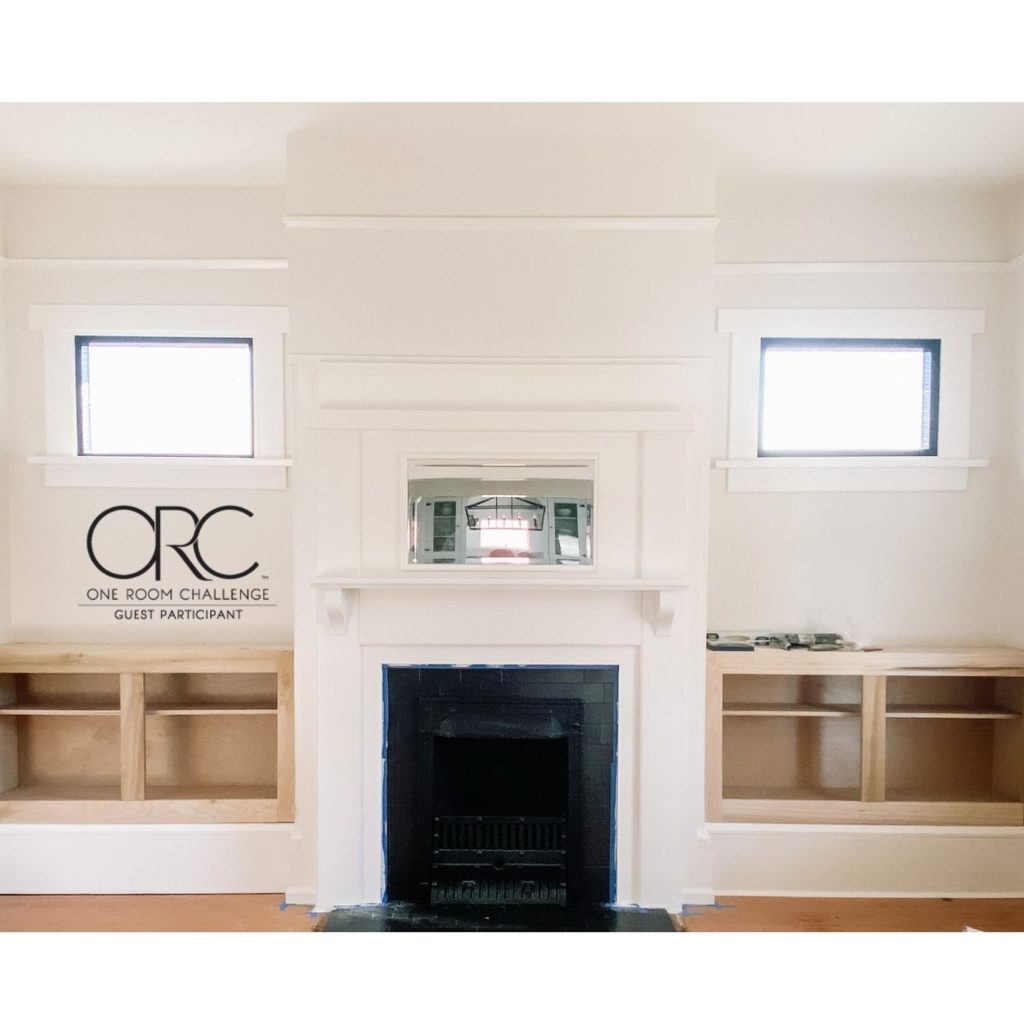
We’re into the home stretch now of the Fall One Room Challenge. With one week to go in the ORC the push is on to finish up the multitude of projects I have underway.
This week I have started on:
- The stump side table
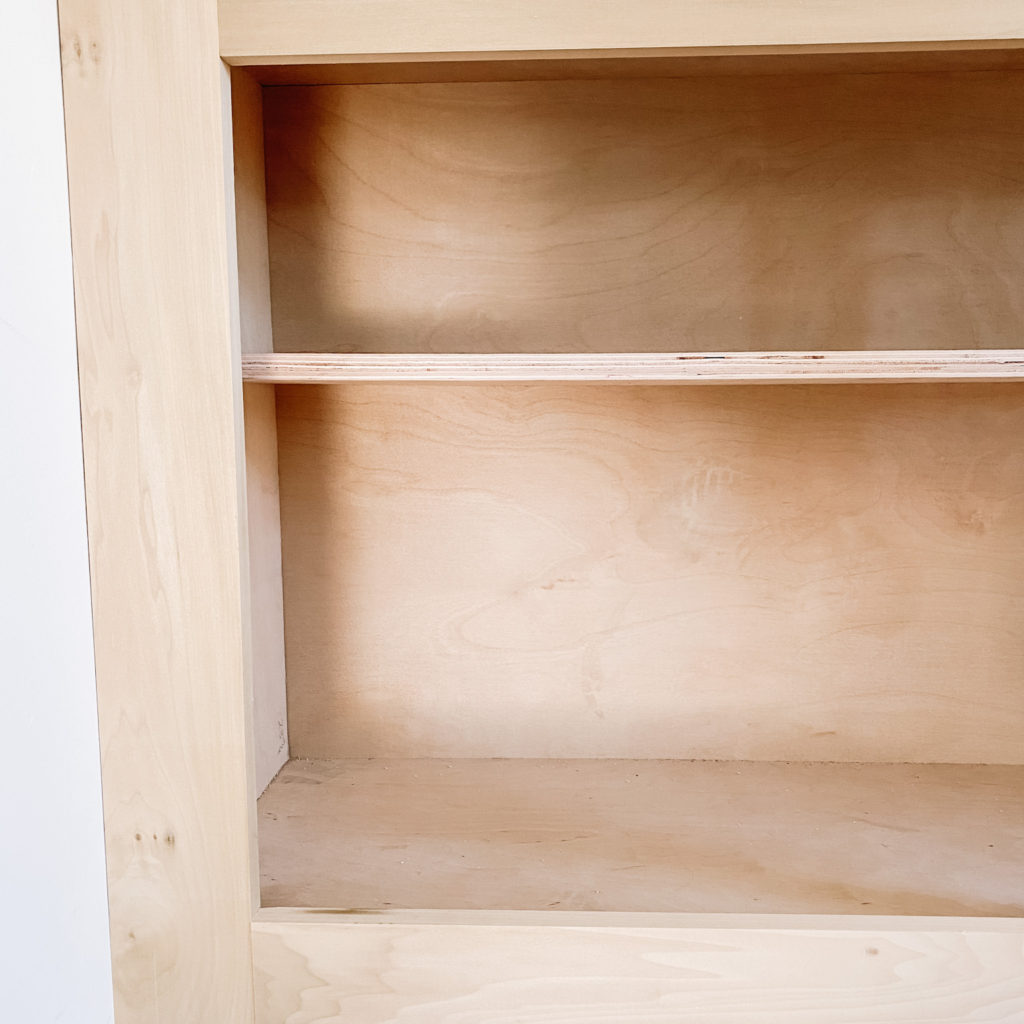
- Face frames for the built in cabinets
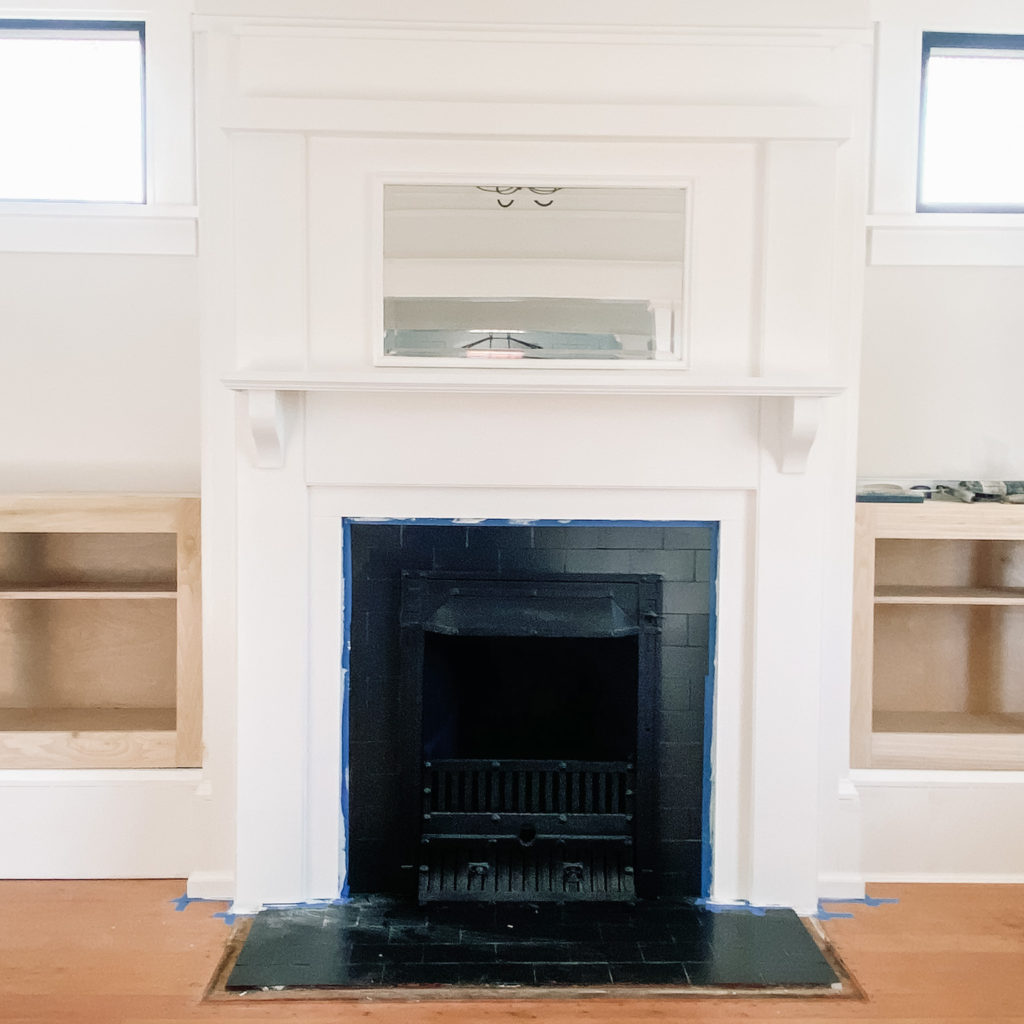
- Reworked the fireplace mantle
- DIY abstract landscape painting
- DIY Fir coffee table
- Shoe Mouldings
As you can see from this list, it’s been a productive week! Let me walk you through the progress on each of these projects.
Tree Stump Side Table
I’ve been pleasantly surprised at how straight forward this project has been to date. In Week 4 of the ORC I removed the bark and remaining limbs. This week I simply sanded the piece to achieve my desired finish – my goal was to get it looking a nice light wood tone, while still maintaining the character of the piece.
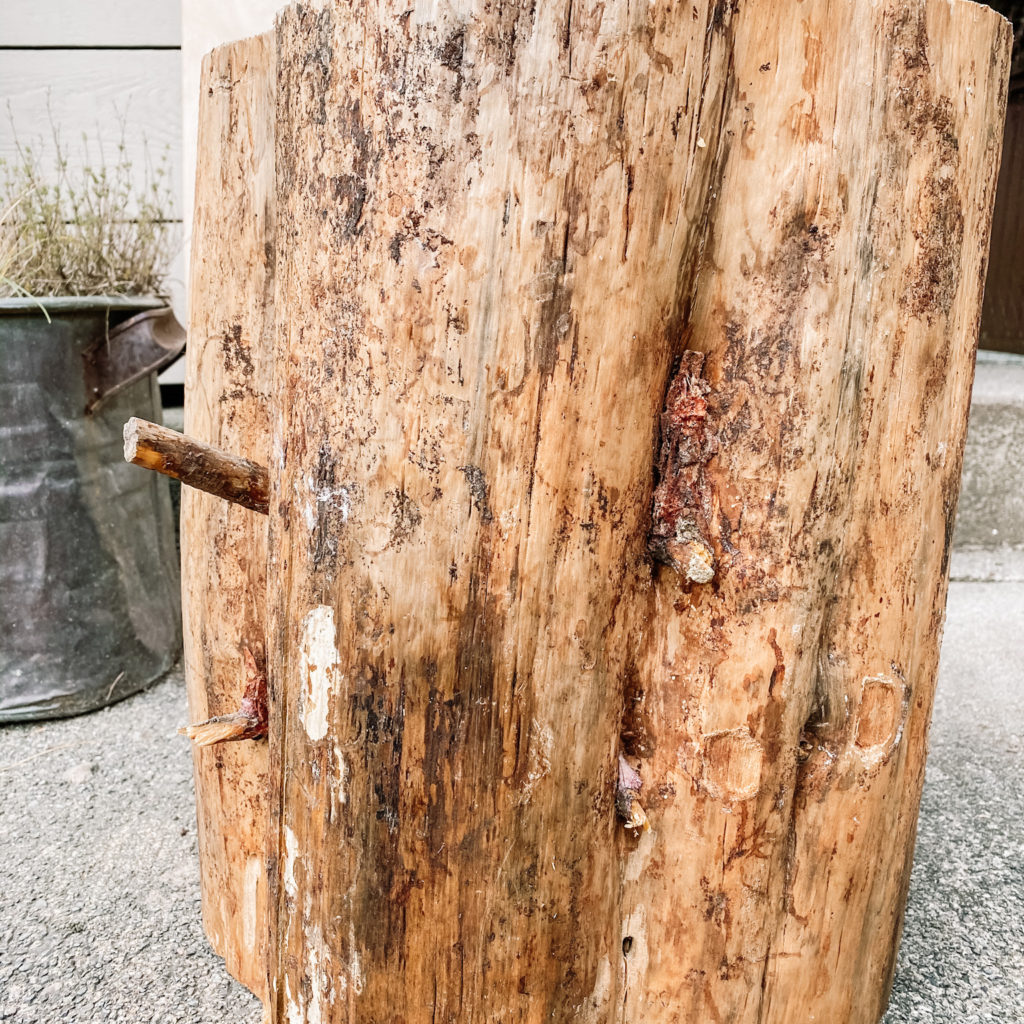
before sanding 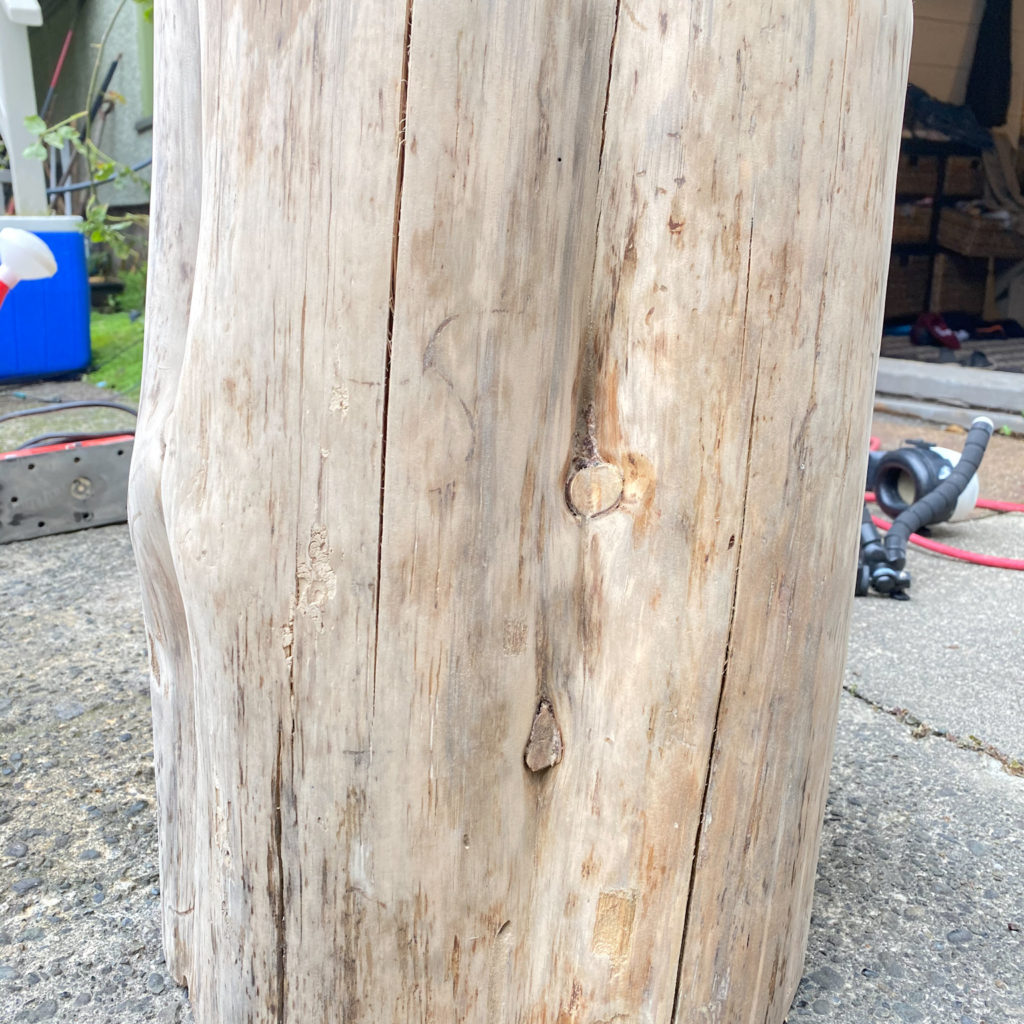
after sanding
All that’s left to do is clear coat with matte Polycrylic, my sealant of choice. I prefer the matte finish and as it’s water based it won’t yellow over time. I think I will let the stump dry out for a few weeks longer before sealing however.
Face Frames for Built in Cabinets
You know those projects that leave you saying “I can’t believe I did that!”? Well, that’s how I felt after building the two face frames. Sure, the joinery methods are simple (pocket holes) but the level of precision required for the cuts and ensuring the square corners is utterly essential for the inset cabinet doors. I’m so pleased with how they’ve turned out, though the true test will be once the doors are installed.
I’ve build the frame with 1×4″ poplar. A hardwood is essential for cabinetry, and I chose the larger 4″ wide face frame (instead of a more standard 2″ or 3″) to better match the scale of the built ins. As the span of each built in is 53″ wide by 34″ high, anything smaller would have looked too tiny.
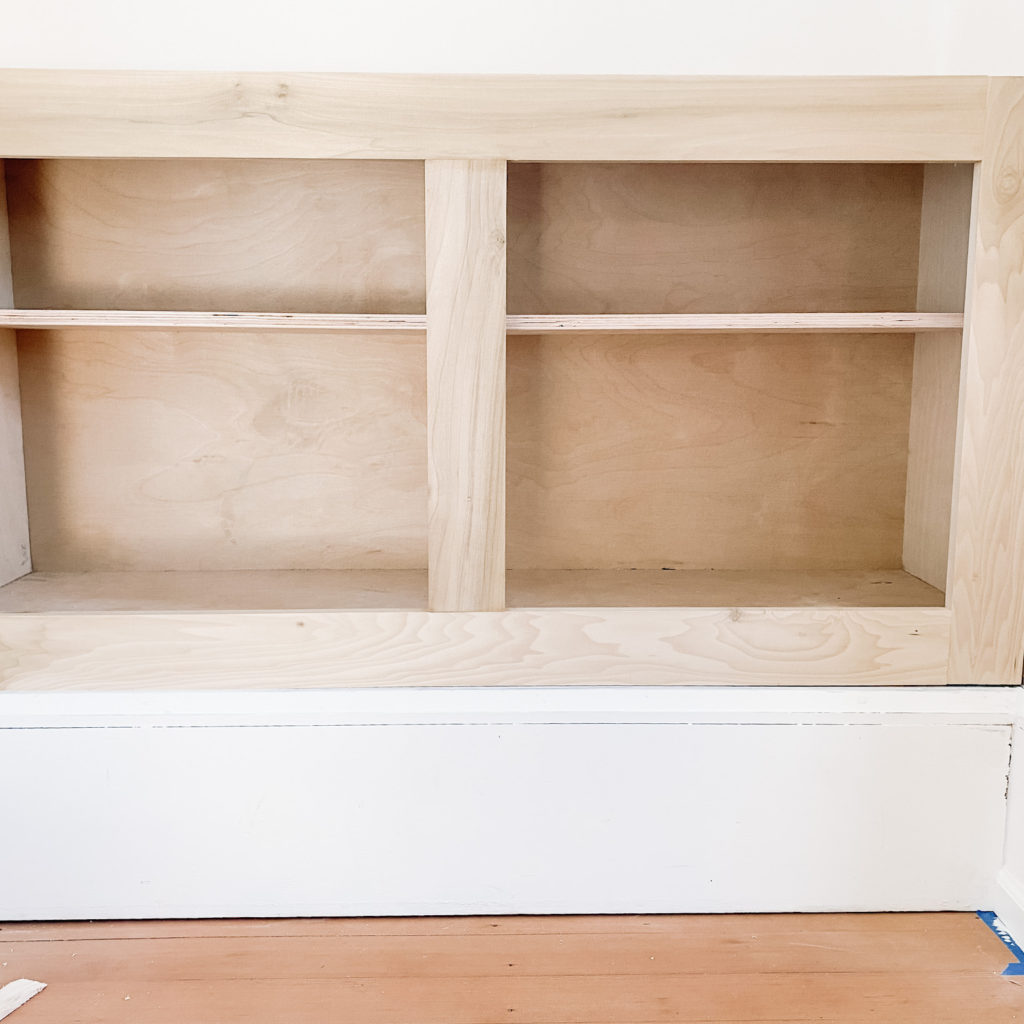
I truly believe scale is everything in terms of making a design feel balanced and cohesive and this 4″ face frame looks just right.
Fireplace Mantle
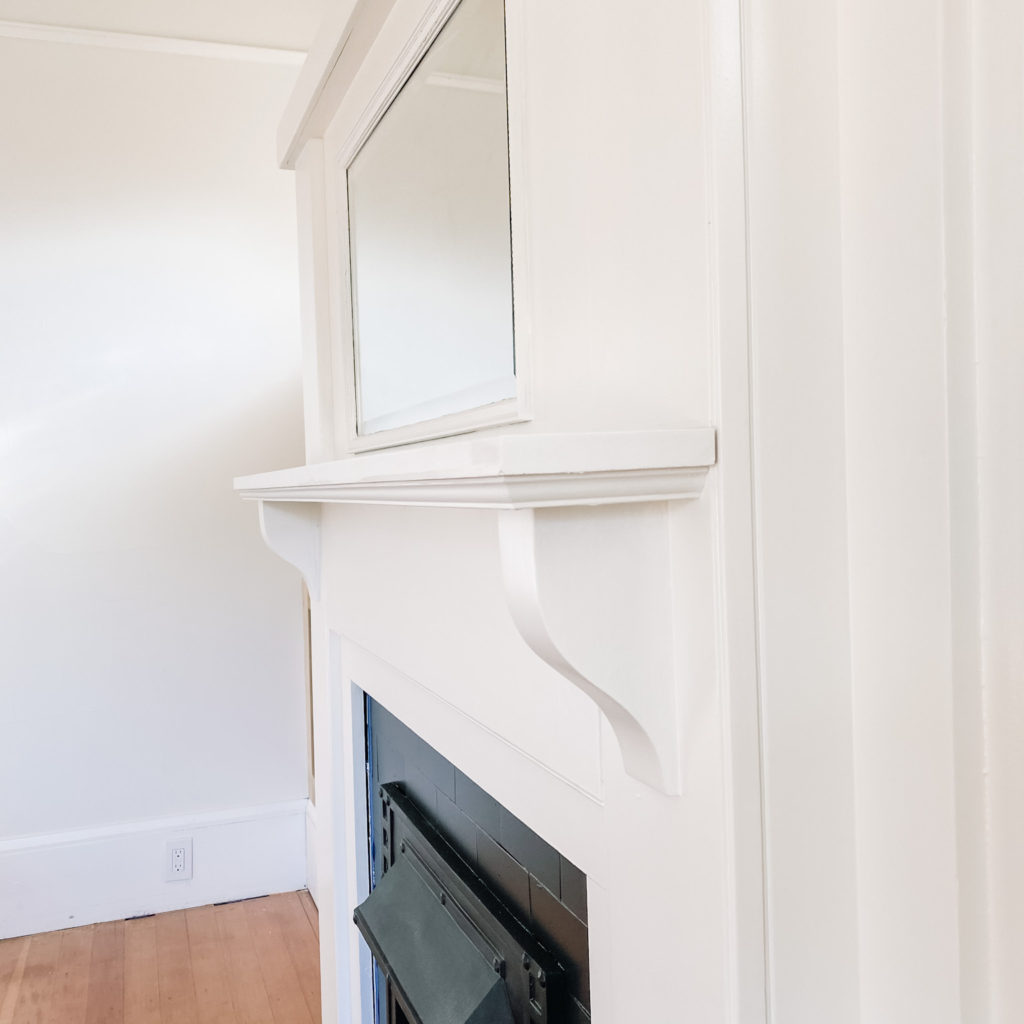
Speaking of scale, the disproportionate fireplace mantle that was left after we removed the pillars in Week 2 of the ORC had me adding another to-do to this already busy project. I just couldn’t live with the awkward and small wood mantle, and I’m thrilled with this more minimal and pared down white mantle we constructed. Check out the difference it makes:
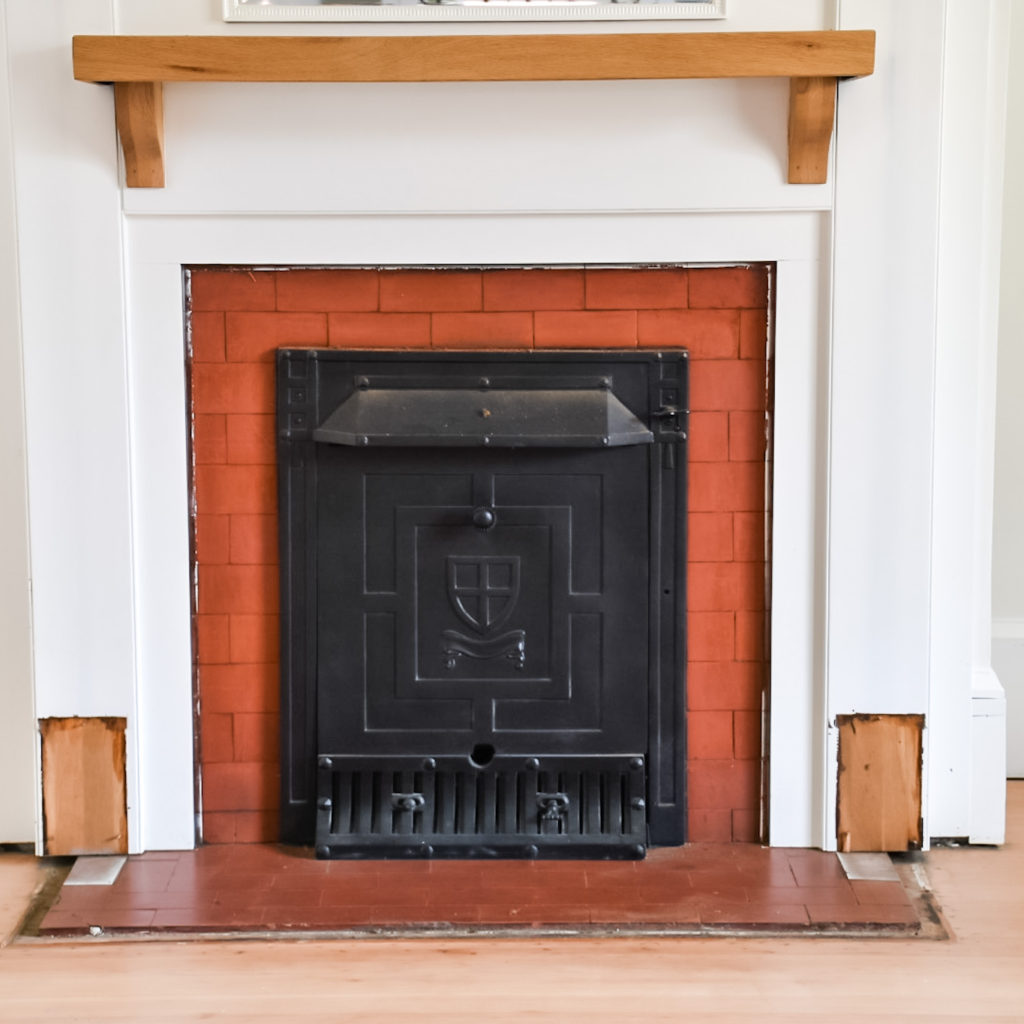
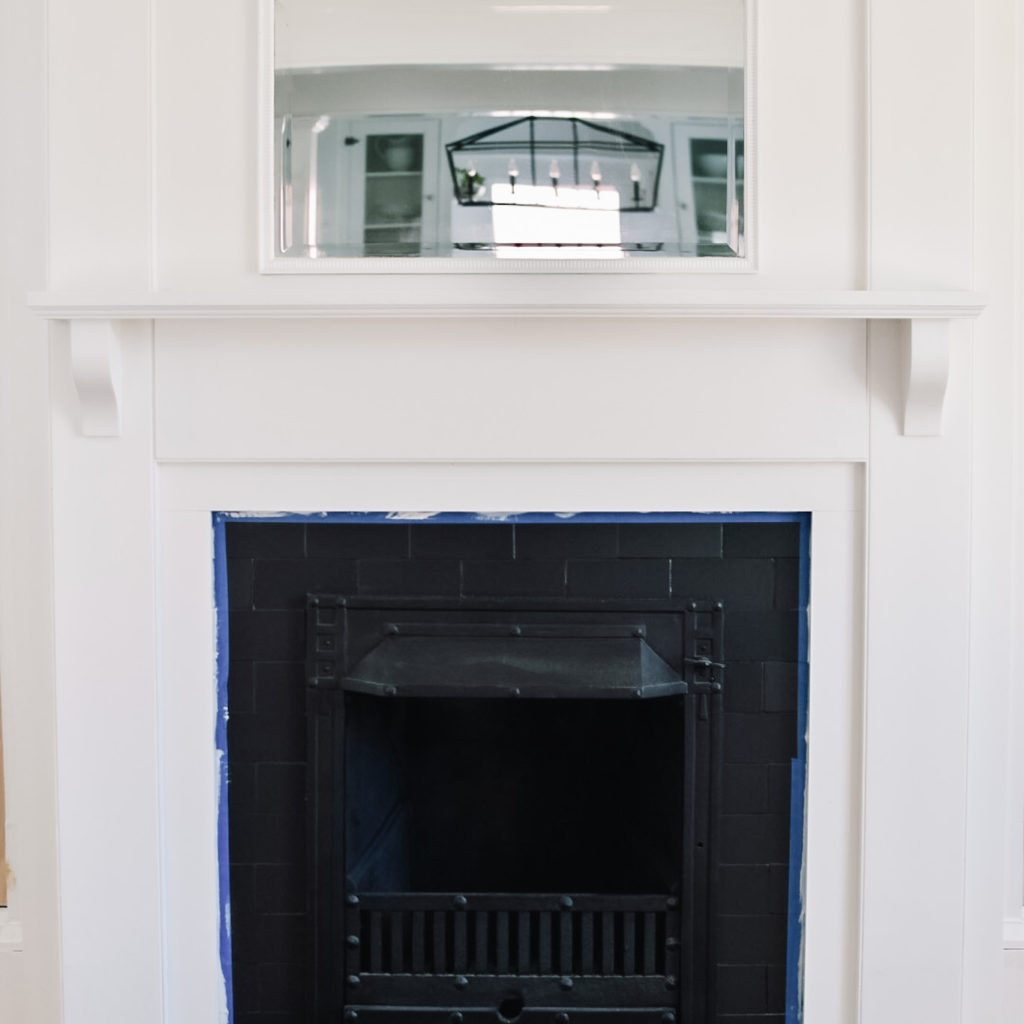
We shrunk the depth of the mantle in half, and moved the corbels 5 inches to the outside to better align with the lines of the fireplace. I think it maintains the craftsman character of the home, while looking much less busy overall.
DIY Abstract Painting
My abstract landscape painting it still a work in progress (hence the painters tape on the frame), just like pretty much everything else in this room.
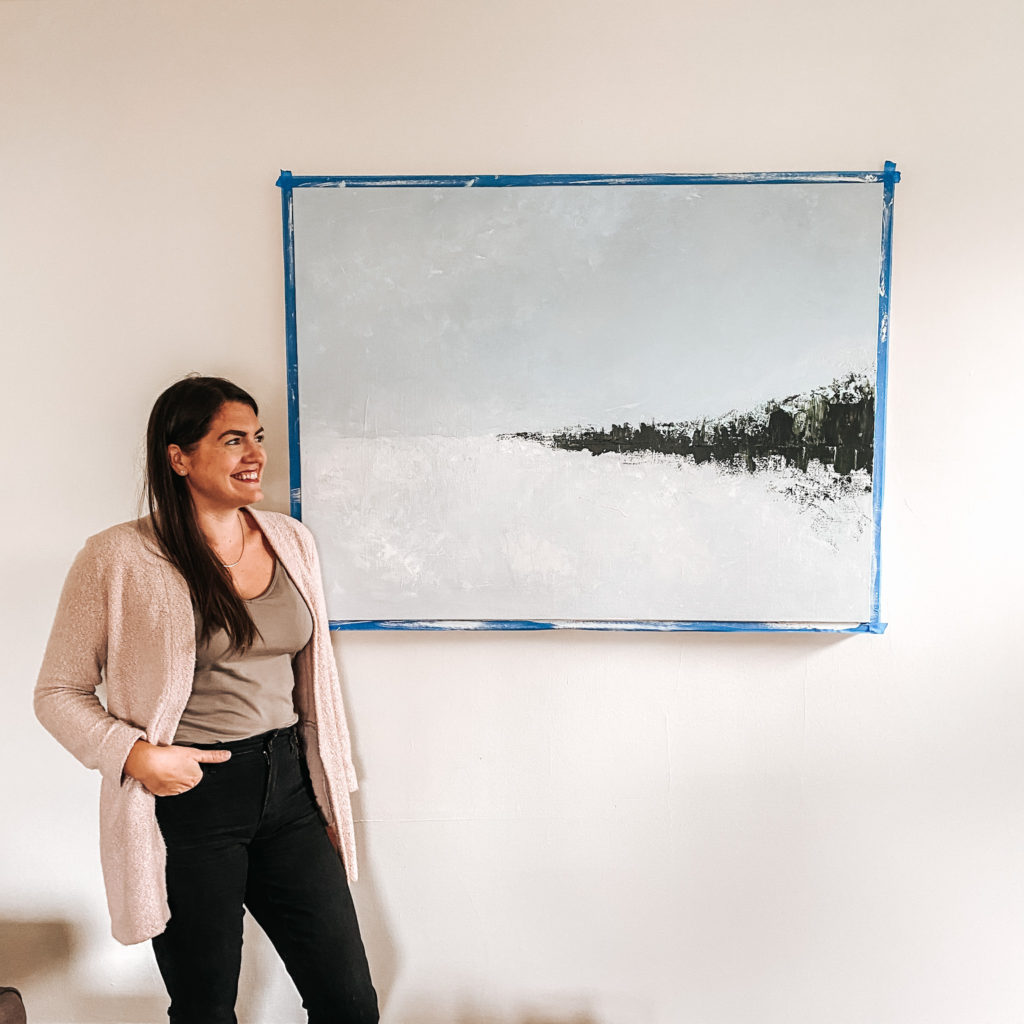
I wanted the piece to evoke the coastline of the beautiful West Coast beaches here on Vancouver Island where I live, with the Sitka Spruce marking the rocky shoreline, their reflection gleaming on the hard packed sand beach, white waves crashing in and grey clouds hanging low above.
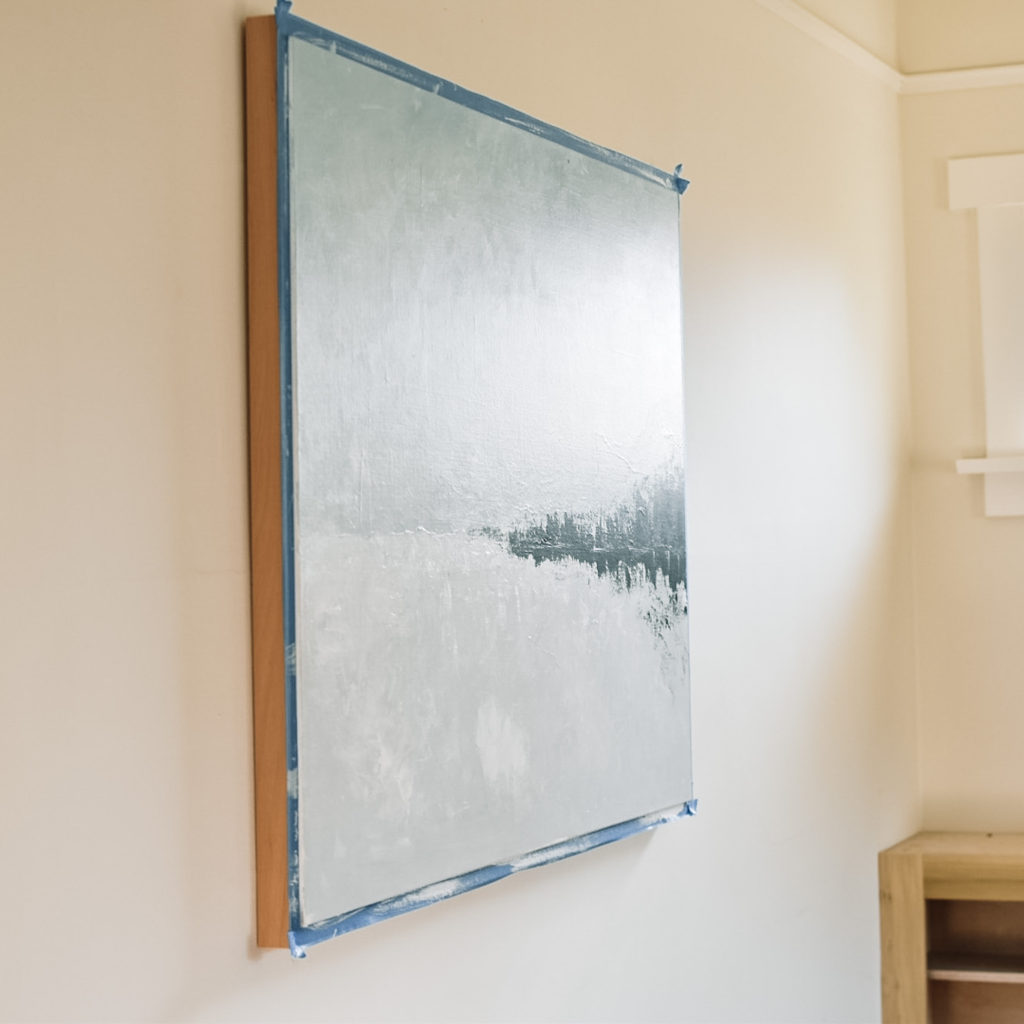
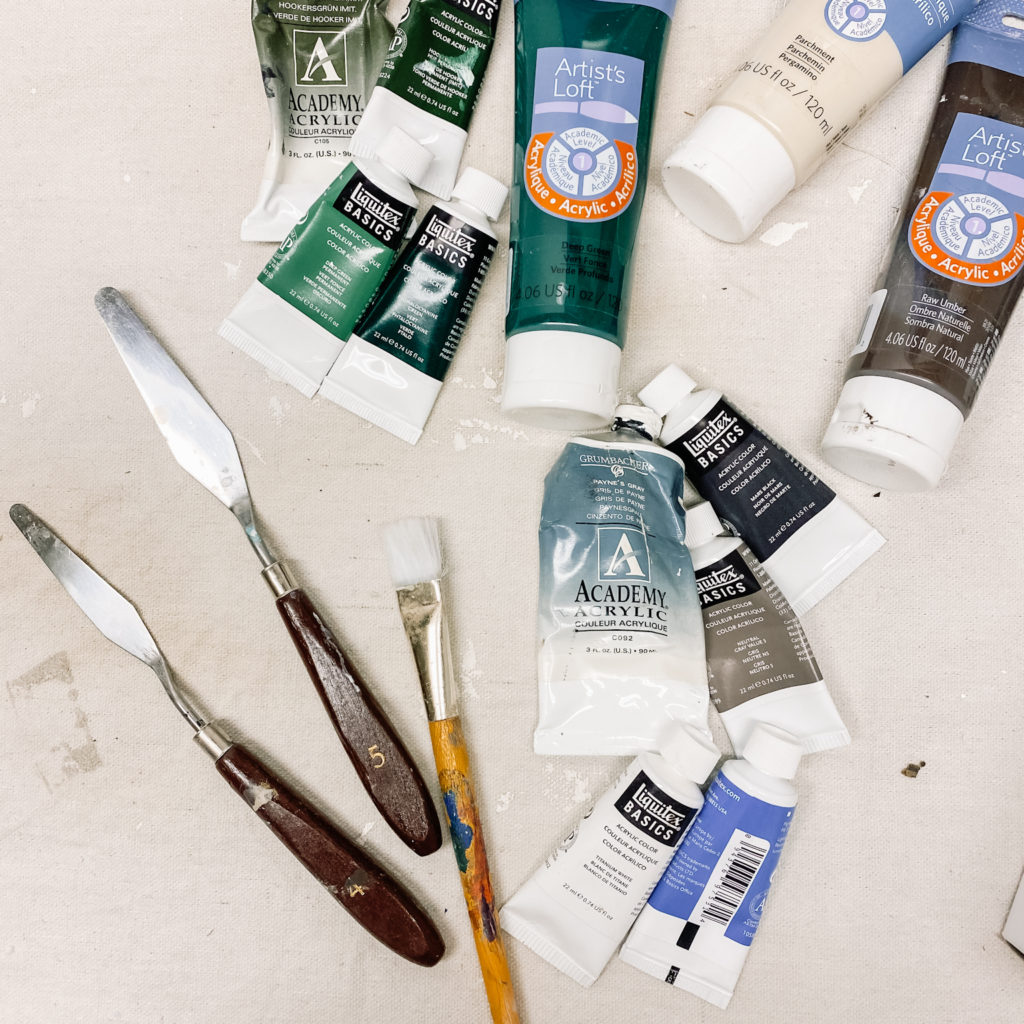
I’m certainly not an artist, and I have literally zero skills in terms of painting techniques. I used acrylic paint, a 1″ paint brush, sponges, and a mini roller to achieve this look.
It’s not gallery quality to be sure, but it makes me happy, evoking those West Coast vibes, especially when the light hits it just right from the window to the side.
DIY Fir Coffee Table
Inspired by this gorgeous live edge table from Shoppe Amber Interiors, which is stunning but way outside my budget, I’ve begun building the top for my DIY coffee table.
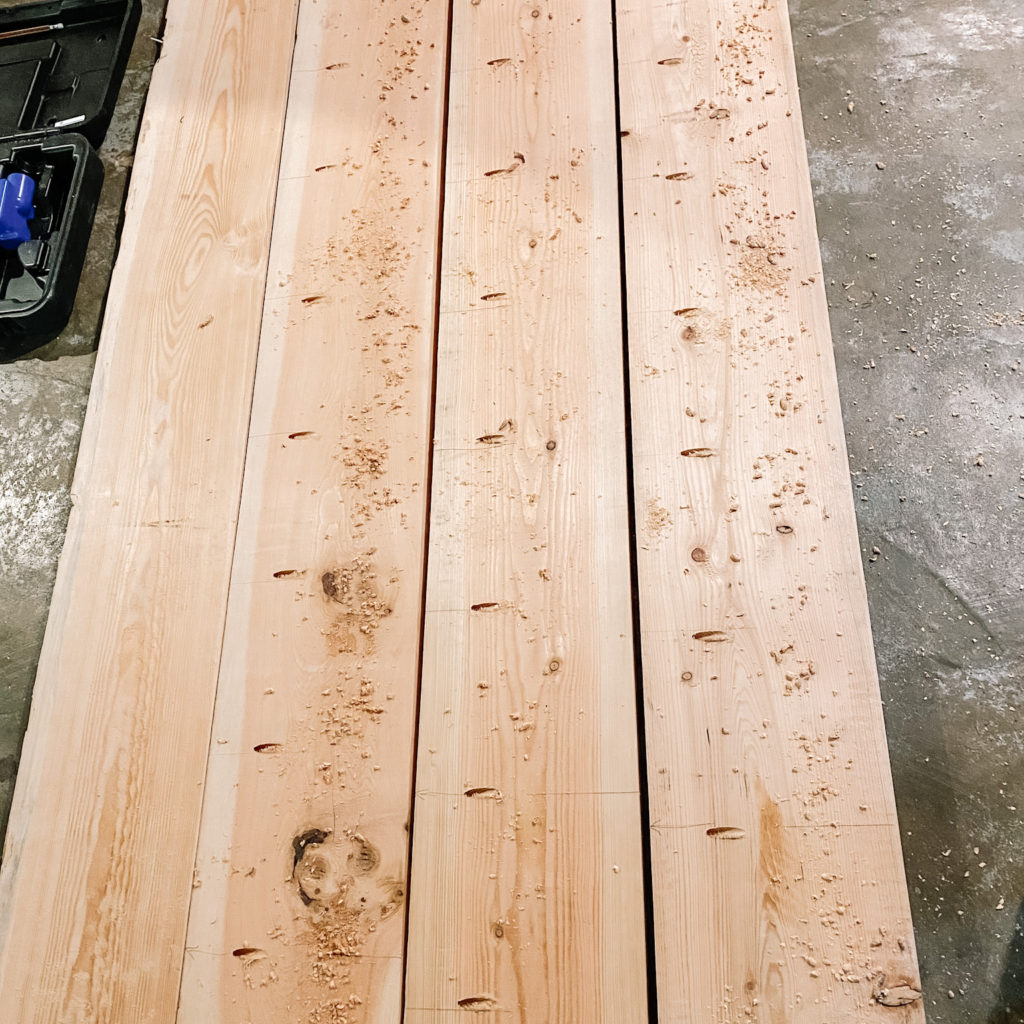
I’m joining 2×8″ fir boards using edge banding with pocket holes and glue. The top came together quite quickly, which I was happily suprised about. Next up, recreating the live edge by cutting one in with a jig saw, and figuring out how exactly to construct the criss-cross dowel base I have in mind.
Shoe Mouldings
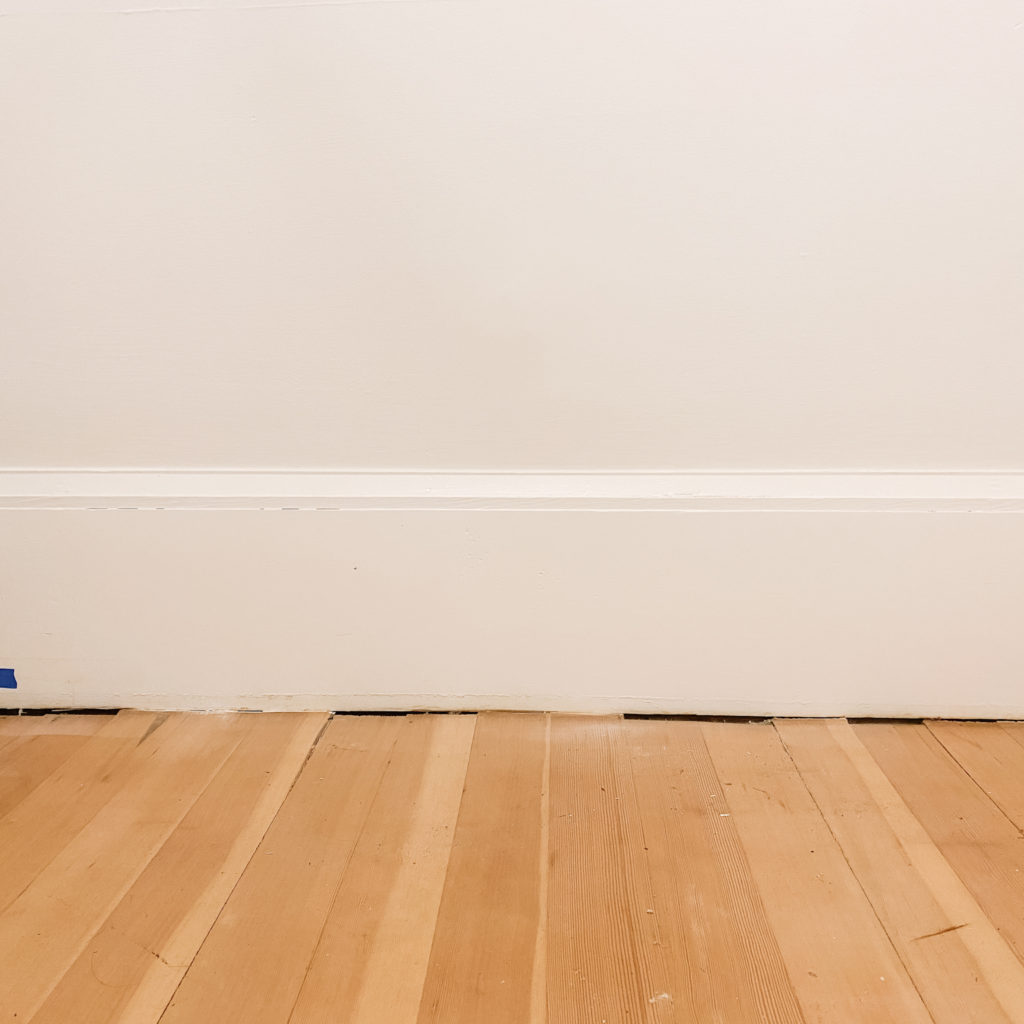
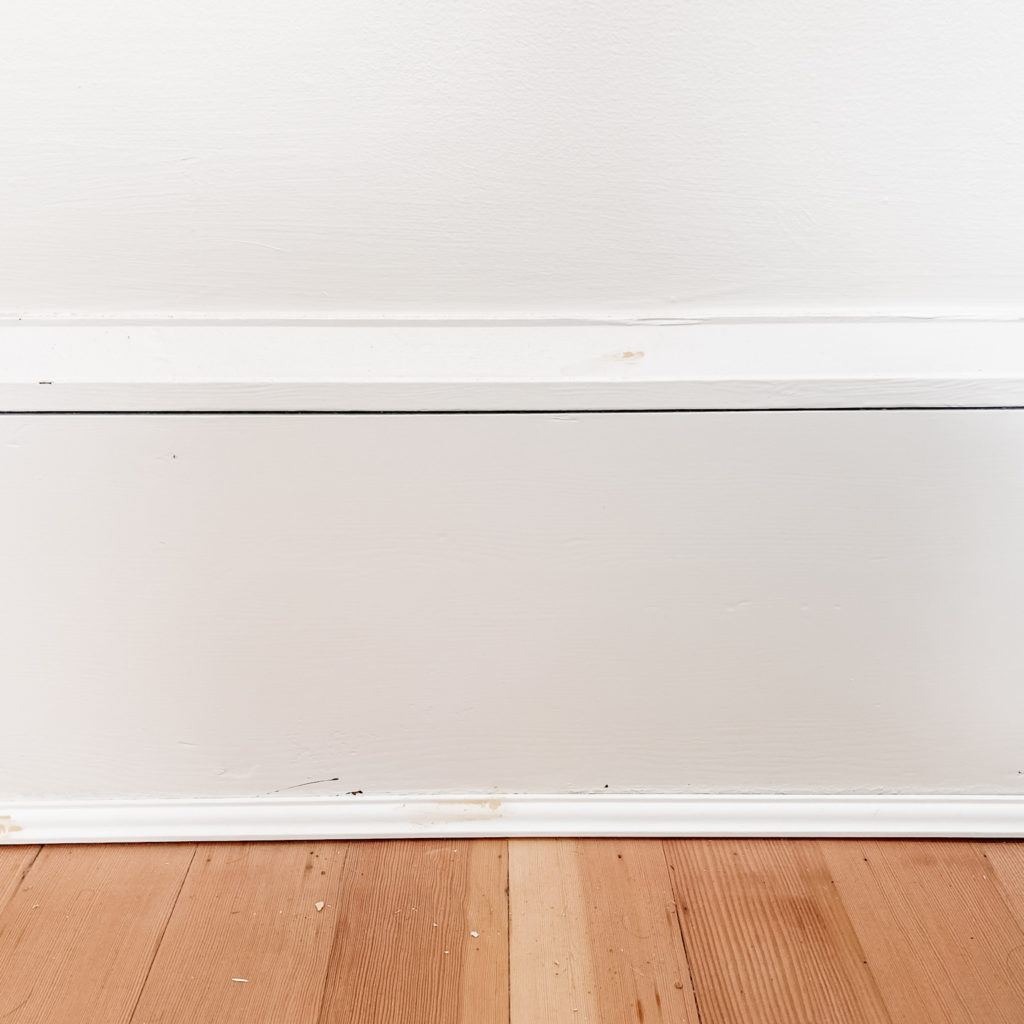
After over a year with this small detail unfinished, it is so satisfying to see the shoe mouldings finally in place! At some point in the home’s history, the original moulding was removed to lay carpet (over the fir floors, why was this ever a trend?!), this left a gap between the floor boards and the baseboards. With the new shoe moulding in place the space looks so much more put together.
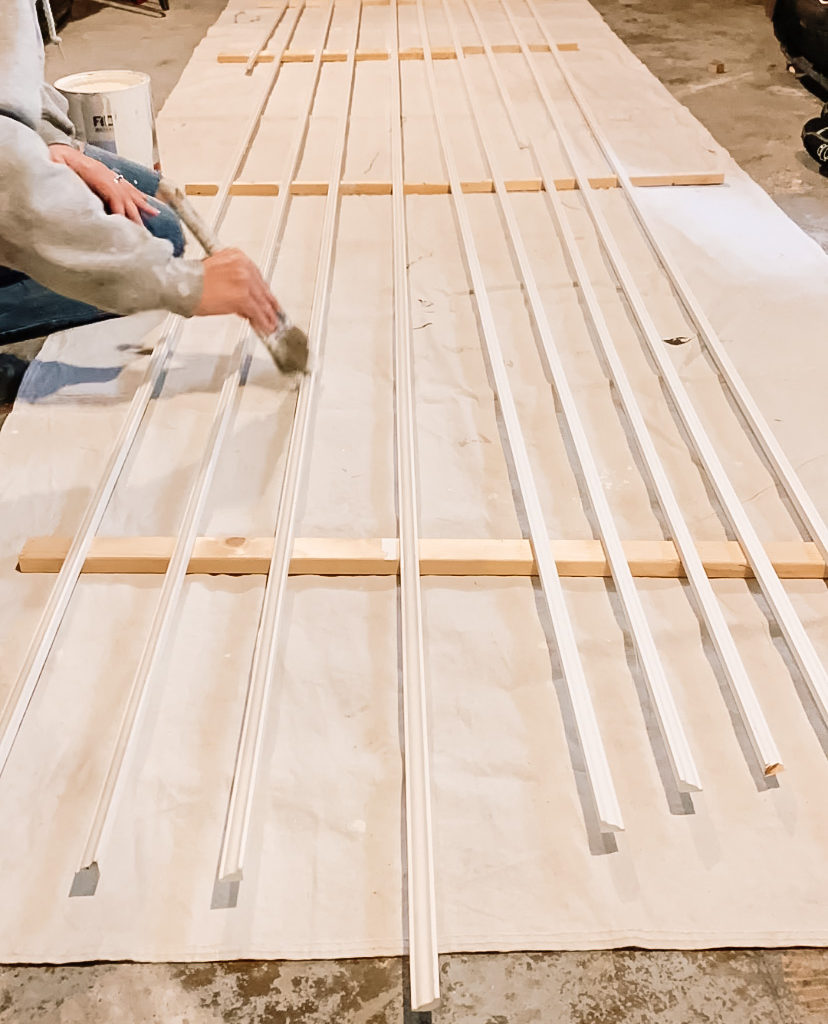
A little tip for installing floor mouldings of any kind (be that baseboards or shoe mouldings), lay all your pieces out and give them one coat of paint before installing. It’s much easier to paint them this way. Then after install, you only need to paint one coat after patching the nail holes and caulking the top.
The Finish Line
So the finish line is in sight, or at least the deadline is. There are still many outstanding projects in this space, and I’ll be pushing over the next week to finish everything up!
Clearly the One Room Challenge team over at Better Home and Gardens read the room, as they’ve extended the ORC finish deadline to November 29th. This means technically I have 3 weeks to finish the space, but I’m aiming to have it done before that extended deadline. I’m ready to have my living room back in order, and I’m feeling the urge to decorate for Christmas sooner rather than later.
Come follow along in my instagram stories to see the project unfold in real time!
xo,

P.S. – You can check out the ORC featured designers and the other guest participants here. Scope out their incredible transformations, I am loving following along!

This is going to be AHHHHMAZING! Good luck this week,Im excited to see the reveal.
I could not refrain from commenting. Very well written. Lula Yorker Sheri