You know that home project that needs to be done but you keep putting off because it seems too intimidating, complex or just inconvenient to complete?
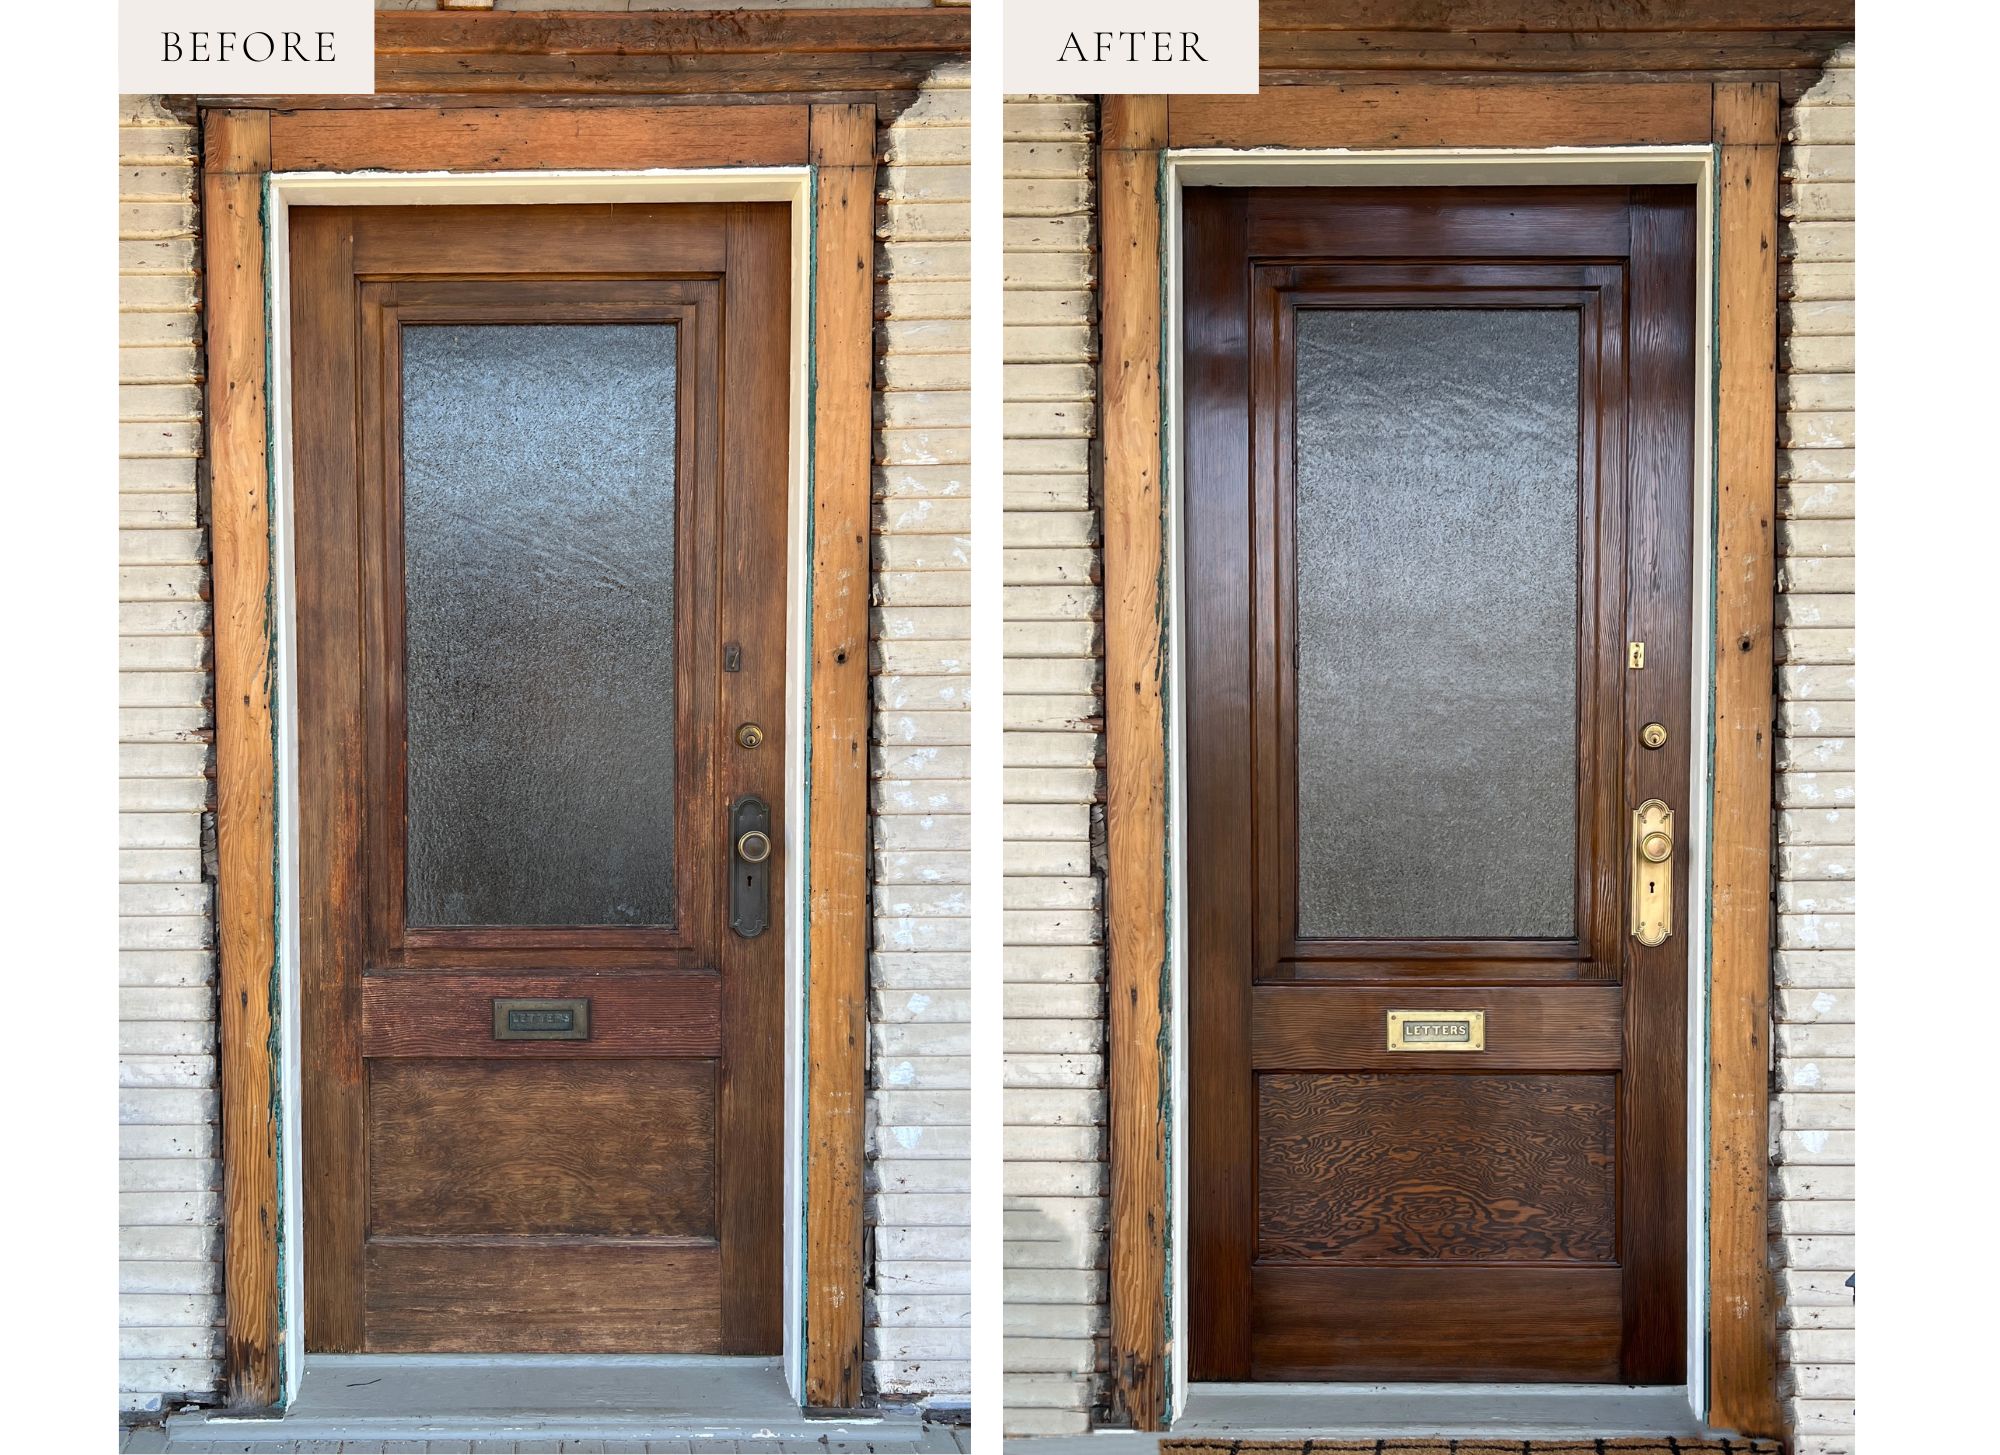
Well, for me that was refinishing our wood front door. The 110 year old beauty had seen better days, but I won’t lie – I was afraid to mess up this project. Staining wood is notoriously tricky & this piece is no low-stakes Facebook Marketplace furniture flip.
I knew I had to get it right the first time, and lucky for me, I did. Lucky for you, I’m sharing my exact process so you can refinish your wood door without the stress!
If your wood front door has seen better days, I’ve got a super simple method to refinish it without removing it from the hinges, because who wants to worry about completing the project in time to put the door back in place that evening? Not me, that’s for sure.
This post may contain affiliate links, and I may earn a small commission at no additional cost to you. As an Amazon Associate I earn on qualifying purchases. You can read my full disclosure here.
HOW TO REFINISH YOUR FRONT DOOR IN PLACE
While this is a simple project, give yourself several days to complete. I took one afternoon to remove the old finish & sand the wood in preparation for stain (this was definitely the longest working part of the project) and a few more days to stain & seal the door.
When it comes to staining & sealing the piece, what I did and strongly recommend is applying only one coat per day in the morning and allowing it the full day to dry. Why? If the stain/varnish is not completely dry when you close the door at night you risk marring the finish where the door touches the door frame. And that my friend will send you right back to step 1 of this process, sanding the door back down to bare wood.
Also, be sure to choose a timeframe where you have a few days of warm, dry weather to complete the job. Your front door will be open for an extended time after all, plus the temperature & humidity play a huge factor in how quickly the stain dries.
If your weather is particularly warm & dry you likely could get away with doing two coats per day and still allowing it enough time to dry before closing at night. I completed this project in the Fall so I went with 1 coat/day; if I did it in the summer with long, dry days I probably would have done 2 coats/day. Be sure to read the label for the exact dry & recoat times for your chosen products.
SUPPLIES
This project requires only basic tools & products:
- Orbital Sander (this one has been my go-to for years)
- Sanding Discs in 80, 100, 150 grits
- Sanding Sponge
- Sandpaper in 80, 100, 150 & 220 grit
- Plastic drop cloth
- Painters Tape
- Wood Stain of choice (I used Minwax Gel Stain in Coffee)
- Staining Rags (these are my favourite staining & multi-purpose cleaning/shop rags)
- Tack Cloth
- Top Coat of choice (I used Minwax Helmsman Spar Varnish in Satin, read my thoughts on it below)
- Paint brush to apply top coat
STEP 1: REMOVE THE HARDWARE
Remove all hardware from the door except the door hinges. If possible, leave the inner workings of the deadbolt in place as it will make it simpler to reinstall the deadbolt in the evening. It will also give you a place to anchor a string to keep your door from accidentally blowing shut – more on that later.
STEP 2: CREATE A PLASTIC BOOTH AROUND THE DOOR
This probably goes without saying, but sanding is MESSY. It is not possible to complete the project with the door closed 100% of the time and trust me when I say this project creates a surprising amount of dust! When refinishing your front door in place, its critical to setup a simple disposable plastic drop sheet “booth” on the back of your door.
Use a poly drop sheet which is approx 1.5x – 2x wider & taller than your door opening. What you are trying to achieve is a drop sheet that is “baggy” so that your door can open enough to be able to sand & stain the edges of the door face.
Working on the inside of the door, start by taping the sheet up along the top of the door casing. I recommend using painters tape so that you don’t damage the finish on your casings.
Open your door 8-12″ (or however open it needs to be so that every part of the door is accessible to sand and stain), then simply tape the poly sheet to the interior door casing, while leaving as much of the drop sheet material in the middle as possible (remember, we’re going for “baggy”). Tuck the sheet underneath the door and, from the outside of the door, tape the poly sheet to the door threshold or porch floor.
Double check from both the inside & outside that you’ve sealed all the edges; use tape to patch gaps where necessary.
STEP 3: REMOVE THE OLD FINISH
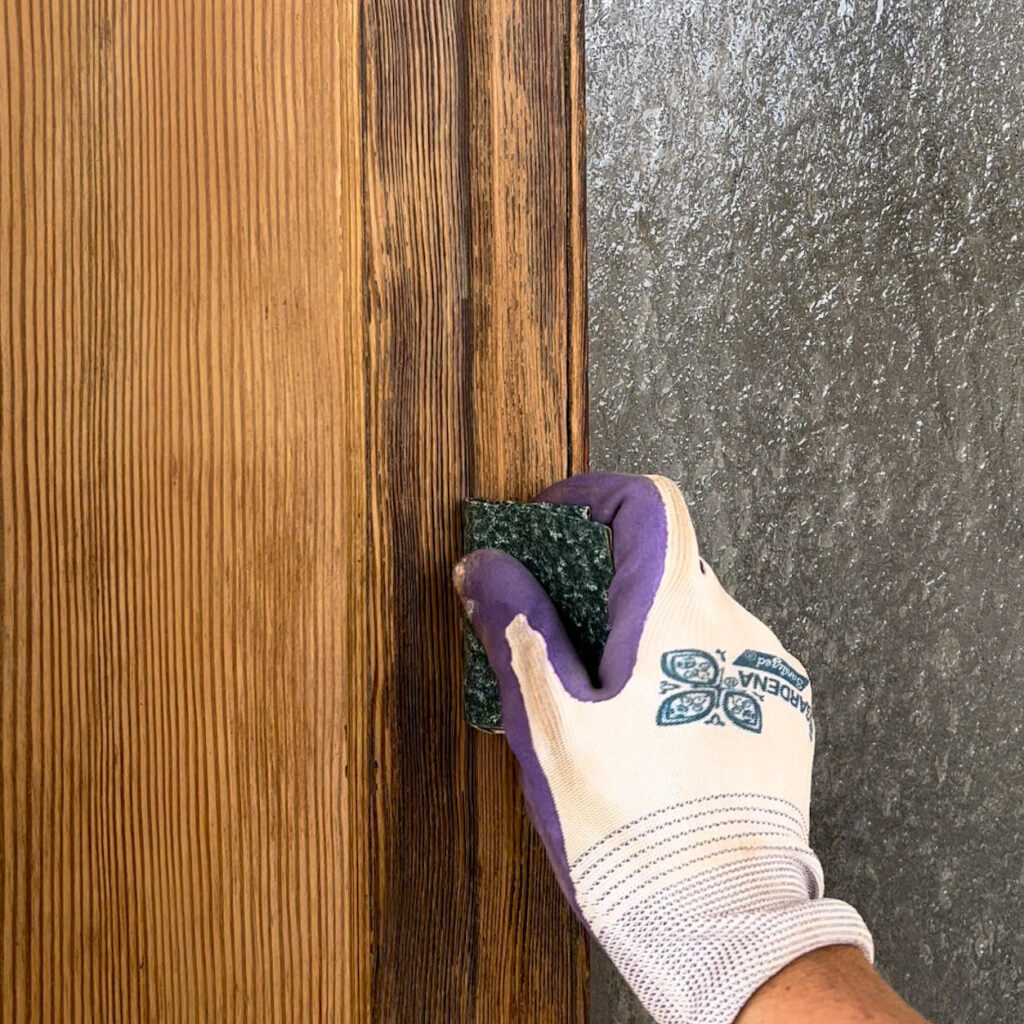
To remove the existing finish I used a combination of an orbital sander and hand sanding. The orbital works great for flat surfaces, but any details or mouldings must be hand sanded to preserve their shape.
I started with 80 grit to remove the varnish (be very careful & move slowly with 80 grit, it can really damage your wood if you are too aggressive with it!), then worked through 100 grit, 150 grit, and finally 220 grit, over the entire surface of the door.
Once sanding is complete carefully remove the plastic booth from the door, rolling it as you go to contain as much dust as possible. Vacuum the door surface and surrounding area to remove remaining dust.
CLOSING THE DOOR AT NIGHT
Once the door is fully prepared for stain you can reinstall the deadbolt to lock the door overnight. Depending on your lockset you may need to reinstall the door handle also; just reinstall whatever hardware required to ensure your home is safely locked up for the night.
STEP 4: CHOOSE A STAIN FINISH
I chose to use gel stain for this project for two reasons. One – gel stain is great for vertical surfaces as it does not drip like traditional stains. Two, it provides excellent coverage, meaning I would likely need only one coat of stain to complete the job, cutting down the project time significantly. (update: I did end up needing only one coat of stain as I hoped.)
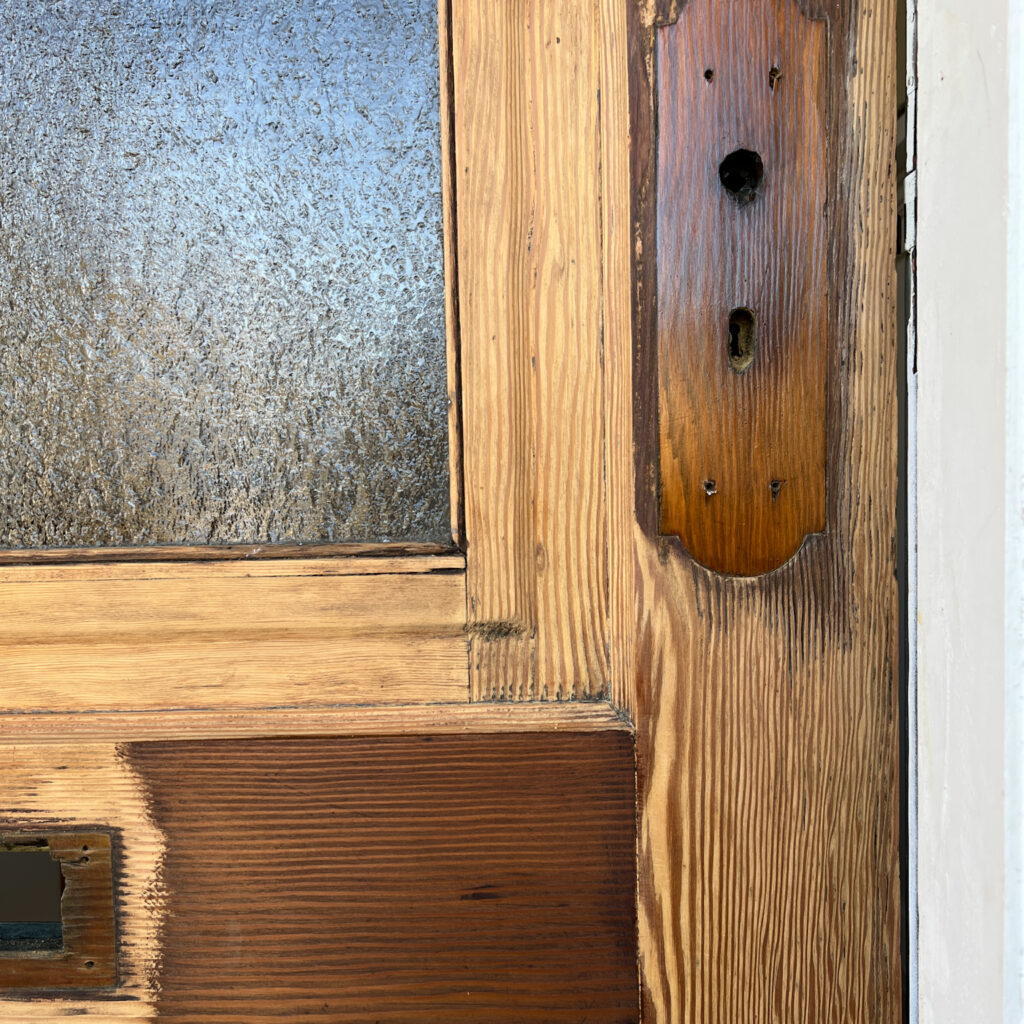
I chose Minwax Gel Stain in Coffee for this project. It is a dark brown, however with my door being Fir the final stain colour pulled much more red, which was expected.
Do a small test patch with whatever colour to choose before you commit. Whichever stains you don’t like can be sanded off with 150 grit sandpaper – be sure to finish with 220 grit to prepare the area for restaining.
PREPARING TO STAIN – TIE YOUR DOOR OPEN!
The last thing you want when you are staining your door is for a sudden gust of wind to unexpectedly shut the door. What I did to prevent this was thread a thin rope/string through the throw or inner working of the deadbolt and then tie this to one of the built-in columns in our entryway. You could tie to a stair railing, a piece of furniture, whatever is heavy enough to prevent a gust of wind from closing the door and ruining your project.
STEP 5: STAIN THE DOOR
First, remove all the hardware that was put back in place the previous night.
Begin staining early in the day. Give your door a wipe down with a tack cloth or microfibre cloth to remove all debris.
Gel stain is quite easy to work with; I prefer a rag to apply it. Be sure to wear gloves! Working sections, follow the grain pattern of the door. I started from the middle of the door (closest to the glass), working outwards in rings, following the detail moulding pattern of the door.
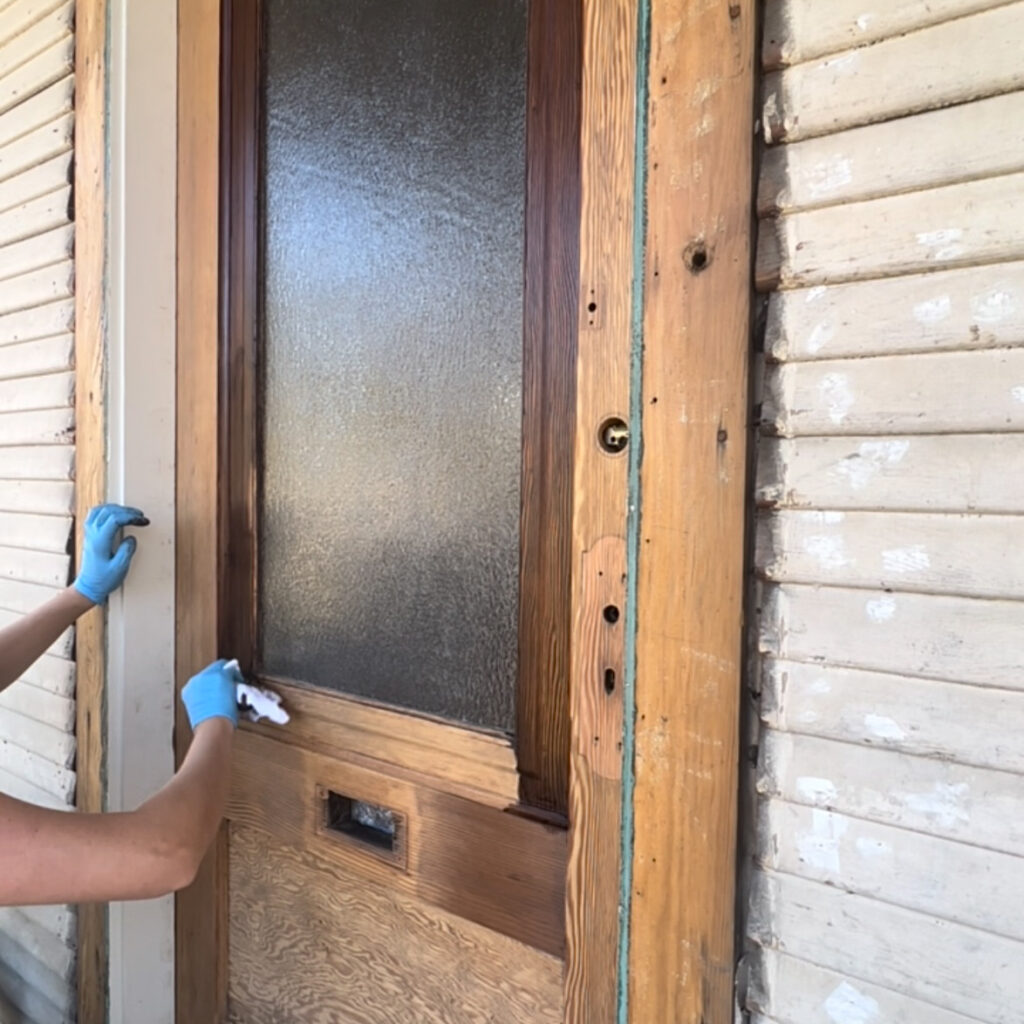
Allow the stain to sit for a few minutes, then wipe off excess with a clean rag. My process was to apply stain to one section, then move on to apply stain to a second section; after completing the second section I’d go back and wipe off the first section.
Leave the door tied open for the day; reinstall locks & close the door at the end of the day.
STEP 6: PROTECT & SEAL
When you are happy with the stain colour, it’s time to apply a top coat to protect the door. Before you apply your top coat ensure you’ve read the label on your stain – it will tell you the dry time required before top coating.
You will want to choose an exterior finish coat, and be sure it contains UV protection. You don’t want the sun bleaching out all your hard work!
I used Minwax Helmsman Spar Varnish in Satin, however I didn’t love the product. First off it was much shinier than I expected from a Satin finish product. Secondly, being an oil product, it significantly altered the colour of the stain, making it appear more orange. If I did this project again I would seek out a water-based exterior top coat with a matte or (legitimate) satin finish.
Again, remove the lockset. Following the grain pattern of the door, apply light coats of varnish. I prefer a paint brush to apply top coats. Double check to ensure there are no drips.
You’re going to need to apply multiple coats of varnish (most products recommend 3, read your label), so remember to leave yourself adequate dry time before you need to close the door for the night!
REPLACE HARDWARE
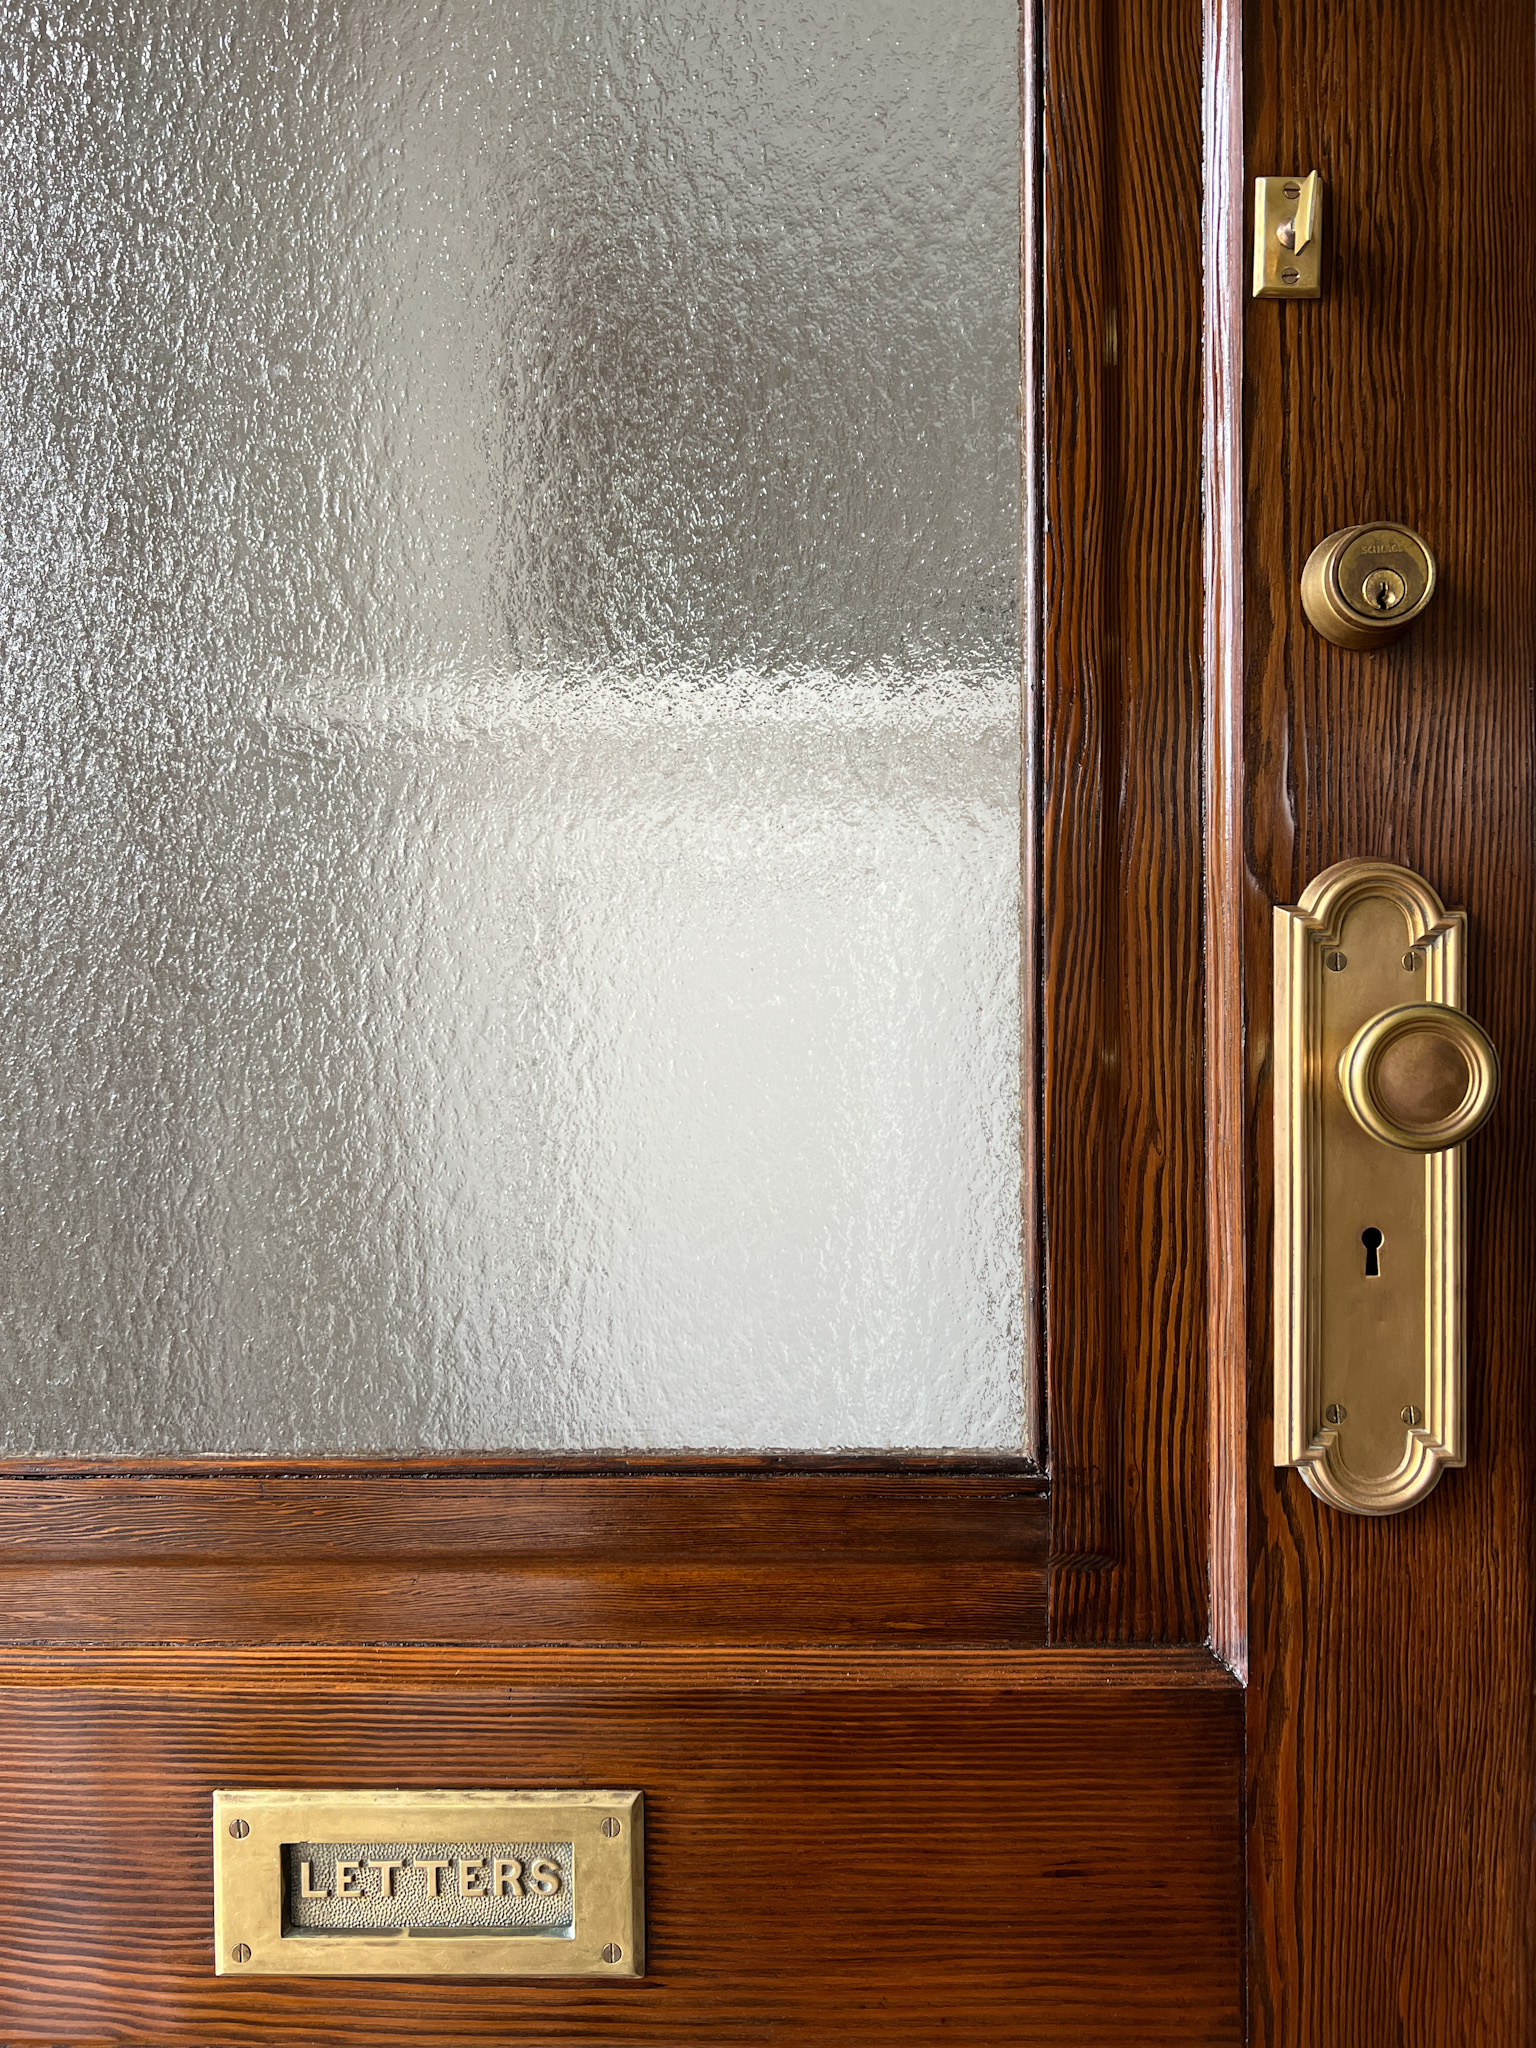
When the top coat has completely dried you can reinstall your hardware.
As my door hardware is unlacquered brass I chose to polish it using Brasso prior to reinstalling; it will slowly re-gain its patina over time. No matter what your hardware material I’d use the opportunity of having it removed to give it a good clean using a cleaner appropriate for its material.
STEP BACK AND ADMIRE

You did it! A beautiful front door that will not only make a great first impression but also stand up to the elements for years to come.
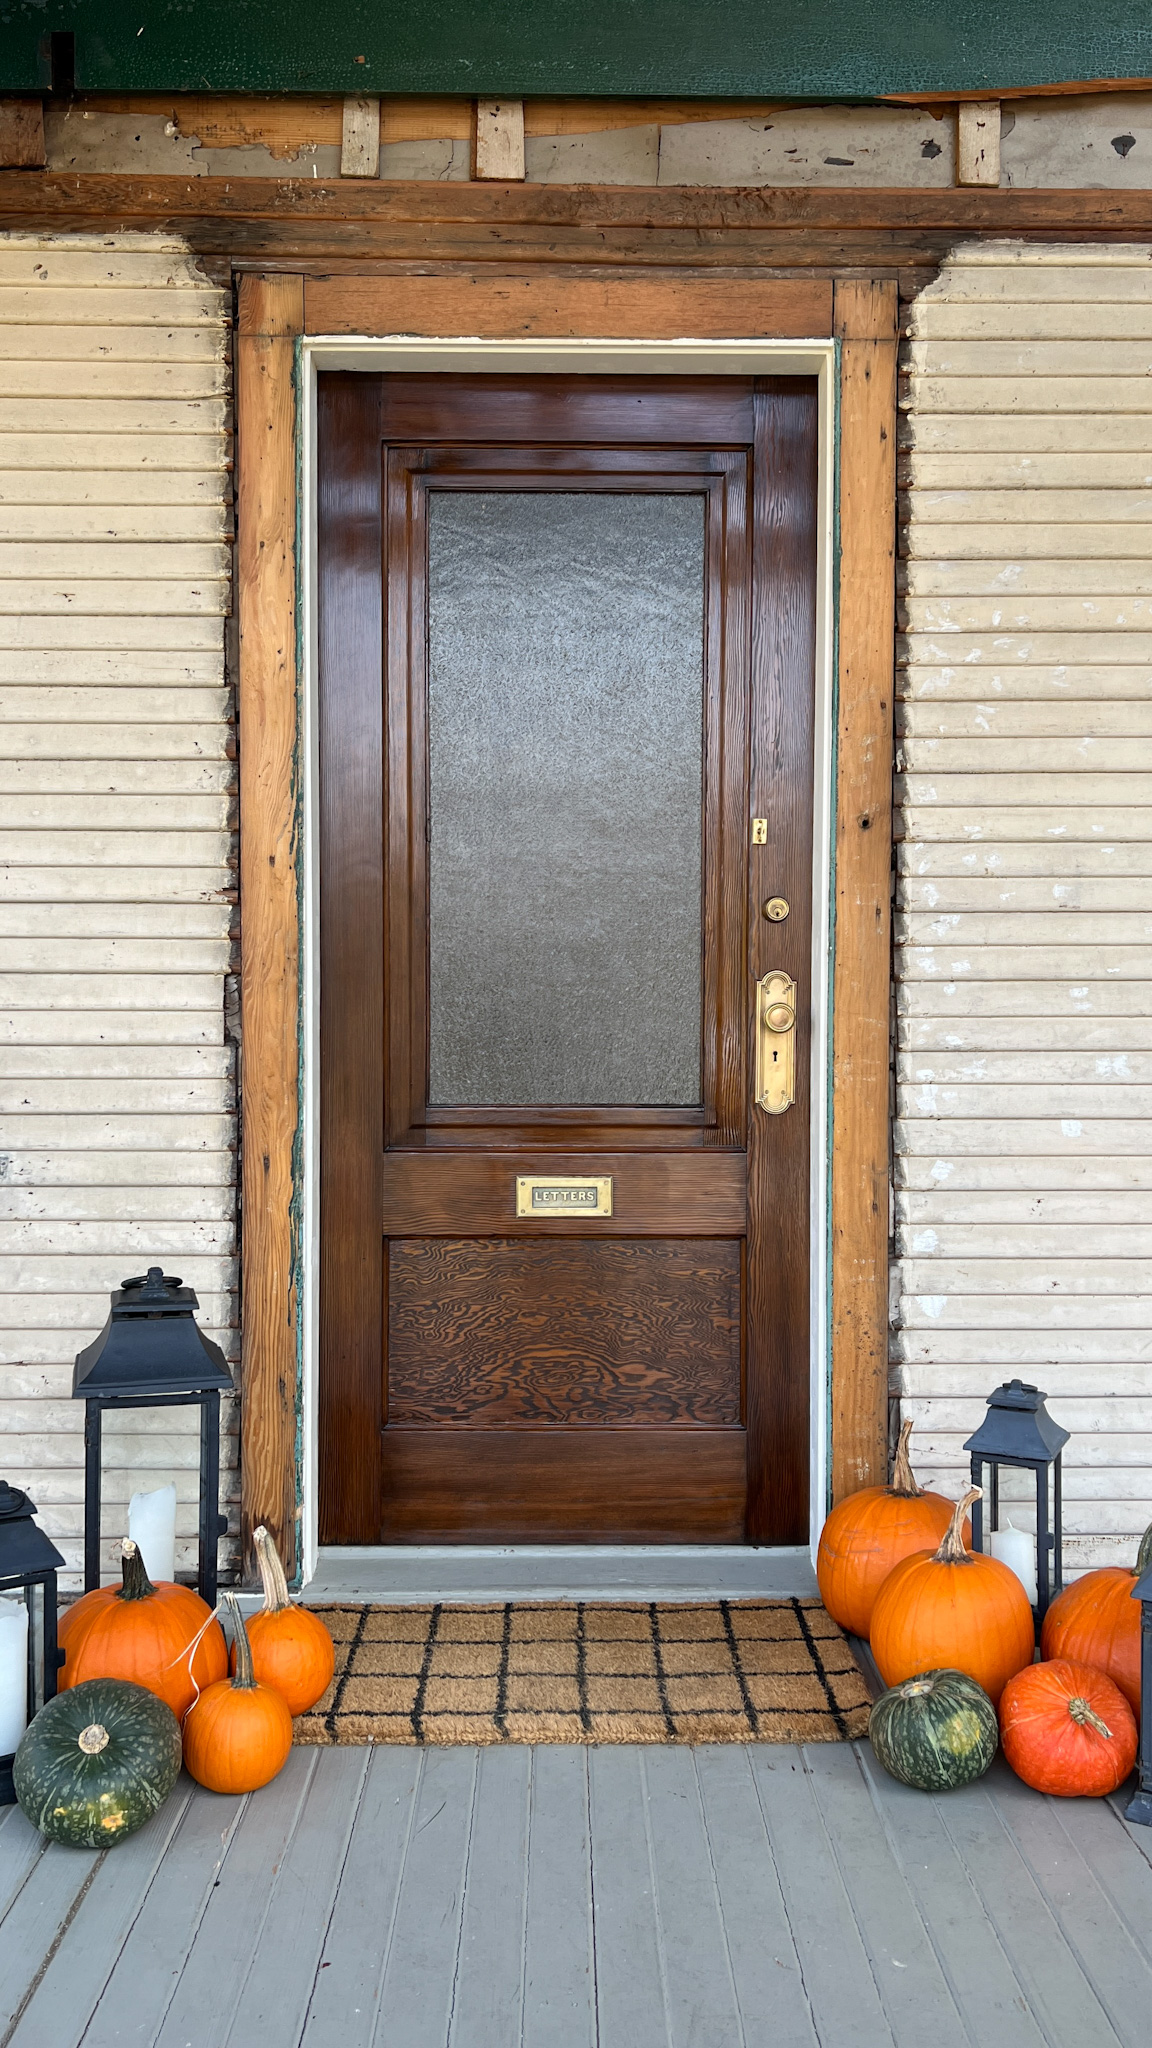
Now to finish the exterior restoration – can you envision how good will this door look when surrounded by new paint and trim? I’m giddy just thinking about it.
Missed any of the restoration? Follow Grey + Avery on Instagram to stay up to date with the latest progress on our exterior restoration!
